
Starting a first machine sewing project is an exciting milestone, but the sheer variety of materials can feel overwhelming. The single most important decision for a successful first stitch is selecting the right sewing thread. For almost every beginner, the absolute best choice is a high-quality, 50-weight (50wt) all-purpose polyester sewing thread. This specific thread type offers the perfect balance of strength, elasticity, and smooth performance, ensuring your machine runs smoothly while you focus on mastering basic techniques.
Why Thread Choice Matters for Your First Machine Projects
A forgiving thread tolerates minor errors in machine setup. When you are learning, your guiding hand might pull the fabric too quickly, or your machine’s tension discs might not be perfectly calibrated. Polyester thread stretches slightly under tension rather than snapping, absorbing these physical variations without disrupting your rhythm.
Thread weight is measured by numbers, with 50-weight (50wt) representing a standard medium thickness. If a thread is too thin, like a 60wt or 80wt embroidery thread, it will snap easily under the friction of a standard sewing machine needle. Conversely, if it is too thick, like a 30wt topstitching thread, it will clog your machine’s tension discs, create bulky seams, and cause the motor to struggle. Starting with a standard 50wt medium-weight thread ensures your machine encounters minimal resistance.
Products mentioned in this guide
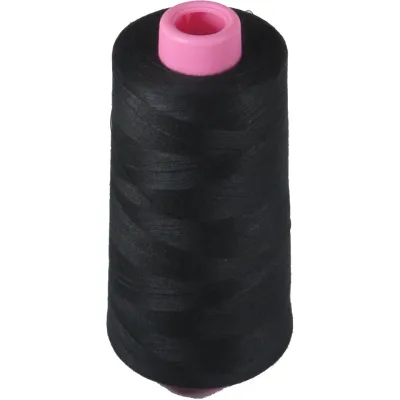
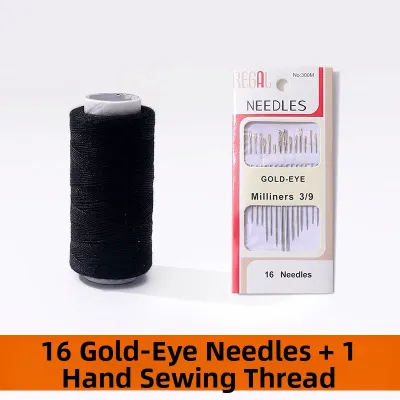
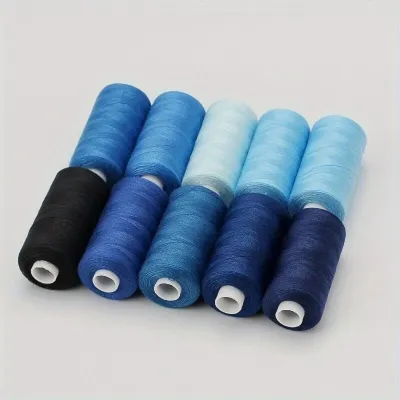
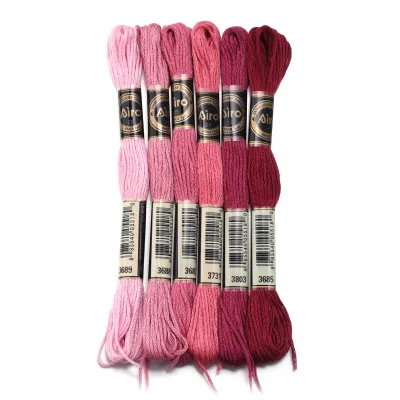
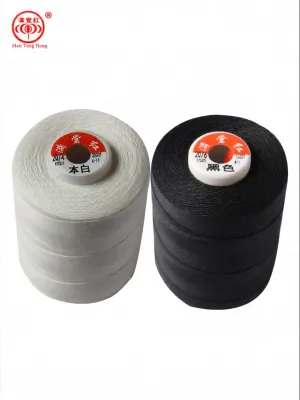
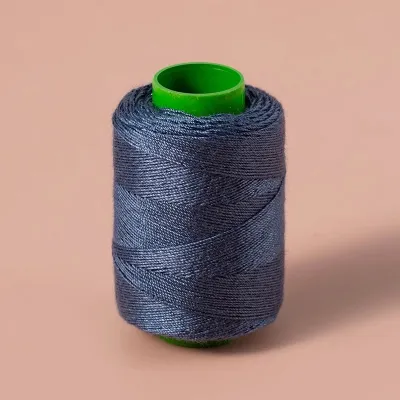
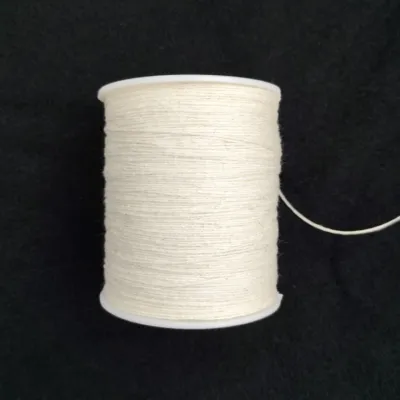
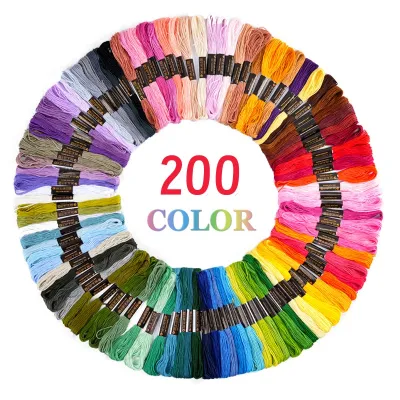
Prices are valid at publication and may change. Please refer to the product page for the latest price.
Many beginners mistakenly assume their sewing machine is broken when they encounter skipped stitches, shredding threads, or bird-nesting. In reality, these frustrating mechanical issues are frequently caused by using low-quality, dusty, or incorrect thread types. Choosing a reliable, smooth thread from the start eliminates these variables, allowing you to build confidence without constant troubleshooting.
The Best Sewing Thread Types for Beginner Projects
Walk into any craft store or sewing shop in Singapore, and you will find shelves filled with polyester, cotton, nylon, silk, and various blended threads. Each material serves a specific purpose, but they are not all created equal when it comes to ease of use.

To build a reliable starter kit, you must evaluate thread based on durability, ease of tension adjustment, and compatibility with common beginner fabrics like quilting cotton, linen, or lightweight canvas. Your goal is to find a thread that works seamlessly across multiple projects without requiring you to constantly recalibrate your machine’s tension settings.
You do not need an expensive, multi-colored thread suitcase to begin sewing. A starter toolkit requires only one or two high-quality spools in neutral colors—such as off-white, medium grey, or black—which will blend invisibly with almost any fabric you choose for your first projects. A high-quality spool of polyester thread typically costs between S$3 and S$6, making it an affordable foundation for your toolkit.
All-Purpose Polyester: The Most Forgiving Choice
All-purpose polyester is the undisputed workhorse of the sewing world. It is constructed from synthetic fibers that possess an inherent, microscopic elasticity. This slight stretch is incredibly beneficial for beginners because it allows the thread to yield slightly when your machine’s tension is uneven, preventing the sudden snaps that halt your progress.
This thread is highly compatible with both woven and knit fabrics. Whether you are sewing a simple cotton tote bag, a linen cushion cover, or a stretchy knit t-shirt, polyester thread moves with the fabric.
Additionally, polyester is highly resistant to shrinking, fading, and chemical degradation. When you wash your finished projects in warm water or dry them in Singapore’s tropical sun, the stitches will maintain their structural integrity without puckering or weakening over time.
100% Cotton: Best for Specific Woven Projects
100% cotton thread is a beautiful, natural option favored by traditional quilters and garment makers. However, cotton lacks the natural elasticity of polyester. If your sewing machine’s tension is set slightly too high, or if you pull on your fabric as it feeds through the machine, cotton thread is much more likely to snap abruptly.
Cotton thread is best reserved for projects made entirely of 100% cotton woven fabrics, such as patchwork quilts, table runners, or structured cotton garments. Fiber matching—using cotton thread on cotton fabric—ensures that both the fabric and the stitches shrink at the exact same rate when washed, preventing puckered seams.
Because cotton thread produces more lint than polyester, it can quickly clog your machine’s bobbin area. For a beginner working on a variety of mixed-fiber fabrics, cotton should not be the primary, universal choice.
Specialty Threads to Avoid Until You Gain Experience
When browsing the sewing aisle, it is easy to be distracted by shiny metallic threads, thick heavy-duty upholstery threads, invisible nylon monofilaments, or delicate silk threads. As a beginner, you should strictly avoid these specialty options for your first few projects.
These threads require highly specific machine setups. Heavy-duty threads demand thick denim or leather needles and high-tension adjustments, while metallic and silk threads shred easily unless you use specialized needles and slow your sewing speed significantly. Attempting to use them on a standard domestic machine without experience will lead to immediate tension errors and frustration.
How to Match Your Thread to Fabric and Machine Settings
To verify if your chosen thread is appropriate for your fabric, perform a simple visual and pull test. Unwind a few inches of thread from the spool and lay it across a single layer of your fabric. The thread should look proportional to the fabric’s weave; it should not look like a thick cord resting on top of a delicate fabric, nor should it disappear entirely into a heavy canvas. Next, gently pull a single yarn from the raw edge of your fabric and compare its thickness to your sewing thread. For a balanced seam, the thread should be of a similar or slightly lighter weight than the fabric’s individual yarns.
As a general rule of thumb, match your thread fiber to your fabric fiber. Use polyester thread for synthetic materials, poly-blends, and any fabric with stretch, such as jersey or elastane blends. Use cotton thread for natural, non-stretch woven fabrics like quilting cotton or linen. If you are working with a blended fabric, such as a poly-cotton lawn, default to all-purpose polyester thread, as its strength will support the synthetic components of the weave.
A common mistake is pairing a high-quality thread with the wrong needle size, which causes the thread to shred or break inside the needle’s eye. For standard 50wt polyester or cotton thread used on medium-weight fabrics, use a size 80/12 universal needle. If you are working with slightly lighter fabrics like cotton voile, drop down to a size 70/10 needle. The needle’s eye must be large enough for the thread to pass through freely with minimal friction, yet small enough to prevent the needle from punching large holes in your fabric.
Before you begin sewing, examine how the thread spool sits on your machine’s spindle. Modern sewing machines use either horizontal or vertical spool pins, and each requires a specific setup. For horizontal spindles, you must use a spool cap that matches the diameter of your thread spool to prevent the thread from catching on the spindle’s edges. Check the ends of your thread spool for any tiny plastic notches designed to secure the thread tail during storage. If these notches face the direction of the thread feed, the thread can snag during sewing, causing sudden tension spikes and thread breaks. Position the spool so the thread unwinds smoothly away from any notches.
Step-by-Step: Setting Up and Testing Your Thread
To ensure your thread feeds correctly through your machine, follow this physical setup and testing process step-by-step.
Step 1: Winding the Bobbin Evenly
Begin by winding your bobbin. A poorly wound bobbin is a primary cause of lower thread nesting and skipped stitches. Place your thread spool on the spindle, thread it through the bobbin-winding tension disk according to your machine’s guide, and secure it to the bobbin. Ensure the bobbin winds smoothly, tightly, and evenly from top to bottom. If the bobbin thread feels loose, spongy, or is wound unevenly like a cone, unwind it and start over; a loose bobbin will cause erratic tension during sewing.
Step 2: Threading the Upper Path
When threading the upper path of your machine, always make sure the presser foot is in the fully raised position. Raising the presser foot opens the internal tension discs, allowing the thread to slide deeply and securely between them. If you thread the machine with the presser foot down, the thread will sit on top of the discs rather than between them, resulting in a complete lack of upper tension and massive thread tangles beneath your fabric.
Step 3: Drawing Up the Bobbin Thread
Once both the upper path and the bobbin are threaded, you must bring the bobbin thread up to the needle plate surface. Hold the tail of the needle thread gently with your left hand. Using your right hand, turn the hand-wheel slowly toward you (never turn it away from you, as this can disrupt the machine’s timing) until the needle goes fully down and comes back up to its highest point. Gently pull the needle thread tail; it will pull up a loop of the bobbin thread. Use a pair of scissors or a pin to sweep the loop out, and pull both thread tails straight back under the presser foot.
Step 4: The Scrap Fabric Test
Never start sewing directly on your actual project pieces. Cut a small scrap of the same fabric you plan to use, fold it in half to simulate a double-layer seam, and place it under the presser foot. Lower the presser foot and sew a straight line for about three to four inches. Maintain a steady, moderate speed, allowing the machine’s feed dogs to pull the fabric naturally without pushing or pulling it with your hands.
Verification Method
Remove the scrap fabric from the machine and inspect the stitches closely. A perfectly balanced stitch looks identical on both the top and bottom of the fabric. The upper and lower threads should lock together precisely in the middle of the two fabric layers. If you see loops of the top thread on the underside of the fabric, your upper tension is too loose. If you see loops of the bobbin thread on the top of the fabric, your upper tension is too tight. Adjust your tension dial by small half-step increments and test again until the stitches are completely flat and secure.
Troubleshooting Common Thread and Tension Issues
When issues arise during your first projects, they can usually be resolved with a few simple diagnostic checks.
Thread Breaking
If your thread breaks repeatedly, do not panic. First, check your needle. A bent, blunt, or damaged needle will create friction and shred the thread. Replace the needle with a fresh one of the correct size. Next, run your finger along the needle plate and bobbin case to feel for any sharp burrs or scratches that might be catching the thread. Finally, double-check your threading path to ensure the thread has not slipped out of the take-up lever or wrapped itself around a guide pin.
Bird-Nesting (Thread Bunching Under the Fabric)
Seeing a massive, tangled nest of thread on the underside of your fabric is incredibly common for beginners. Your instinct may be to blame the bobbin, but this issue is almost always caused by a lack of tension on the upper thread. This happens when the machine is threaded with the presser foot down, or if the thread has slipped out of the take-up lever. Cut the tangled mess away, raise your presser foot, and re-thread the upper path of the machine completely.
Puckering
If your fabric gathers or puckers along the seam line, your thread tension is likely too tight, or your thread is too heavy for the fabric. Try lowering your upper tension dial slightly. If you are using a lightweight fabric, ensure you are not using a heavy-duty thread, which naturally forces the fabric to bunch up.
Stop Condition
If your machine makes a loud clunking noise, or if the fabric becomes jammed and refuses to move, stop sewing immediately. Do not force the fabric or pull it hard, as this can bend the needle, damage the feed dogs, or throw the machine’s timing out of alignment. Turn off the machine’s power, carefully cut the tangled threads beneath the needle plate, remove the fabric, and re-thread both the top and bottom of the machine from scratch.
Frequently Asked Questions (FAQ)
Can I use hand-sewing thread in a sewing machine?
Hand-sewing thread should never be used in a sewing machine. Thread designed specifically for hand sewing is often coated with a layer of wax, glaze, or starch to prevent it from twisting and tangling while you sew by hand. When run through a sewing machine, this coating quickly rubs off, gumming up the tension discs, clogging the needle eye, and leaving a sticky residue in the bobbin case that causes severe jams.
Does the color of the thread affect its quality?
For high-quality, reputable thread brands, the color of the dye does not affect the strength or performance of the thread. However, very cheap, unbranded thread multi-packs can sometimes have brittle spots in highly saturated dark dyes due to aggressive chemical processing. When selecting a thread color for a multi-colored fabric, a helpful rule of thumb is to choose a shade that matches the darkest background color of the print, as dark stitches blend in much better than light ones.
How should I store my thread in a humid climate like Singapore?
In Singapore’s hot and highly humid tropical climate, proper thread storage is essential to prevent degradation. Store your spools in airtight plastic containers or drawer organizers, ideally away from direct sunlight and away from direct drafts of air conditioning vents, which can cause rapid temperature fluctuations. While high-quality polyester thread is naturally resistant to moisture and mildew, cotton threads are highly susceptible to humidity; if left exposed, they can absorb moisture, attract dust, and become weak and brittle, leading to frequent breaks when you try to sew.
Community discussion
Share your experience or ask a question. Comments are reviewed before publication.