
Selecting the right scissors for your child’s primary school journey is crucial for both safety and skill development. As children progress from Primary 1 through Primary 6, their physical coordination, hand strength, and the complexity of their school projects change dramatically. A single pair of scissors cannot comfortably or safely span this entire developmental timeline.
To set your child up for classroom success, you must match their scissors to their specific grade level. This guide breaks down the ideal scissor specifications for Lower, Middle, and Upper Primary students in Singapore, focusing on blade length, handle ergonomics, and safety features. By understanding these milestones, you can make an informed decision that ensures comfortable and precise cutting throughout their school years.
Why Fine Motor Development Dictates Scissor Choice
The human hand undergoes significant physiological changes during childhood. In the early years of primary school, the small muscles in a child’s hand—known as the intrinsic muscles—are still developing. These muscles control the fine motor skills required to open and close scissors smoothly while steering paper with the other hand. As children grow, their hand span increases, their grip strength doubles, and their bilateral coordination becomes highly refined.
Products mentioned in this guide
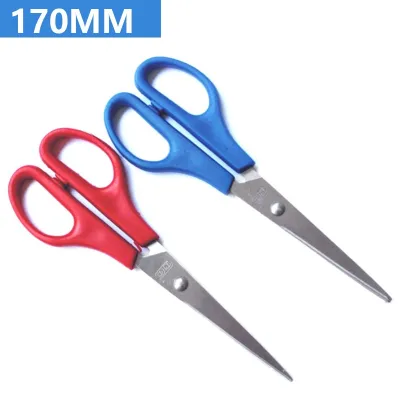
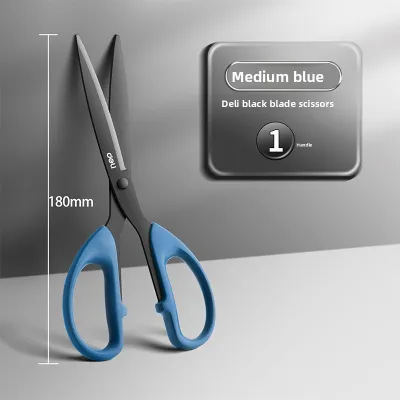
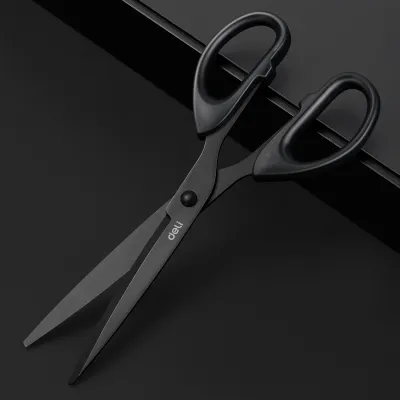
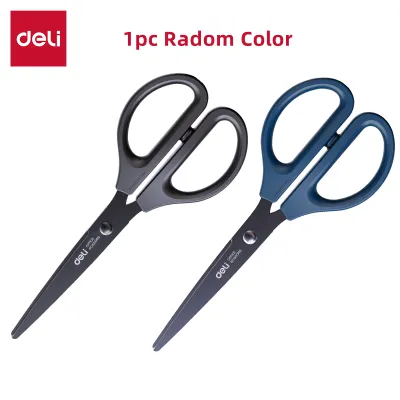
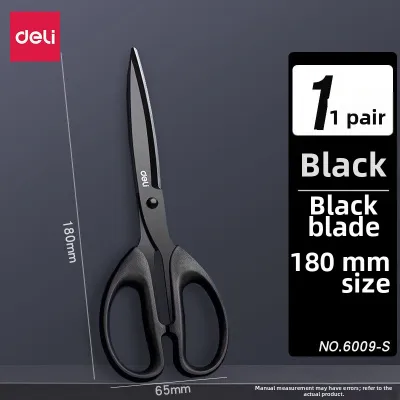
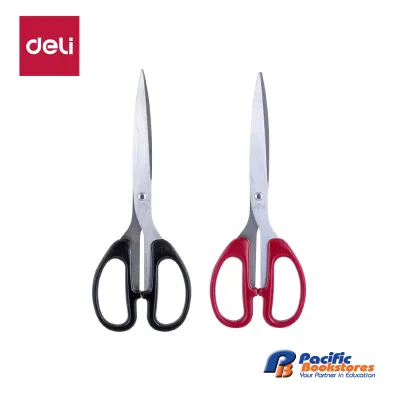
Prices are valid at publication and may change. Please refer to the product page for the latest price.
Using incorrectly sized scissors can lead to physical discomfort. If finger loops are too large, a child must splay their fingers to maintain control, causing rapid hand fatigue. If the blades are too long or heavy, the scissors become top-heavy, making it difficult to follow a straight line.
To prevent these issues, parents should use a clear decision-making framework when shopping for school stationery. This framework balances three critical dimensions: blade length, handle design, and tip shape. Evaluating these features against your child’s current physical capabilities ensures you select a tool that supports their learning.
Lower Primary (Primary 1 & 2): Prioritising Safety and Grip Support
For seven- and eight-year-olds in Primary 1 and Primary 2, the goal is safety combined with basic grip support. At this stage, students are learning basic cutting paths but still have developing hand-eye coordination.

Blunt and Rounded Tips Safety is the absolute priority. Scissors for Lower Primary students must feature blunt or rounded tips. These rounded ends significantly reduce the risk of accidental puncture wounds if a child slips or if the scissors are bumped off a crowded desk.
Size and Scale The overall length should be small, typically around 13 cm (5 inches), to match the natural hand span of a Lower Primary student. A shorter blade ensures the center of gravity remains close to the palm, preventing the tool from tipping forward and causing wrist strain.
Handle Design Look for large, symmetrical finger loops. Symmetrical handles have two identical loops, which are highly forgiving for immature grips. This design allows children to insert their thumb into one loop and two or three fingers into the other to gain maximum leverage.
Assistive Features For children struggling with hand strength, spring-assisted training scissors are highly beneficial. A small, flippable plastic lever near the pivot automatically pushes the handles back open after each squeeze, allowing the child to focus entirely on the closing motion.
Material Constraints At this level, the scissors will primarily cut lightweight materials like standard copy paper, construction paper, and thin origami sheets. The blades do not need to be razor-sharp to cut these cleanly. Always check the manufacturer’s packaging for age ratings and safety certifications.
Middle Primary (Primary 3 & 4): Transitioning to Precision and Control
By the time children reach Primary 3 and Primary 4 (ages nine to ten), their fine motor skills have advanced. They tackle more complex art and craft projects involving intricate patterns, interior cuts, and thicker materials.
Size Progression As your child’s hand grows, transition to medium-sized scissors, typically around 15 cm (6 inches) in length. This slight increase in blade length allows for longer, more efficient cutting strokes, reducing the number of snips needed to cut across paper.
Handle Ergonomics This is the ideal stage to introduce asymmetrical or contoured handles. Unlike symmetrical loops, asymmetrical scissors feature a smaller, circular loop for the thumb and a larger, elongated loop designed to fit index and middle fingers together. This ergonomic shape naturally guides the hand into a correct cutting posture, keeping the knuckles raised and the lower blade flat against the desk surface.
Tip Shape While safety remains important, fully rounded tips can make it difficult to start cuts in tight corners. Transition your child to scissors with slightly tapered or micro-blunt tips. These are pointed enough for detailed maneuvering but still lack the sharp, needle-like point of adult scissors, maintaining a sensible safety baseline.
Cutting Capacity Middle Primary projects often involve a wider variety of mediums, such as thick cardstock, laminated sheets, felt, or folded paper. The scissor pivot and blade alignment must be precise and sturdy enough to slice through these denser materials without bending or jamming. To verify this, perform an observable trial: the blades should glide smoothly against each other from pivot to tip without catching, cutting cleanly through a sheet of heavy cardstock without folding the edge.
Upper Primary (Primary 5 & 6): Standard Sizes for Complex Projects
Students in Primary 5 and Primary 6 (ages eleven and twelve) possess fine motor skills and hand sizes that are nearly fully developed. Their academic curriculum and extracurricular art programs often require high-precision cutting and the manipulation of diverse materials.
Standard Sizing For these older students, standard student scissors measuring approximately 18 cm (7 inches) are the most appropriate choice. This size provides the necessary leverage to make long, continuous, and straight cuts through large sheets of poster board or cardboard, commonly used in science fairs and school presentations.
Tip Selection At this stage, pointed tips are generally acceptable and often necessary. Pointed tips allow students to pierce the center of a sheet of paper or cardboard to initiate internal cuts without folding the material. However, before purchasing, always verify your school’s safety policies regarding pointed-tip tools, and ensure your child understands how to handle them responsibly.
Blade Quality Look for scissors equipped with high-quality, hardened stainless steel blades. Older students work with diverse materials, including fabric, thick poster board, corrugated cardboard, and plastic sheets. Low-quality blades will dull quickly under these demands, leading to jagged edges and hand strain. High-quality steel retains its edge longer and ensures clean, effortless cuts.
Durability Because older students apply significantly more force when cutting, the construction of the scissors must be robust. Look for models with a heavy-duty pivot screw or a reinforced rivet that holds the blades in perfect alignment. Avoid flimsy, all-plastic pivots that can flex or warp when cutting thick cardboard.
Essential Design Features to Verify Before Buying
Regardless of your child’s grade level, there are several critical physical and mechanical features you should inspect before making a purchase. Taking a few minutes to verify these details will ensure the scissors are comfortable, functional, and long-lasting.
Left-Handed vs. Ambidextrous If your child is left-handed, it is vital to buy true left-handed scissors rather than relying on ‘ambidextrous’ models. True left-handed scissors have the blades reversed so that the left blade is always on top, allowing a left-handed child to see the exact cutting line clearly. This configuration ensures that the natural squeezing motion of a left hand pushes the blades together. Ambidextrous scissors only feature symmetrical handle loops; the blades remain in a right-handed configuration, forcing left-handed children to peer over the blade, which often leads to the paper folding or tearing.
Pivot Mechanism Inspect the central pivot of the scissors. Test the tension by opening and closing the blades. They should glide smoothly with consistent resistance. If the pivot is too loose, the blades will wobble laterally, causing paper to bend between them rather than being cut. If the pivot is too tight, the scissors will be stiff, leading to rapid hand fatigue.
Coating and Finish Consider scissors with specialized blade coatings, such as non-stick or PTFE (Teflon) finishes. These coatings are highly beneficial if your child frequently works with sticky tape, glue sticks, or adhesive-backed foam. The coating prevents sticky residue from building up on the blades, which can gum up the mechanism and ruin cuts.
Weight and Balance Have your child hold the scissors in their hand before buying. The weight should feel evenly distributed between the handles and the blades. If the blades feel too heavy, the child’s wrist will naturally bend downward, leading to poor cutting posture and fatigue.
Maintenance and Safe Handling Practices for Students
To extend the lifespan of your child’s scissors and ensure they remain safe to use in the classroom, teach them basic maintenance and handling routines. These simple habits prevent premature wear and protect both your child and their classmates.
Cleaning Instruct your child to wipe the blades with a dry or slightly damp cloth after using sticky materials like tape or glue. If the scissors require a deeper clean, wash them with a small amount of mild soap and water, but dry them immediately and thoroughly. Never submerge the scissors in water or leave them wet, as moisture trapped in the pivot area can quickly lead to rust and stiffness.
Usage Boundaries Remind your child that school scissors are designed specifically for paper, cardboard, and approved craft materials. They should never be used to cut hard objects such as metal wire, staples, paperclips, or thick plastic packaging. Attempting to cut these items will nick the blades, ruin the alignment, and render the scissors useless for paper.
Safe Handling Reinforce standard classroom safety protocols. When passing scissors, the student should always close the blades, grip the closed blade end in their palm, and offer the handles to the recipient. When walking with scissors, they should hold them pointing downward at their side. Finally, scissors should always be stored with the blades closed, preferably inside a protective sheath or a dedicated compartment in their pencil case.
Frequently Asked Questions (FAQ)
Do left-handed children need special scissors?
Yes, left-handed children absolutely need true left-handed scissors. On a pair of true left-handed scissors, the blades are reversed so that the left blade is always on top, which gives the left-handed user a clear line of sight to the cutting line. Standard and ‘ambidextrous’ scissors have the right blade on top, which blocks a left-handed child’s view of the line and forces them to cut at an awkward angle. Furthermore, the natural squeezing motion of a left hand pushes the blades of a left-handed pair together for a clean cut, whereas it pulls the blades of a right-handed pair apart, causing the paper to bend and tear.
How often should I replace my child's school scissors?
You do not need to replace your child’s scissors on a fixed annual schedule; instead, monitor them for physical signs of wear and tear. Replace the scissors immediately if the blades no longer meet evenly, if there is visible rust near the pivot that makes opening them difficult, or if the plastic handles show signs of cracking. An excellent observable test is to cut a single sheet of standard copy paper: if the scissors tear or fold the paper instead of slicing through it cleanly, or if the pivot screw has loosened to the point where the blades wobble laterally, it is time for a replacement.
Community discussion
Share your experience or ask a question. Comments are reviewed before publication.