
Choosing the right sashiko thread is the most critical decision you will make when preparing for your first Japanese embroidery project. Unlike standard sewing or embroidery projects where threads are designed to blend in or offer a subtle sheen, sashiko relies on a highly specific thread structure to create its signature bold, geometric patterns. To achieve the classic, raised stitch definition without distorting your fabric, you must match the weight of your thread to the thickness of your background material, select colors that provide clear visual contrast, and verify that the thread has the correct traditional twist.
Sashiko thread is fundamentally different from standard embroidery supplies found in most craft shops. It is a matte, non-divisible cotton thread engineered specifically to withstand the friction of being pulled through multiple layers of fabric. By understanding the core pillars of thread selection—weight, color contrast, and material quality—you can avoid common beginner pitfalls such as fabric puckering, thread breakage, and muddy-looking designs. Before committing to a large project, executing a simple test swatch with your chosen combination will ensure a smooth, enjoyable stitching experience.
Understanding Sashiko Thread Basics
To select the right supplies, you must first understand what makes authentic sashiko thread unique. Genuine sashiko thread is almost always made from 100% matte cotton. This material choice is highly intentional; cotton fibers provide the exact amount of natural friction required to grip the fabric weave, keeping your stitches securely in place over time without slipping or loosening. Unlike modern sewing threads, sashiko thread does not undergo mercerization, a chemical process that adds a high-gloss sheen. Instead, it retains a soft, matte finish that allows the stitches to sit gently on top of the fabric, creating the traditional, rustic appearance characteristic of folk textiles.
Products mentioned in this guide
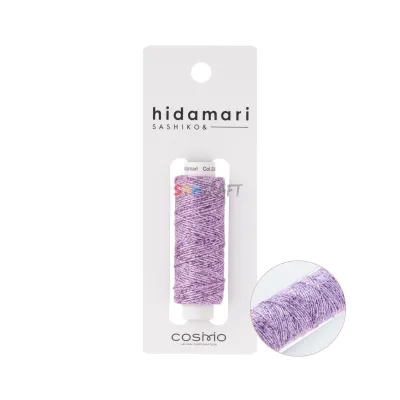
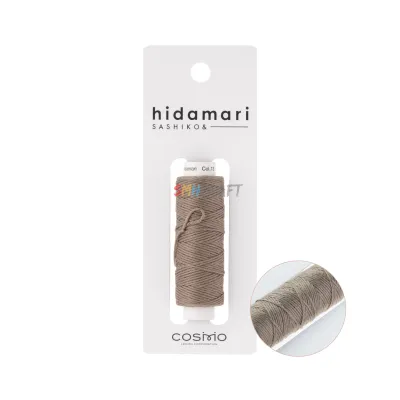
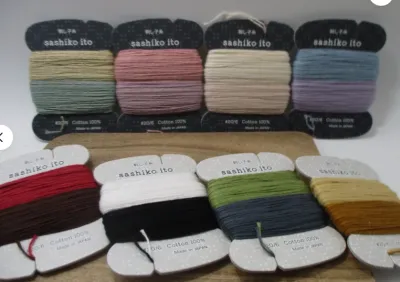
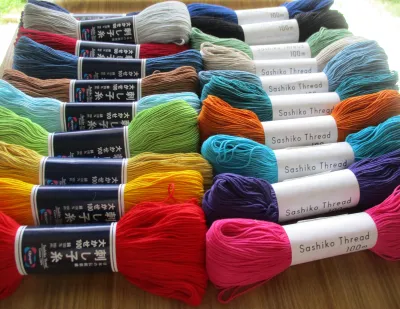
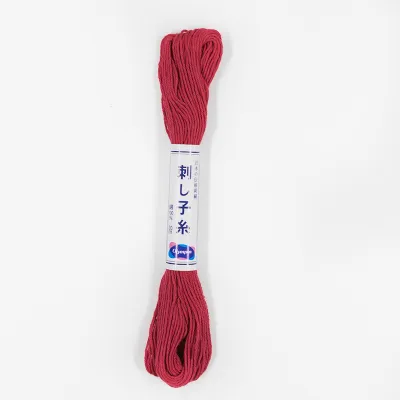
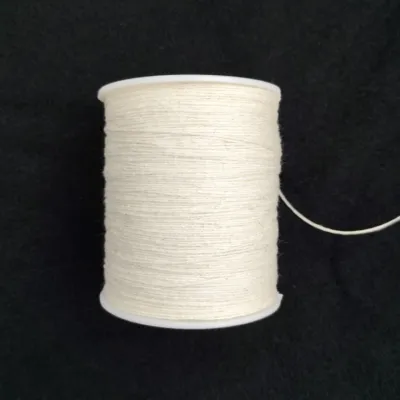
Prices are valid at publication and may change. Please refer to the product page for the latest price.
The defining structural characteristic of sashiko thread is its tight, multi-strand twist. Standard embroidery floss is designed to be split into individual strands depending on the desired thickness of the line. In contrast, sashiko thread is non-divisible; it is spun as a single, cohesive cord composed of multiple fine threads twisted tightly together. This unique construction prevents the thread from separating or shredding as you pull long lengths through dense fabric. Attempting to split sashiko thread will ruin its structural integrity and cause it to unravel during use.
When sourcing your supplies, reading the product packaging carefully will help you identify authentic thread. Look for labels that explicitly state “sashiko” or “sashiko-ito” (the Japanese term for sashiko thread). The label should confirm the fiber content is 100% cotton and will often list the thread length in meters. While some imported labels may not have extensive English translations, you can verify the thread type visually by looking for a matte, rope-like strand that cannot be easily separated into smaller plies.
Matching Thread Weight to Your Fabric and Design
Selecting the correct thread weight requires a careful assessment of your background fabric. The general rule of thumb is to match the weight of your thread to the weight and weave of your fabric. If you are working with heavy, dense materials such as denim, canvas, or thick linen, you will need a thicker sashiko thread. A thin thread used on heavy denim will sink into the fabric structure and virtually disappear, losing the bold visual impact that defines the craft. Conversely, using a thick, heavy thread on lightweight quilting cotton will crowd the weave, causing the fabric to bunch up and distort.

The complexity and scale of your chosen pattern also dictate the ideal thread thickness. For large, open geometric designs with long, straight stitches—such as the classic asanoha (hemp leaf) pattern—a medium-to-heavy thread is highly effective because it creates strong, defined lines that stand out from a distance. If you are tackling highly intricate, dense, or curved motifs where stitches are small and closely packed, a fine or thin thread is necessary. Fine thread allows you to navigate tight corners and detailed intersections without creating bulky, overlapping knots on the underside of your work.
To ensure your thread and fabric are compatible, perform a quick visual and tactile check. Lay a strand of the thread across your fabric sample; it should rest clearly on the surface, appearing distinct but not overly dominant. Gently press the thread into the fabric to see if it sinks entirely out of sight. The ideal pairing allows the thread to sit proudly on the fabric surface, resembling a neat row of raised seeds once stitched, without causing the surrounding fabric to warp or pull.
You should establish clear stop conditions during your selection process. If you find that you must pull the needle with significant physical force to pass the thread through the fabric, or if the fabric puckers instantly even when you leave a loose loop at the corners, stop immediately. These are clear indicators that the thread is too thick for the fabric’s weave, or that your needle eye is too small, creating excessive resistance. Continuing with this combination will lead to hand fatigue, shredded thread, and a distorted final piece.
Selecting Colors for Traditional and Modern Projects
Color selection in sashiko is not merely an aesthetic choice; it also serves a practical purpose for beginners. Traditional sashiko relies on a high-contrast color palette, most famously featuring bright white or natural ecru thread stitched onto deep indigo-dyed cotton or dark navy blue fabric. This stark contrast was historically born out of necessity, as indigo was the most accessible dye for reinforcing and patching workwear. Today, this classic combination remains highly popular because it beautifully emphasizes the geometric precision of the patterns.
Modern sashiko has expanded to include a vast spectrum of colors, from soft pastels and bright primary tones to variegated threads that change color gradually along the strand. When planning a modern project, you can experiment freely with these contemporary options, but you must still prioritize contrast. For example, if you choose a light grey linen background, pairing it with a dark charcoal or vibrant coral thread will ensure your stitches remain highly visible. Avoid pairing low-contrast combinations, such as medium blue thread on medium blue fabric, as the pattern will become lost to the eye.
For your very first project, choosing a high-contrast color combination offers a significant learning advantage. When your thread stands out sharply against the background, you can easily monitor your stitch consistency. You will be able to see at a glance if your stitches are of equal length, if the spaces between them are uniform, and if your lines are straight. This high visibility allows you to catch mistakes early, pull out incorrect stitches easily, and build the muscle memory needed for consistent tension.
Evaluating Thread Quality and Beginner-Friendly Options
As a beginner, evaluating the quality of your thread before you begin stitching will save you from immense frustration. High-quality sashiko thread should have a consistent thickness throughout the entire skein, with a smooth surface that exhibits minimal fuzziness. Run a length of thread between your fingers; it should feel firm, round, and strong. If you notice significant variations in thickness, loose plies, or excessive fuzz, the thread is likely poorly spun and will be prone to snagging, tangling, and breaking under tension.
Colorfastness is another critical quality indicator to verify, especially if you plan to wash your finished project. Because traditional sashiko dyes and some vibrant modern pigments can bleed, high-quality threads are processed to minimize dye transfer. Check the product packaging for care instructions or colorfastness guarantees. If you are pairing a dark or highly saturated thread with a light-colored fabric, always perform a quick home test: wet a small snippet of the thread, place it between two layers of white paper towel, and press it with a warm iron. If any color transfers to the paper, you will need to pre-wash the thread or choose a different color combination to prevent ruining your fabric.
For your first venture into sashiko, purchasing small skeins or multi-color sample packs is highly recommended over buying large bulk cones. Sample packs allow you to test various thread weights and colors on different scrap fabrics without a significant financial commitment. This hands-on experimentation helps you discover which thread thickness feels most comfortable in your hand and glides most smoothly through your preferred fabrics, allowing you to make informed decisions for future, larger-scale projects.
Step-by-Step: Preparing and Testing Your Thread Before Stitching
Before you begin stitching your actual project, taking the time to properly prepare your thread and run a test swatch will guarantee success. Follow these steps to set up your materials correctly:
- Cut a manageable thread length: Avoid the temptation to work with exceptionally long strands of thread to avoid re-threading. A strand that is too long will twist, knot, and wear down from the friction of repeatedly passing through the fabric. Cut a length equal to your arm span—roughly 50 to 60 centimeters. This length is comfortable to pull and minimizes wear on the cotton fibers.
- Thread your needle correctly: Use a dedicated sashiko needle with a long shaft and a large, oval eye. Gently pinch the end of your cut thread between your thumb and forefinger, slide the eye of the needle over the pinched thread, and pull it through. The thread should slide through the eye easily; if you must force it, the needle eye is too small and will strip the thread's outer fibers during stitching.
- Prepare a test swatch: Take a small scrap of your project fabric, ideally using the same number of layers you plan to use for your final piece. Draw a few straight lines on the scrap using a water-soluble fabric marker.
- Stitch the test line: Practice the traditional sashiko stitching method by loading multiple stitches onto your needle before pulling the thread through. Keep your hand relaxed and maintain a steady rhythm.
- Assess the tension and stitch definition: Once you pull the thread through, flatten the fabric completely. Check if the fabric puckers at the ends of the line. If it does, gently stretch the fabric to release the tension, and remember to leave a small loop of thread on the underside when turning corners.
- Make necessary adjustments: If the thread looks too thin and disappears, switch to a heavier weight. If the needle is difficult to pull or leaves large, visible holes in the fabric, switch to a thinner thread or a larger needle.
By systematically testing your thread on a small scale, you resolve any compatibility issues before they affect your main project, ensuring a beautiful, flat, and professional finish.
Frequently Asked Questions (FAQ)
Can I use regular embroidery floss instead of sashiko thread?
While you can technically use regular embroidery floss for practice, it is not recommended for a true sashiko project. Regular embroidery floss is mercerized to give it a shiny, lustrous finish, and it is designed to be split into individual strands. Sashiko thread is matte, non-divisible, and twisted much more tightly. Using standard embroidery floss will result in a shiny, flat look rather than the traditional raised, matte texture. Additionally, because embroidery floss is loosely twisted, it is highly prone to fraying, snagging, and tangling when pulled continuously through fabric.
Do I need to condition or wax sashiko thread before stitching?
No, you do not need to condition or wax genuine sashiko thread. Authentic sashiko thread is specifically designed to be used straight from the skein. Applying beeswax or thread conditioner can alter the natural matte texture of the cotton, make the thread overly stiff, and prevent the fibers from blooming and settling into the fabric weave when washed. The natural texture of high-quality sashiko cotton is already optimized to glide smoothly through fabric while maintaining the necessary friction to stay securely in place.
Community discussion
Share your experience or ask a question. Comments are reviewed before publication.