
Selecting the right sashiko thread is a critical decision for your first embroidery project, as it directly affects stitch visibility, fabric drape, and overall durability. Unlike standard sewing threads, sashiko thread is specifically engineered to stand out against the fabric while withstanding the friction of long, running stitches. This guide will help you match thread weight, material, and color to your chosen fabric and beginner project, ensuring a smooth and rewarding stitching experience.
For beginners, a reliable starting point is a dedicated 100% cotton sashiko thread, which is twisted to withstand the friction of being pulled through dense fabrics. Choosing the correct thread ensures that your geometric patterns remain crisp, your tension stays even, and your finished piece survives handling and washing. Whether you are crafting a small coaster or a large table runner, matching your materials from the start is the key to a successful first project.
Understanding Sashiko Thread Basics
To make an informed choice, you must first understand what makes authentic sashiko thread unique. Unlike standard sewing thread or multi-strand embroidery floss, true sashiko thread is non-divisible. This means it is designed to be used exactly as it comes off the skein, without splitting the individual plies apart. The thread is constructed from multiple fine cotton strands that are twisted together very tightly, creating a strong, cohesive cord that resists fraying even when pulled through heavy fabrics multiple times.
Products mentioned in this guide
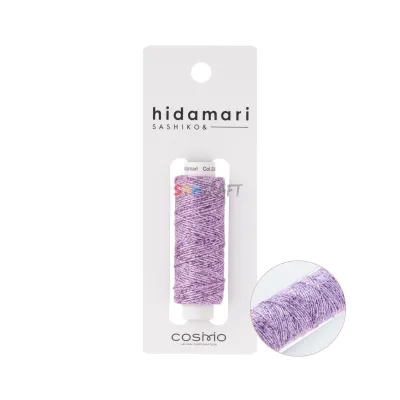
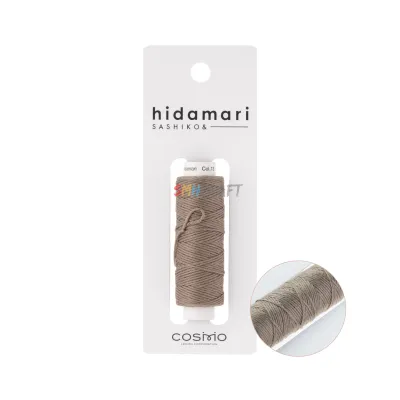
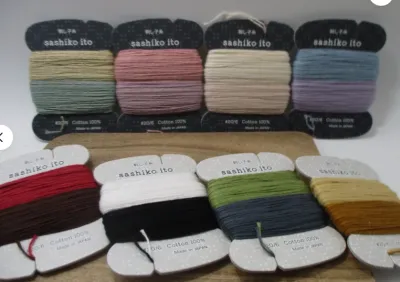
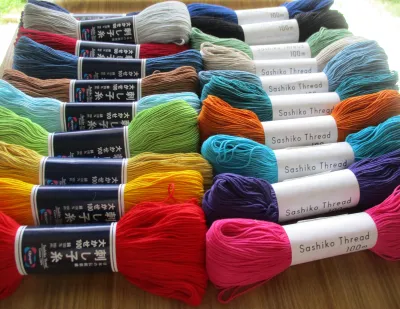
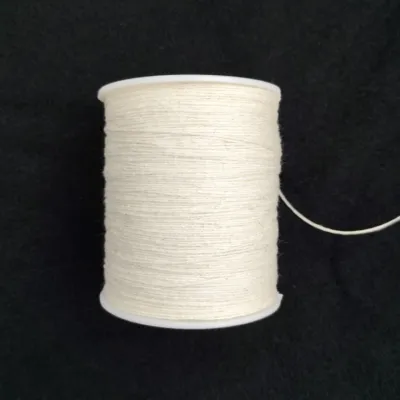
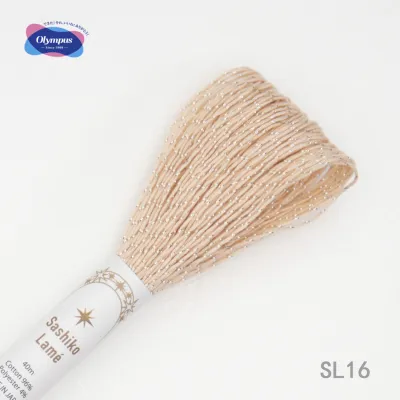
Prices are valid at publication and may change. Please refer to the product page for the latest price.
This tight, specialized twist also gives sashiko thread its characteristic matte finish. While some modern variations might feature a very subtle sheen depending on the manufacturing process, traditional options are distinctly matte. This lack of shine allows the texture of the cotton to complement the fabric, emphasizing the geometric structure of the stitches rather than reflecting light. When shopping, always check the product label to verify the material composition; high-quality sashiko thread is almost always 100% cotton, though you may occasionally find specialized synthetic blends designed for specific industrial or high-wear applications.
Matching Thread Weight to Your Fabric
Pairing the correct thread weight with your chosen fabric is essential to prevent puckering, distortion, or premature wear. Sashiko threads generally come in two primary weights: fine (often labeled as thin or light) and medium-to-thick (often labeled as heavy). The general rule of thumb is to match the thickness of the thread to the density and weave of the fabric you are stitching.

Fine sashiko threads are well suited for lightweight, tightly woven fabrics such as cotton lawn, broadcloth, or lightweight linen. If you attempt to use a thick thread on these delicate fabrics, the needle and thread will force the fabric fibers too far apart, causing unsightly puckering and making it incredibly difficult to pull the needle through. A fine thread slides smoothly through these tighter weaves, leaving clean, delicate lines of color without distorting the flat surface of the textile.
Conversely, medium to thick threads are the traditional choice for heavier, more open-weave fabrics. These include traditional sashiko cotton (which has a distinct, slightly loose weave), medium-weight linen, canvas, and lightweight denim. If you use a fine thread on these robust fabrics, the stitches will simply sink into the weave and become virtually invisible. A thicker thread fills the gaps between the fabric yarns neatly, creating the bold, raised stitches that define the classic aesthetic.
To verify if your thread and fabric are a good match before starting your project, perform a quick visual and tactile check. Thread a needle with your chosen strand and make three or four running stitches on a scrap piece of your project fabric. Pull the thread through and observe how the fabric reacts. If the fabric bunches up or if you have to strain your hand to pull the needle through, your thread is too thick or your needle is too small. If the stitches look thin, sparse, or disappear entirely when viewed from a short distance, you need a heavier thread.
Selecting Thread for Common Beginner Projects
The scale and intended use of your first project should heavily influence your thread selection. Different items experience different levels of physical wear, washing frequency, and visual scrutiny, meaning a thread that works well for a decorative wall hanging might fail on a functional kitchen accessory.
H3: Coasters and Small Pouches
Small-scale items like coasters, coin purses, and small pouches require a careful balance between detail visibility and structural durability. Because these items are small, the patterns you stitch on them will often feature tighter curves, smaller geometric grids, and more frequent directional changes. For these projects, a medium-weight sashiko thread is generally the most practical choice.
Medium-weight thread provides enough thickness to make your patterns stand out clearly on a small surface, yet it remains flexible enough to navigate tight corners and small stitches without bunching. Furthermore, items like coasters and pouches are handled constantly and subjected to regular friction. A high-quality, tightly twisted medium thread offers excellent abrasion resistance, ensuring that your hard work does not fray or snap after a few weeks of use. When stitching small items, pay close attention to your thread tension around corners; keeping the tension slightly loose prevents the corners from pulling inward and distorting the finished shape of your pouch or coaster.
H3: Table Runners and Larger Panels
For larger projects such as table runners, placemats, or decorative wall panels, your primary focus shifts to visual impact and efficiency over long distances. These projects typically feature larger, more expansive patterns where small, delicate stitches would get lost in the sheer volume of the fabric. Here, choosing a thicker sashiko thread is highly recommended.
Thicker threads create bold, graphic lines that can be easily appreciated from a distance, making them well suited for home decor items. When using a heavier thread, you must adjust your stitch length proportionally; your stitches and the spaces between them should be slightly longer than they would be with a fine thread to maintain a balanced, harmonious look. Additionally, large projects require careful planning regarding thread consumption. Because thick thread occupies more physical space, you will go through skeins much faster. Always check the length of the skeins you are purchasing and ensure you have enough of the same dye lot to complete the entire panel, as managing multiple skeins across a continuous run requires careful joining techniques to keep the back of your work neat.
Choosing Colors and Dyes for Your First Design
Selecting the color of your sashiko thread is where you can truly personalize your project, but as a beginner, some choices are much more forgiving than others. The classic sashiko combination is white or off-white thread on a deep indigo-blue fabric. This high-contrast pairing is highly recommended for beginners because it makes it incredibly easy to see your stitches, judge your stitch length consistency, and spot any tension mistakes immediately.
If you prefer a more modern aesthetic, you can experiment with low-contrast combinations, such as grey thread on charcoal fabric, or vibrant contemporary colors like coral, mustard, or forest green on neutral linen. While these combinations can look stunning, keep in mind that very low-contrast pairings make it harder to visually track your progress as you stitch, which can be challenging when you are still mastering the basic running stitch. Variegated threads, which gently transition from one color to another along the strand, are another popular option; they add beautiful, organic movement to simple geometric patterns without requiring you to change threads.
Regardless of the colors you choose, always check the product labels and manufacturer instructions for colorfastness and washing requirements. Traditional indigo-dyed threads and fabrics are prone to crocking (the transfer of dry dye via friction) and bleeding when wet. If you are pairing a dark, richly dyed thread with a light fabric, or a bright white thread with a dark indigo fabric, you must ensure the dyes are stable. To prevent dye transfer during handling and subsequent washing, look for threads labeled as colorfast, or perform a simple bleed test before you begin stitching.
Essential Tools and Preparation Steps
Before you pull your first stitch, taking the time to prepare your thread and tools properly will save you a significant amount of frustration. Sashiko requires specific needles that are quite different from standard embroidery needles. A proper sashiko needle is long, rigid, and features a large, round eye designed to accommodate thick, non-divisible cotton thread without pinching it. The needle should be sharp enough to pierce dense fabrics easily, and its shaft should be slightly thicker than the thread itself to clear a path through the fabric, reducing friction on the thread.
When preparing your thread, avoid the temptation to work with very long strands. While it might seem convenient to cut a long piece to avoid re-threading, long strands are subjected to excessive friction as they pass through the fabric repeatedly. This friction wears down the cotton fibers, causing the thread to fray, lose its twist, and eventually snap. A good rule of thumb is to cut your thread to a length no longer than the distance from your fingertips to your elbow. This manageable length keeps the thread strong and smooth from the first stitch to the last.
Threading a thick sashiko thread can sometimes be tricky. Instead of trying to push the raw end of the thread through the eye, fold the thread tightly over the needle tip, pinch the folded loop firmly between your thumb and forefinger, slide the needle out, and push the compressed loop through the needle eye. When starting your first line of stitching, avoid using bulky knots, which can create lumps on the surface of your project. Instead, practice traditional methods such as stitching over your thread tail for the first few stitches, or leaving a loose tail on the back of the fabric to be woven in later.
Troubleshooting Common Thread Issues
Even with careful preparation, you may encounter a few minor issues as you practice your sashiko stitches. Fraying or breaking is one of the most common problems beginners face. If you notice your thread starting to look fuzzy or splitting near the needle eye, your thread may be too long, or your needle eye might have a sharp internal burr. Try cutting shorter lengths of thread, and inspect your needle to ensure it is smooth. If the issue persists, consider switching to a slightly larger needle that creates a wider hole in the fabric, allowing the thread to pass through with less resistance.
Another frequent issue is uneven stitches or fabric puckering. This is almost always a result of incorrect thread tension. Unlike standard sewing, where the thread is pulled taut, sashiko thread needs to sit relaxed within the fabric. If you pull the thread too tight, the fabric will bunch up and refuse to lie flat. To fix this, gently stretch your fabric diagonally and horizontally after every line of stitching to distribute the thread evenly. Always leave a small, loose loop of thread (called a turning loop) on the back of the fabric whenever you change directions or turn a corner; this extra slack prevents the fabric from puckering when it is washed or handled.
Finally, if you find your thread twisting and knotting up on itself as you stitch, it is likely due to the natural twist of the cotton reacting to your hand movements. Every few stitches, let your needle hang freely from the thread for a few seconds to allow the twists to unravel naturally. Working with shorter strands and pulling the needle straight through the fabric, rather than at an angle, will also significantly reduce twisting and keep your stitching process smooth and enjoyable.
Frequently Asked Questions (FAQ)
Can I use regular embroidery floss instead of sashiko thread?
While you can use regular embroidery floss as a temporary substitute for practice, it behaves very differently from true sashiko thread. Standard embroidery floss is divisible, meaning it is designed to be split into individual strands, and it typically has a high-sheen, mercerised finish. Because the strands are loosely twisted, embroidery floss is much more prone to snagging, fraying, and splitting under the friction of the long running stitches used in sashiko. Additionally, the glossy finish of embroidery floss lacks the traditional, rustic matte appearance that defines authentic sashiko work. If you do choose to use floss, keep your strands short and avoid splitting them to maintain as much structural integrity as possible.
Do I need to pre-wash sashiko thread before stitching?
Whether you need to pre-wash your sashiko thread depends entirely on the manufacturer’s specifications and the materials you are using. Always check the care instructions on the thread packaging first. If you are using pre-washed fabric alongside non-colorfast thread, there is a high risk that the thread will shrink or bleed color onto your fabric during its first wash. If the label does not specify colorfastness, you can test it by cutting a small piece of the thread, wetting it with warm water, and pressing it firmly between two pieces of white paper towel. If any dye transfers to the paper towel, you should pre-wash the thread skein gently in cool water and let it dry completely before starting your project to prevent future bleeding.
Community discussion
Share your experience or ask a question. Comments are reviewed before publication.