
Finding the right needle threader can transform your sewing experience from a test of patience into a smooth, efficient process. Whether you are hand-sewing a delicate hem, working on intricate embroidery, or setting up a sewing machine, the physical act of threading a needle requires a combination of visual clarity and fine motor control. Choosing the correct tool depends on your specific projects, the needles you use, and your physical comfort during repetitive tasks.
Assess Your Sewing Needs and Dexterity
Before selecting a needle threader, evaluate your typical sewing environment, your vision clarity, and your hand stability. Threading a needle requires aligning a microscopic opening with a flexible strand of thread, which can quickly strain your eyes and hands. If you experience hand fatigue, tremors, or joint stiffness, standard manual threading methods can become frustrating obstacles. Identifying these physical comfort levels early helps narrow down the style of tool that will most effectively support your crafting.
Next, consider the specific needles and threads that dominate your sewing basket. Fine sharps used for delicate hand-sewing have incredibly narrow eyes that require ultra-thin threading wires. Conversely, tapestry needles, crewel needles, or darning needles feature larger eyes designed for thick wool or embroidery floss, which demand sturdier threading hooks. Matching the tool to your needle inventory prevents damage to both the threader and your sewing supplies.
Products mentioned in this guide
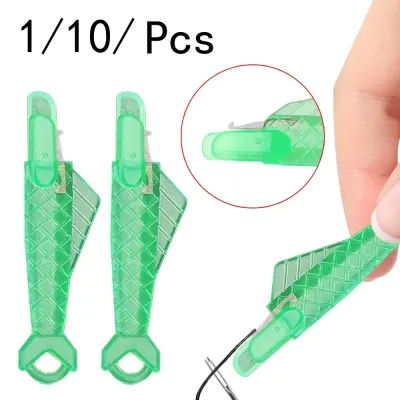
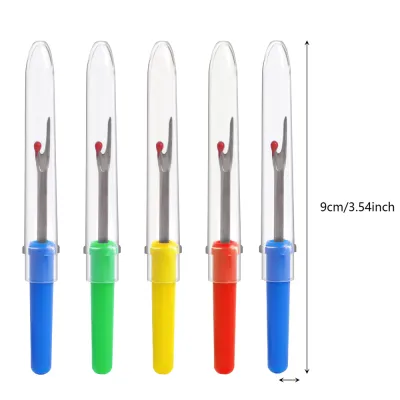
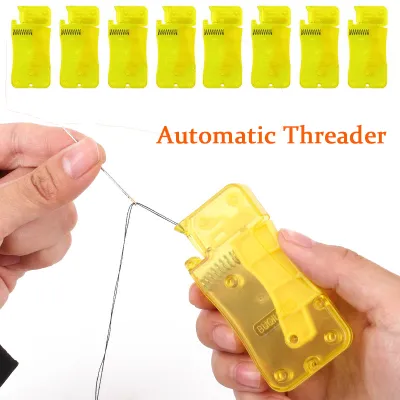
Prices are valid at publication and may change. Please refer to the product page for the latest price.
Your overall usage frequency also plays a major role in this decision. An occasional mender who only needs to sew a fallen button once a year may be fully satisfied with a simple, inexpensive wire loop. However, daily quilters, active embroiderers, or garment makers will benefit from investing in a more durable, ergonomic, or semi-automatic desktop device that streamlines the preparation process and reduces repetitive strain.
Compare Needle Threader Types by Function
Different needle threaders utilize distinct mechanical designs to guide thread through a needle eye. Understanding how these mechanisms operate allows you to select a tool that matches your physical dexterity and project requirements.

Wire and Manual Threaders
Traditional wire loop threaders are the most common and widely available tools in sewing kits. They feature a thin, flexible wire folded into a diamond shape, which easily compresses to pass through tiny needle eyes. While highly versatile and inexpensive, these fine wires are inherently fragile and can easily snap or pull free from their metal tabs if forced through an eye that is too small.
Flat manual threaders offer a sturdier alternative to delicate wire loops. These tools are typically made of thin, rigid sheet metal or plastic with tiny hooks cut into the ends. Because they do not bend or compress like wire, they are highly durable and excellent for medium to large needles. However, their thicker profile means they cannot fit into the smallest needle eyes, making them less suitable for fine beadwork or delicate hand-sewing.
Automatic and Desktop Threaders
Desktop automatic threaders provide a highly stable, hands-free solution for threading hand-sewing needles. You place the needle eye-down into a designated slot, lay the thread across a guide, and press a lever to push the thread through the eye. These devices are incredibly convenient and reduce eye strain, though they require a flat surface and are generally limited to specific ranges of needle sizes specified by the manufacturer.
Handheld automatic threaders offer portability but come with mechanical trade-offs. Some models rely on internal springs or battery-powered mechanisms to push a tiny hook through the needle eye. While they save time, these devices can be prone to mechanical jamming if the needle is not precisely aligned. They also require careful handling to avoid bending the internal mechanism, and battery-dependent versions require ongoing maintenance.
Ergonomic and Specialty Threaders
Ergonomic threaders are designed specifically for users who experience hand pain, arthritis, or limited grip strength. These tools feature oversized, contoured handles made of soft rubber or textured plastic, making them much easier to grasp and manipulate than tiny metal tabs. The larger handle provides better leverage and control, reducing the fine motor precision needed to align the tool with the needle eye.
Specialty threaders cater to heavy-duty crafts that use thick materials like yarn, embroidery floss, or elastic. These tools often feature wide slots, large rigid hooks, or flexible plastic loops instead of fine wire. They are built to withstand the tension of pulling bulky, multi-strand threads through large tapestry or darning needles without fraying the fibers or bending the tool out of shape.
Match the Threader to Your Needle and Thread
To ensure a seamless sewing experience, always verify the compatibility of your threader with your specific needles and threads before starting a project. Begin by checking the size of the threader’s wire or hook against the dimensions of your needle eye. Forcing a threader that is too large into a small needle eye will stretch the wire, bend the hook, or even break the needle itself. Many manufacturers list compatible needle sizes on their packaging, which serves as an excellent starting point.
Next, evaluate the thickness of your thread in relation to the threader’s channel or loop. The thread must fit comfortably alongside the wire or hook inside the needle eye during the threading process. If the thread is too thick for the channel, it can snag, fray, or get stuck halfway through, leading to wasted material and broken tools. For delicate or slippery threads, a smooth wire loop is often gentler than a rigid metal hook.
Finally, pay close attention to specialty threads, such as metallic, elastic, or textured embroidery threads. These materials behave differently under tension and may catch on rough metal edges. Check the manufacturer labels on both your thread and your threader to confirm compatibility. When working with delicate or unusual materials, performing a gentle manual test on a spare needle can help you verify that the thread slides through smoothly without catching.
When to Upgrade or Replace Your Current Threader
Even high-quality sewing tools eventually wear out with regular use, and recognizing the signs of failure can save you from mid-project frustration. Inspect your manual threaders regularly for physical signs of wear, such as bent or loose wires, cracked plastic handles, or misshapen hooks. If a wire loop begins to pull away from its base or shows a sharp kink, it is highly likely to snap during your next project and should be replaced immediately.
For automatic and desktop models, look out for signs of mechanical resistance or misalignment. If the lever requires excessive force to press, or if the internal hook consistently misses the needle eye, the mechanism may be jammed or bent. Attempting to force a malfunctioning automatic threader can permanently damage the internal components or ruin your sewing needles.
Changes in your personal sewing habits or physical comfort are also excellent reasons to upgrade your tools. If you find yourself taking on projects with finer fabrics, or if hand fatigue is making your usual wire threader difficult to use, upgrading to an ergonomic or desktop model can restore comfort to your craft. Adapting your tools to your current physical needs ensures that sewing remains an enjoyable and pain-free activity.
Frequently Asked Questions (FAQ)
Can one needle threader work for all needle sizes?
No single needle threader can safely accommodate every needle size due to the vast differences in needle eye dimensions. A fine wire threader designed for tiny quilting needles will be too delicate and short for thick tapestry needles, while a sturdy hook designed for yarn will not fit through the eye of a standard hand-sewing needle. To avoid damaging your tools and needles, check the manufacturer’s specifications to ensure your threader matches the specific size range of your needles.
Why does my wire needle threader keep breaking?
Wire needle threaders usually break because the wire loop is forced through a needle eye that is too small, or because the thread is pulled too forcefully through the eye. When the wire is compressed too tightly or caught on the metal edges of the needle, the tension snaps the solder joint at the base. If you find that fine motor control makes it difficult to align wire threaders without bending them, switching to a rigid manual hook or an automatic desktop threader can provide a more durable solution.
Community discussion
Share your experience or ask a question. Comments are reviewed before publication.