
Selecting the right needle for sewing is one of the most critical decisions you will make when starting a new textile project. To choose the perfect needle, you must match the needle type to your specific technique—such as mending, quilting, or decorative stitching—and pair its thickness with the weight of your fabric and thread. Using the correct needle ensures smooth stitching, prevents fabric puckering, and protects your thread from fraying or breaking.
For beginners, walking into a craft store can feel overwhelming due to the sheer variety of options available. However, once you understand how needle anatomy, sizing systems, and fabric interactions work, selecting the ideal tool becomes a straightforward, logical process. This guide will walk you through everything you need to know to make your first sewing or embroidery project a frustration-free success.
Understanding Needle Anatomy and Sizing Systems
Every hand sewing needle is a precision tool engineered for specific tasks. To understand how they differ, you must first become familiar with the three primary parts of a needle: the eye, the shaft, and the point. The eye is the opening at the top where the thread is inserted; its shape can range from perfectly round to long and slender. The shaft is the main body of the needle, which determines its overall thickness and strength. The point is the tip that pierces or glides through the fabric, and it can be exceptionally sharp or completely blunt.
Products mentioned in this guide
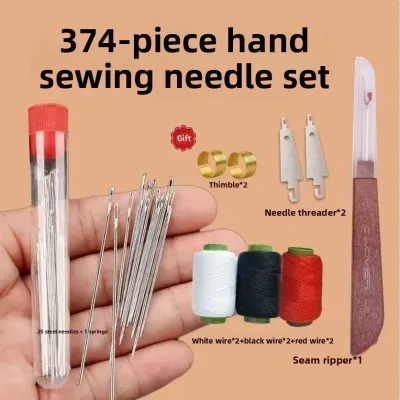
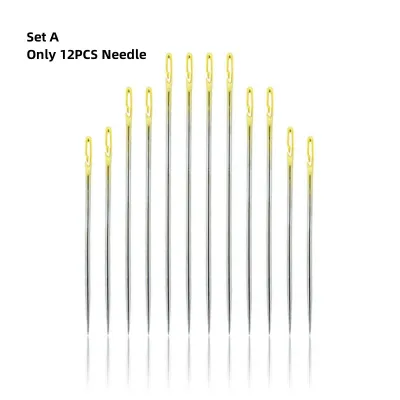
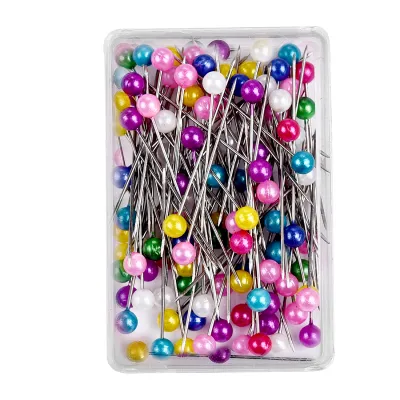
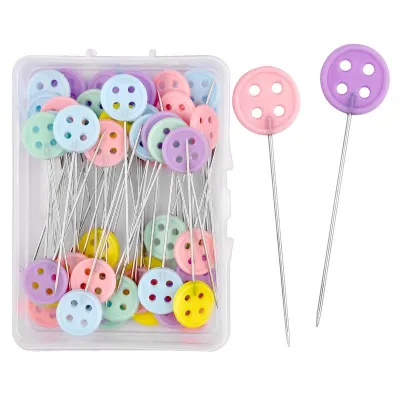
Prices are valid at publication and may change. Please refer to the product page for the latest price.
When reading needle packaging, the sizing system can initially seem counterintuitive. For hand sewing needles, a larger size number indicates a finer, thinner needle, while a smaller size number indicates a thicker, heavier needle. For example, a size 12 needle is incredibly fine and delicate, whereas a size 1 needle is thick and robust. This is the exact opposite of sewing machine needle sizing, so it is vital to keep this distinction in mind when browsing the aisles.
If you inherit loose needles or find them stored without their original packaging, you can use visual and tactile methods to determine their size. Hold the mystery needle next to a known standard, or examine the eye shape under bright light to classify its type. You can also gently roll the needle on a flat surface; if the shaft wobbles or does not lie perfectly flat, the needle is bent and should be discarded. Always check the manufacturer’s specifications on new packaging to verify the exact dimensions and recommended uses before starting your work.
Additionally, consider your local environment when storing your tools. In humid climates, such as Singapore’s tropical weather, carbon steel needles can easily rust if left exposed to the air. To protect your investment, store your needles in an airtight container with a small packet of silica gel to absorb moisture, ensuring they remain smooth and rust-free for every project.
Comparing Essential Needle Types for Sewing and Embroidery
Different needle designs are tailored to handle specific fibers, thread thicknesses, and stitching techniques. Choosing the wrong type can lead to split threads, damaged fabrics, or hand fatigue.

Sharps and Betweens for General Sewing
Sharps are the traditional, all-purpose needles that every beginner should have in their sewing kit. They feature a medium-length shaft, a sharp point, and a small, round eye. Because of their balanced proportions, sharps are ideal for everyday tasks such as mending clothing, sewing seams, and constructing garments from woven fabrics like cotton or linen.
Betweens, also known as quilting needles, are significantly shorter than sharps and have a small, round eye. Their short, stiff shafts are designed to withstand high pressure without bending, allowing you to create small, highly precise stitches through multiple layers of heavy fabric or batting. They are the go-to choice for hand quilting, detailed tailoring, and fine applique work.
Embroidery and Crewel Needles for Decorative Work
Embroidery needles, which are often referred to interchangeably as crewel needles, feature a sharp point and a distinctly elongated eye. This elongated eye is specifically engineered to accommodate multiple strands of embroidery floss or thicker decorative threads without bunching or twisting.
When you perform decorative stitching, the thread must pass through the fabric repeatedly. The long eye of an embroidery needle holds the thread flatter and reduces friction as the needle passes through the textile. This design element prevents the thread from fraying, stripping, or wearing down over the course of long stitching sessions, keeping your decorative work looking clean and vibrant.
Tapestry and Chenille Needles for Thick Threads
Tapestry needles are easily recognizable by their blunt points and exceptionally large, wide eyes. These needles are designed for counted thread crafts, cross-stitch, and needlepoint on open-weave fabrics like Aida cloth or plastic canvas. Because the point is blunt, the needle slips smoothly between the woven threads of the fabric rather than piercing or splitting the fibers themselves.
Chenille needles share the thick shaft and large eye of a tapestry needle, but they feature a very sharp point. This combination makes them perfect for working with heavy yarns, thick wool threads, or silk ribbons on dense, tightly woven fabrics. The sharp point easily penetrates the heavy fabric, while the large eye allows thick, delicate specialty fibers to pass through without damage.
Matching Your Needle to Specific Fabrics and Threads
Achieving a professional finish requires balancing the physical characteristics of your fabric, your thread, and your needle. If these three components are mismatched, the quality of your stitches will suffer, and you risk ruining your materials.
Fabric weight and weave density dictate both the thickness of the needle shaft and the sharpness of the point. Fine, lightweight fabrics like silk, chiffon, or delicate cotton batiste require very thin needles (such as size 9 to 12 sharps) to prevent leaving permanent, visible holes in the weave. Conversely, heavy, dense fabrics like canvas, denim, or thick upholstery material require a sturdy, thick needle (such as size 1 to 5 sharps) that will not bend or snap under pressure.
Thread thickness must also align perfectly with the needle eye. The thread should pass through the eye smoothly with a small amount of clearance. If the eye is too small, threading will be incredibly difficult, and the constant friction will shred the thread fibers. If the eye is too large, the needle will create a hole in the fabric that is much wider than the thread, resulting in loose, unstable stitches and an untidy appearance.
To ensure a perfect match, always perform the “thread-through test” before you begin sewing. Thread your needle and hold a short length of the thread vertically. Slide the needle up and down; it should move smoothly along the thread without catching, but it should not slide so loosely that it falls off under its own weight. If you feel resistance or see the thread fibers bunching, switch to a needle with a larger eye.
Once threaded, test the needle on a scrap piece of your project fabric. Closely observe the fabric as you pull the needle through. If you notice puckering along the seam line, visible holes left behind by the needle, or snagged fibers pulling out of the weave, stop immediately. These are clear signs that your needle is either too thick, too dull, or of the incorrect point type for that specific textile.
A Step-by-Step Guide to Selecting Your First Needle for Sewing
If you are preparing to start your very first project, follow this structured, step-by-step workflow to confidently select the correct tool for the job.
- Step 1: Identify your primary task. Determine what kind of work you will be doing. If you are mending a torn seam or sewing a simple garment, look toward sharps. If you are working on decorative hand embroidery with multi-strand floss, focus on embroidery needles. For cross-stitch on canvas, select tapestry needles.
- Step 2: Assess your fabric and thread. Look at the labels on your materials or examine their physical properties. Note whether your fabric is lightweight, medium, or heavyweight, and check if your thread is fine sewing thread, multi-strand embroidery floss, or thick yarn.
- Step 3: Choose your needle type and size. Use your assessments from the previous steps to pick your needle. For example, if you are embroidering on medium-weight linen using three strands of cotton floss, select a size 7 or 8 embroidery needle. If you are hand-hemming a lightweight cotton dress, select a size 9 sharp.
- Step 4: Conduct a test on a fabric scrap. Always perform a verification test on a hidden area of your project or on a scrap piece of the identical fabric. Sew a few inches of stitches to confirm that the needle glides smoothly, the thread does not fray, and the fabric remains flat and undamaged. Adjust your needle size up or down based on these observations before working on your final piece.
Troubleshooting Common Needle Mistakes and Fabric Damage
Even with careful preparation, issues can arise during hand sewing. Recognizing the warning signs of a poor needle match will help you correct problems before they ruin your project.
Common symptoms of an incorrect needle match include thread that constantly frays or breaks at the eye, fabric that puckers tightly along your stitch line, skipped stitches, and excessive hand fatigue or finger soreness. If you find yourself struggling to push the needle through the fabric, do not force it. This resistance indicates that your needle is either too thick for the fabric weave or has become dull.
To check if a needle is damaged, run your fingertip carefully along the shaft and point, or pull the needle through a piece of scrap pantyhose. If it catches or feels rough, the needle has developed a burr or a bent tip. Dull, bent, or burred needles cannot be repaired and must be replaced immediately to protect your fabric from snags.
Always handle and dispose of damaged needles safely to prevent accidental injury. Never throw loose needles directly into the household trash. Instead, place broken or worn-out needles inside a hard, puncture-proof container—such as an empty plastic medicine bottle or a small metal tin—or wrap the sharp points securely in heavy tape before discarding them. If you encounter persistent resistance or fabric damage despite changing your needle, stop sewing and reassess your fabric, thread, and needle combination entirely.
Frequently Asked Questions (FAQ)
Can I use a sewing machine needle for hand sewing?
No, you cannot use a sewing machine needle for hand sewing. Machine needles are designed with the eye located near the sharp point rather than at the top, and they feature a thick, flattened shank meant to be clamped into a machine needle bar. These physical properties make them highly inefficient, awkward, and uncomfortable to hold and control by hand.
How often should I replace my hand sewing needle?
Rather than following a strict time-based schedule, you should replace your hand sewing needle based on its physical condition and performance. Inspect your needle regularly and swap it for a new one the moment it begins to feel dull, bends, develops rough burrs, or causes your thread to fray during use.
What is the best needle for sewing thick denim by hand?
The best needle for sewing thick denim by hand is a heavy-duty sharp needle, often sold specifically as a denim or jeans hand needle, typically in sizes 1 through 5. These needles feature a thick, reinforced shaft to prevent bending and an exceptionally sharp point to pierce dense denim fibers. For the best results and comfort, pair the needle with heavy-duty thread and use a metal or leather thimble to gain leverage when pushing through multiple fabric layers.
Community discussion
Share your experience or ask a question. Comments are reviewed before publication.