
Choosing the right magnetic wall panel for home education in Singapore requires balancing space constraints, material durability, and safety. In a typical Singaporean home, where space is highly optimized, a magnetic wall serves as a multi-functional learning hub. It combines a visual canvas for writing with a tactile surface for magnetic letters, numbers, and flashcards. To make an investment that supports your child’s development for years, you must evaluate how the panel fits your physical space, how its surface material handles tropical humidity, and how securely it mounts to your specific wall type.
By focusing on observable material specifications, structural safety, and practical verification steps, you can select a panel that remains smooth, clean, and highly receptive to educational tools. This guide provides a systematic framework to help you assess your home environment, compare surface technologies, and choose a setup tailored to your child’s learning stage.
Assessing Space and Size Requirements
Before purchasing a magnetic wall panel, you must carefully measure your available wall area and map out how the panel will integrate into your daily home life. In Singapore, where study areas are often integrated into bedrooms, living rooms, or multi-purpose corridors, every centimeter matters. Begin by measuring the width and height of the target wall, taking care to account for surrounding furniture, baseboards, light switches, and door swings. A panel that is too large may restrict room movement, while one that is too small will quickly limit your child’s writing and drawing space as they grow.
Products mentioned in this guide
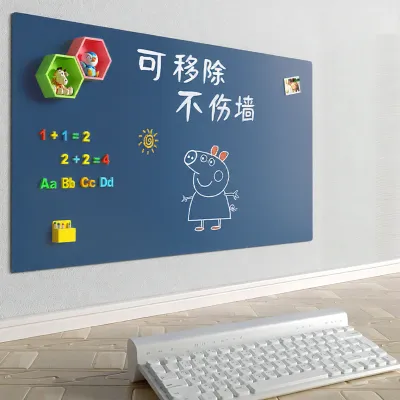
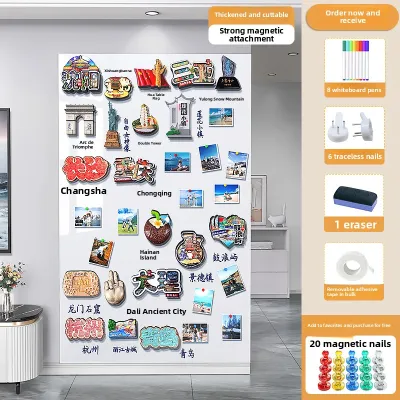
![[120*200cm] magnetic board for wall sticker thickness1.5mm magnetic whiteboard sheet wall paste on wall white board magnetic sticker magnetic wall board whiteboard wall sticker magnetic blackboard static whiteboard](https://img.lazcdn.com/g/p/214f6973963b859209661a571c927c0e.png_400x400q80.png_.webp)
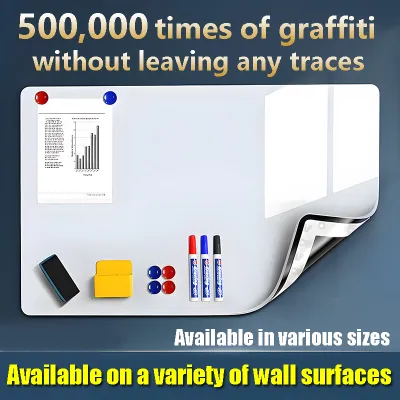
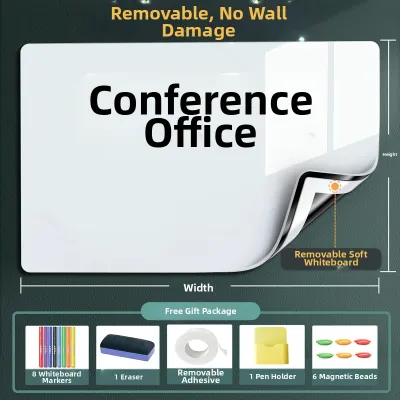
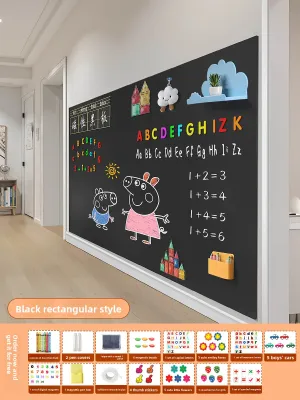
Prices are valid at publication and may change. Please refer to the product page for the latest price.
Ergonomics and physical reach are critical when determining the height and placement of the panel. For toddlers and preschoolers, the primary interactive zone should start approximately 30 to 40 centimeters from the floor, allowing them to sit or kneel comfortably while manipulating magnetic letters. For primary school children, the active writing zone shifts upward, requiring a panel that extends to their shoulder height and slightly above. Ensuring the panel covers both the lower and middle sections of the wall allows for comfortable, ergonomic interaction without straining.
Another key decision is choosing between a single large panel and a modular panel configuration. A single large panel offers a seamless, continuous writing surface that is excellent for expansive drawings, mind maps, and long math equations. However, transporting a single large steel panel up HDB or condominium lifts can be challenging, and installation requires precise alignment.
Modular panels, which typically come in smaller square or rectangular tiles, offer a highly flexible alternative. You can arrange them horizontally, vertically, or in an L-shape to fit awkward wall spaces or corners. Modular systems also allow you to start with a small setup for a toddler and expand the surface area by adding more panels as your child’s learning needs grow. This adaptability makes modular configurations highly practical for evolving Singaporean households.
Evaluating Material Quality and Surface Durability
The longevity of your magnetic wall depends heavily on its surface material. Educational environments demand a surface that can withstand daily writing, frequent erasing, and the constant friction of sliding magnetic letters. In Singapore’s warm, humid climate, low-quality surfaces are particularly prone to degrading, which leads to permanent staining and ghosting—where faint outlines of old marker ink remain visible even after cleaning.

When comparing options, you will generally encounter three primary surface materials: enamelled steel (porcelain), painted steel, and PET-coated boards. Enamelled steel represents the highest tier of durability. It features a ceramic-on-steel surface fired at extremely high temperatures, making it incredibly scratch-resistant, non-porous, and virtually immune to ghosting. Painted steel panels are a common, mid-range alternative; they offer good magnetic receptivity and a smooth writing surface, but the painted lacquer layer can scratch over time if exposed to abrasive cleaning or heavy plastic toys. PET-coated boards are lightweight, flexible, and budget-friendly, but they require high-quality dry-erase markers and regular maintenance to prevent ink staining.
To verify the quality of a panel before or immediately after purchase, check the manufacturer’s specifications for surface wear warranties and scratch-resistance ratings. You can also perform an erasability and drying speed trial on a small, inconspicuous corner of the panel. Apply a standard dry-erase whiteboard marker, wait five minutes for the ink to dry completely, and wipe it away with a dry microfiber cloth. A high-quality surface will allow the ink to wipe off cleanly in a single pass without leaving a grey smudge or shadow.
Additionally, consider marker compatibility. Standard alcohol-based dry-erase markers perform well on enamelled and painted steel, while water-based liquid chalk markers may require a damp cloth for removal. Always verify that the surface is rated for the specific ink type you plan to use to avoid damaging the protective topcoat.
Checking Magnetic Strength for Educational Tools
A common misconception is that all magnetic wall panels exhibit the same holding power. In reality, these panels are typically “magnetically receptive” sheets of steel rather than active magnets themselves. The strength of the connection depends on the thickness of the steel layer within the panel and the quality of the magnets attached to your educational tools. If the steel backing is too thin, heavy learning aids, wooden magnetic blocks, or thick flashcards will slide down the wall, leading to frustration during lessons.
Standard whiteboards designed for occasional office use often feature very thin steel backings optimized only for lightweight paper memos. For home education, you should look for high-receptivity panels specifically engineered to hold heavier manipulatives. These panels contain a higher concentration of ferrous material, providing a secure grip for a wide range of educational accessories.
To ensure your chosen panel can support your teaching tools, check the manufacturer’s guidelines for maximum weight capacity per magnet or overall surface load limits. If these specifications are unavailable, you can plan a simple, practical verification test using your existing magnetic letters.
Gather a selection of the tools you plan to use, such as plastic alphabet letters with small black ferrite magnets, full-backed flexible magnetic sheets, and heavier wooden numbers. Place them on the panel and observe their stability. If the letters slide, tilt, or fall off when the panel is gently tapped, the steel backing is likely too thin, or the magnets on your tools are too weak. For heavy educational aids, look for tools equipped with small neodymium (rare-earth) magnets, which provide a much stronger hold on vertical steel surfaces than standard flexible rubber magnets.
Installation Methods and Safety Considerations
Safety is the most critical factor when installing a heavy magnetic panel in a home with active children. A poorly secured panel poses a serious falling hazard, especially when children pull on magnets or lean against the surface. The correct installation method depends entirely on your home’s wall structure.
In Singapore, residential walls are typically constructed of solid concrete (common in HDB structural walls and bomb shelters) or drywall partitions (often found in newer condominiums or room dividers). Concrete walls require heavy-duty plastic wall plugs or masonry anchors, along with a hammer drill to create secure pilot holes. Drywall partitions, on the other hand, require specialized hollow-wall anchors, toggle bolts, or direct mounting into the internal wooden or metal studs. Standard screws driven directly into drywall without anchors will quickly loosen under the weight of a steel panel.
Before beginning installation, carefully review the manufacturer’s instructions, bracket weight limits, and required clearances. Ensure that all mounting brackets are level and securely fastened to the wall. If you are using adhesive-backed magnetic sheets or flexible rolls, keep in mind that Singapore’s high humidity can weaken adhesives over time, potentially causing the edges to peel away from the wall. For long-term safety, mechanically fastened metal panels are highly recommended over purely adhesive options.
If structural drilling is required, if the wall type is unclear, or if the weight of the panel exceeds standard DIY limits (typically around 15 to 20 kilograms), stop and consult a qualified professional handyman. Ensuring the panel is professionally anchored provides peace of mind, allowing your children to interact with the wall safely and enthusiastically.
Building Your Shortlist: Matching Panels to Learning Stages
To narrow down your choices, it is helpful to match the specifications of the magnetic wall panel to your child’s current developmental stage and educational needs. This conditional framework ensures you do not overspend on unnecessary features while securing the essential functions required for your child’s daily activities.
For the early years (toddlers and preschoolers aged one to four), the focus should be on sensory exploration, fine motor skills, and basic language introduction. At this stage, prioritize lower-height placement and highly scratch-resistant surfaces like enamelled steel, as young children are prone to hitting the board with plastic toys or using non-specified writing instruments. Look for panels with rounded corners or protective frames to prevent accidental bumps. Pair the wall with large, lightweight magnetic letters made of soft foam or food-grade silicone, ensuring there are no small, detachable magnets that could pose a choking hazard.
As your child enters primary school (ages five to twelve), their learning activities will shift toward writing practice, spelling lists, complex mathematics, and creative drawing. For this stage, prioritize a larger, continuous writing area that allows for free-flowing handwriting. Look for panels that offer excellent dry-erase performance and compatibility with fine-tip whiteboard markers, which are better suited for writing small letters and numbers. You might also consider panels with subtle grid lines or semi-permanent lined sections to help your child practice proper letter alignment and handwriting structure.
If you have a multi-child household with children of varying ages, a modular panel setup is often the most practical choice. You can create a dual-height configuration, placing one set of panels low for a toddler’s magnetic play and another set higher up for an older sibling’s homework problems. Alternatively, you can divide a single large wall into distinct zones using colorful magnetic tape, giving each child their own dedicated space for simultaneous, conflict-free learning. This adaptable approach ensures your magnetic wall remains a valuable, central educational tool in your Singapore home for many years.
Frequently Asked Questions (FAQ)
Can I use regular fridge magnets on a magnetic wall panel?
Yes, you can use regular fridge magnets on a magnetic wall panel, but their performance will vary depending on the magnet type and the panel’s steel thickness. Standard fridge magnets often use weak, flexible ferrite magnets designed to hold light sheets of paper against a thick steel refrigerator door. On a vertically mounted magnetic wall panel, which may have a thinner steel layer, these weak magnets might slide down or fail to hold thicker educational cards. For reliable educational use, it is best to use learning tools equipped with stronger neodymium magnets or full-backed magnetic sheets, which provide a much more secure grip.
How do I remove marker stains or ghosting from the panel?
To remove stubborn marker stains or ghosting without damaging the panel’s protective surface, always follow a gentle, step-by-step cleaning process. Start by wiping the surface with a dry, clean microfiber cloth. If stains persist, spray a small amount of specialized, non-abrasive whiteboard cleaner or a solution of isopropyl alcohol (70% concentration) onto the cloth—never directly onto the board—and wipe gently. For organic or water-based inks, a damp cloth with a drop of mild dish soap is often highly effective. Avoid using abrasive scrubbing pads, harsh household solvents, or chemical bleach, as these will strip away the smooth topcoat, permanently ruining the board’s erasability.
Community discussion
Share your experience or ask a question. Comments are reviewed before publication.