
Finding the right magnetic strip for your desk setup requires looking beyond basic aesthetics to understand how magnetic force interacts with your daily tools and furniture. A well-chosen magnetic strip can transform a chaotic workspace into a streamlined, highly efficient station where essential tools remain within arm’s reach. However, selecting an incompatible type can lead to frustrating drops, damaged surfaces, or underutilised space. To make an informed decision, you must evaluate the physical demands of your workspace, compare key technical specifications, and choose a mounting method that aligns with your long-term desk preservation goals.
Assess Your Desk Storage and Surface Requirements
Before purchasing any magnetic organiser, you must audit the specific items you plan to store. Grouping your desk accessories by weight and usage frequency is the most practical starting point. Lightweight items like paper clips, metal-rimmed tags, and small keys require very little magnetic pull and can easily adhere to thin, flexible magnetic tape. Medium-weight items, including standard office scissors, staplers, and metal pens, demand a more robust magnetic field to prevent them from sliding down over time. Heavy-duty tools, such as utility knives, metal rulers, or specialized crafting equipment, require thick, rigid magnetic bars with high-density magnetic cores to ensure they remain securely anchored.
Next, examine the physical layout of your desk and the surrounding walls. Measure the available flat surfaces, paying close attention to vertical spaces like the side of a filing cabinet, the inner walls of a desk hutch, or the front edge of your monitor stand. Consider the edge profiles of your desk; rounded or bevelled edges may not provide enough flat surface area for a wide magnetic strip to adhere properly. Spatial constraints also dictate the thickness of the strip you can install. If you have a slide-out keyboard tray or a monitor arm that moves across the desk surface, you must ensure the magnetic strip and the items attached to it do not obstruct these moving parts.
Products mentioned in this guide
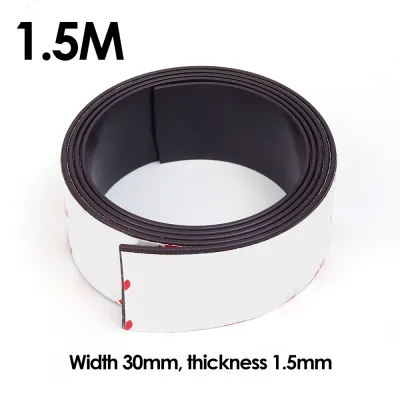
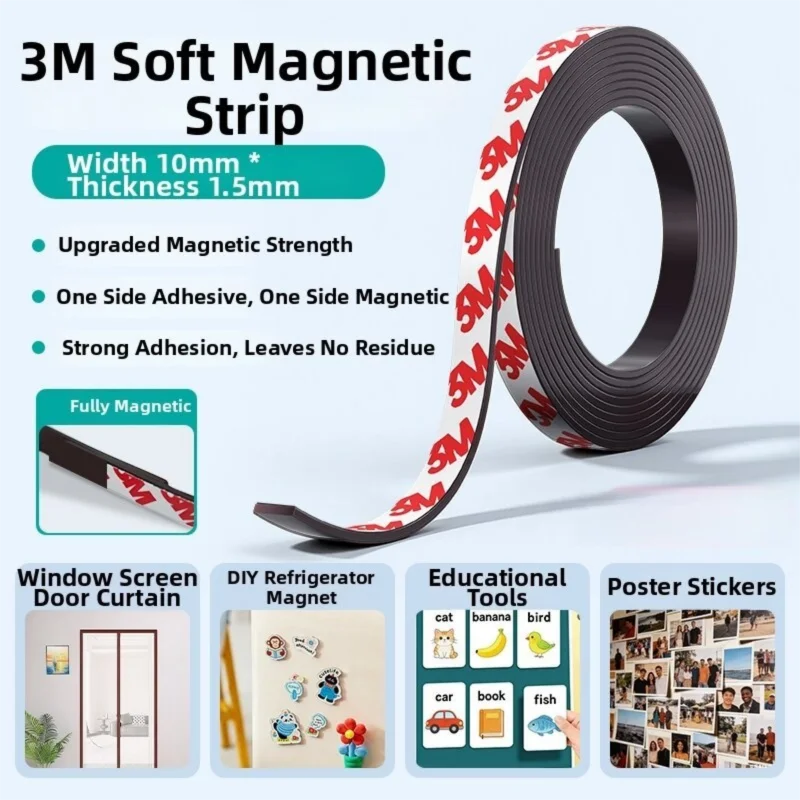
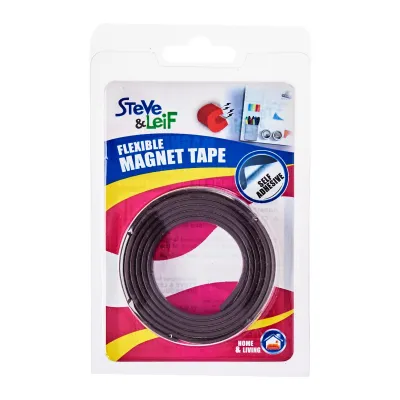
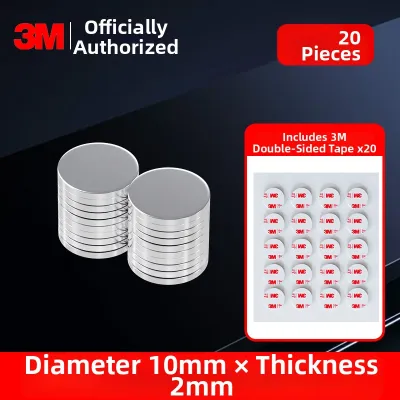
Prices are valid at publication and may change. Please refer to the product page for the latest price.
Finally, identify the exact material of your desk surface, as this directly influences how you can mount the strip. Finished wood, laminate, glass, and metal all react differently to adhesives and hardware. For instance, a solid metal desk frame might allow you to use a double-sided magnetic strip that clings to the frame without any adhesive or screws at all. Conversely, glass surfaces are highly delicate and completely incompatible with screw mounts, leaving high-bond adhesives or suction-based systems as your only viable options. Understanding these material limitations early prevents you from buying a product that cannot be safely or securely installed on your furniture.
Core Specifications to Compare Before Buying
When browsing online marketplaces or stationery stores, you will encounter various technical specifications that describe a magnetic strip’s performance. The most critical of these is the pull-force rating, which indicates the amount of force required to pull a magnet away from a flat steel plate. While manufacturers often list this rating under ideal laboratory conditions, real-world performance is usually lower due to factors like gravity, surface texture, and the specific metal composition of your tools. For vertical desk organisation, look for strips that specify a shear-force limit, which measures the resistance to sliding downward. A strip with a high pull force but low shear resistance may still allow heavy scissors to slide slowly down the wall.

Physical dimensions are equally important to compare before making a purchase. Magnetic strips are available in various lengths, widths, and thicknesses, each serving a distinct organizational purpose. A wide, flat strip provides a larger surface area, making it easier to place items onto the magnet without needing precise alignment. However, a narrower strip is much easier to tuck away under a shelf or along a slim monitor bezel. Thickness often correlates directly with magnetic strength; thicker strips usually house deeper ceramic or neodymium magnets, whereas thin strips are typically made of flexible, extruded rubber magnet material which is inherently weaker.
The casing material surrounding the magnet also plays a vital role in durability and furniture protection. Raw magnets can be brittle and prone to chipping if metal tools are repeatedly snapped against them. To prevent this, manufacturers encase magnetic strips in materials like stainless steel, durable plastics, or soft silicone rubber. A stainless steel casing offers a sleek, modern aesthetic that matches contemporary office decor, but it can scratch delicate metal tools over time. If you are organizing high-end stationery or delicate instruments, a rubber-coated or silicone-encased magnetic strip is a safer choice, as the soft exterior cushions the impact and prevents unsightly scratches on both your tools and the strip itself.
Choosing Between Adhesive and Screw-Mount Strips
The debate between adhesive and screw-mount magnetic strips centers on a trade-off between convenience and structural integrity. Adhesive-backed magnetic strips are popular because they require no specialized tools to install and leave no permanent holes in your walls or furniture. They are suitable for smooth, non-porous surfaces such as glass, laminate, polished metal, or sealed wood. If you are renting your workspace or like to frequently reconfigure your desk layout, adhesive strips offer the flexibility to change your mind. However, their holding capacity is strictly limited by the strength of the adhesive bond, which can degrade over time when exposed to humidity, temperature fluctuations, or consistent downward pulling forces.
Screw-mount magnetic strips, on the other hand, offer unmatched stability and are the standard choice for heavy-duty storage. These strips feature pre-drilled mounting holes that allow you to secure them directly into wooden desk frames, drywall, or wooden wall studs using standard screws. This mechanical connection ensures the strip will never peel away, regardless of how much weight you hang from it or how forcefully you pull items off. The primary drawback is permanence; drilling holes into a premium solid wood desk or a veneered surface permanently alters the furniture and can significantly reduce its resale value. Additionally, screw mounting requires more installation effort, including the use of a drill, level, and appropriate wall anchors if mounting to drywall.
To make the right choice, evaluate your tolerance for surface damage and the maximum weight you plan to hang. If you are only organizing lightweight metal pens, paper clips, and charging cables, a high-quality adhesive strip is more than sufficient and preserves your desk’s finish. If you plan to hang heavy tools, metal rulers, or multiple pairs of heavy scissors, a screw-mount system is recommended to prevent the strip from suddenly peeling off and dropping your items. For those seeking a middle ground, some manufacturers offer hybrid systems where a metal mounting plate is screwed into a hidden area, and the magnetic strip itself can be detached or adjusted as needed.
Matching Strip Profiles to Common Desk Scenarios
To help you visualize how these specifications apply to your daily routine, let us look at three common desk scenarios and the magnetic strip profiles that suit them best. The first scenario is a light-duty setup, typical of a home office focused on digital work with minimal physical paperwork. In this environment, you likely only need to organize small items like charging cables, keys, and paper clips. A thin, flexible, adhesive-backed magnetic tape is well-suited for this scenario. You can easily cut these strips to custom lengths with standard scissors and apply them directly to the side of your monitor, the edge of your keyboard tray, or along the base of your desk lamp to keep small metal items neatly corralled without adding bulk.
The second scenario is a medium-duty setup, common among students, writers, and administrative professionals who use a variety of physical stationery daily. Here, you need to store items like scissors, staplers, metal rulers, and multiple pens. For this setup, a rigid magnetic strip encased in plastic or anodized aluminum with a medium pull-force rating is appropriate. An adhesive mount using high-bond acrylic tape can work well here, provided the surface is thoroughly cleaned before application. This setup keeps your most frequently used tools off the flat surface of your desk, freeing up valuable writing space while keeping everything within arm’s reach.
The third scenario is a heavy-duty setup, typical of artists, crafters, hardware hobbyists, or product designers who work with heavier hand tools. In this workspace, you might need to hang heavy utility knives, pliers, metal clamps, or even small power tool accessories. This scenario demands a heavy-duty, steel-encased magnetic bar equipped with powerful ceramic or neodymium magnets. Because of the constant pulling force required to detach these heavy tools, a screw-mount installation is essential. Mounting this bar to a nearby wall stud or the solid wood frame of your workbench ensures that the strip remains rock-solid, providing a safe and efficient storage solution that can withstand years of rugged use.
Pre-Purchase Checks and Safe Installation Guidelines
Before purchasing your chosen magnetic strip, always review the manufacturer’s product guidelines for specific surface exclusions. Some adhesives do not bond well with untreated wood, textured plaster, or freshly painted walls, which can lead to premature failure. If you plan to spend around S$15 to S$30 on a premium magnetic strip, you want to ensure it will actually stick to your specific desk material. Additionally, check if the manufacturer specifies a curing time for the adhesive; many high-bond tapes require 24 to 72 hours of undisturbed contact before you can safely hang any weight from them.
When installing an adhesive magnetic strip, proper surface preparation is the key to a long-lasting bond. Start by cleaning the installation area thoroughly with isopropyl alcohol to remove any dust, finger oils, or polish residue. Avoid using household glass cleaners or soapy water, as these can leave behind a thin film that prevents the adhesive from bonding completely. Once the surface is entirely dry, peel off the protective backing, align the strip carefully using a small bubble level, and press it firmly against the surface. Apply even pressure along the entire length of the strip for at least thirty seconds to activate the pressure-sensitive adhesive, then leave it to cure for the recommended duration before attaching any metal items.
For screw-mount installations, taking a few precautionary steps will prevent you from damaging your desk or walls. Always drill pilot holes before inserting screws into wooden furniture; this relieves pressure on the wood fibers and prevents the wood from splitting or cracking. Use a drill bit that is slightly smaller than the inner shaft of your screws, and wrap a piece of tape around the drill bit to act as a depth gauge so you do not accidentally drill all the way through your desk panel. If you ever need to remove an adhesive strip in the future, apply gentle heat from a hair dryer to soften the adhesive backing, then slowly peel it away at a shallow angle. Any remaining sticky residue can be safely dissolved using a mild adhesive remover or a small amount of cooking oil, preserving the underlying finish of your desk.
Frequently Asked Questions (FAQ)
Can magnetic strips damage wooden desks?
Yes, magnetic strips can potentially damage wooden desks if they are not installed or removed with care. Adhesive-backed strips can leave behind a sticky residue that attracts dust, and if peeled off too quickly, they can lift the varnish, lacquer, or wood veneer right off the surface. Screw-mount strips cause permanent physical damage by leaving screw holes in the wood, which cannot be easily repaired without wood filler and refinishing. To protect your wooden desk, consider applying a layer of painter’s tape or a dedicated surface protector before applying adhesives, or choose to mount the magnetic strip to a nearby wall or metal desk leg instead of the wooden desktop itself.
How do I clean a magnetic strip without reducing its strength?
To clean a magnetic strip safely, use a soft, slightly damp microfiber cloth with a small amount of mild dish soap. Avoid using harsh chemical solvents, abrasive scrubbing pads, or excessive water, as these can scratch the protective casing or seep into the seams of unsealed magnetic bars. Moisture entering the casing can cause internal metal components or the magnets themselves to rust, which can eventually degrade their magnetic performance. Always dry the strip thoroughly with a clean towel immediately after wiping it down, and never submerge a magnetic strip in water.
Do I need a specific magnetic strip for holding cables?
While standard magnetic strips can hold some cables, they only work if the cable connector itself contains a magnetic metal, which is rare. To organize standard rubber or plastic charging cables, you will need to attach small metal collar clips or magnetic cable collars to the cables first. Alternatively, you can purchase specialized magnetic cable organizer strips that come packaged with matching magnetic clips designed to snap securely around your cords. This ensures a reliable hold and prevents your cables from slipping off the strip when not in use.
Community discussion
Share your experience or ask a question. Comments are reviewed before publication.