
Choosing the right light drawing board is the key to transforming your creative workflow, whether you are weeding intricate vinyl designs, aligning diamond painting drills, or tracing detailed animation cels. The ideal board matches your specific craft’s material thickness with the correct illumination level, physical size, and power setup. By focusing on how your media interacts with the light source, you can avoid eye strain and ensure clean, precise results every time.
Quick Diagnostic: Assessing Your Current Tracing and Crafting Needs
If you find yourself taping paper to a bright window, squinting under a harsh desk lamp, or struggling to see guidelines through thick cardstock, your current tracing setup is insufficient. These workarounds often lead to physical discomfort, uneven lighting, and inconsistent line work. To select the perfect light drawing board, first define your primary craft. A diamond painter requires a stable, flat surface that can support heavy canvas and adhesive sheets, while a traditional animator needs a highly responsive surface compatible with peg bars and rapid page-turning. Calligraphers and illustrators must prioritize light penetration through thick, textured papers like watercolor sheets or heavy bristol board. Your skill level also dictates the complexity of the features you need; a beginner may only require a simple, single-brightness plug-and-play model, whereas a professional designer or frequent crafter will benefit from advanced features like stepless dimming, memory settings, and high-color-accuracy LEDs.
Matching Board Dimensions and Thickness to Your Specific Craft
Selecting the physical size of your light drawing board is a balance between your typical project scale and your available workspace. Standard sizes generally follow international paper formats, making it easy to match your board to your preferred media.
Products mentioned in this guide
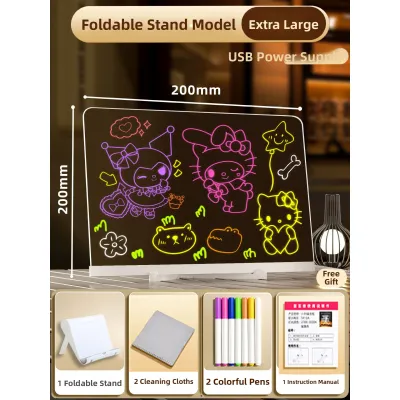
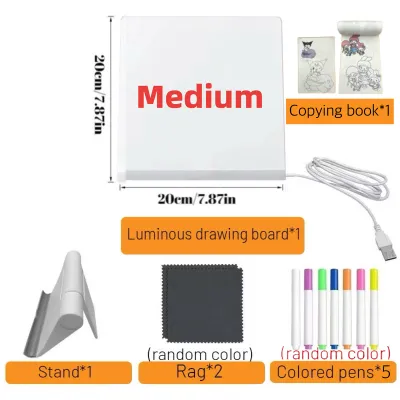
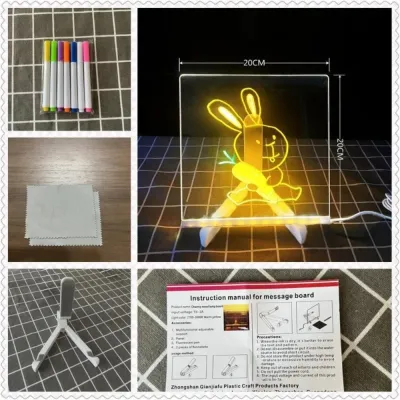
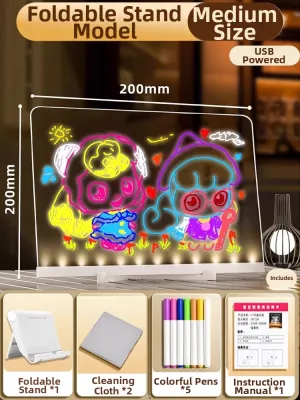
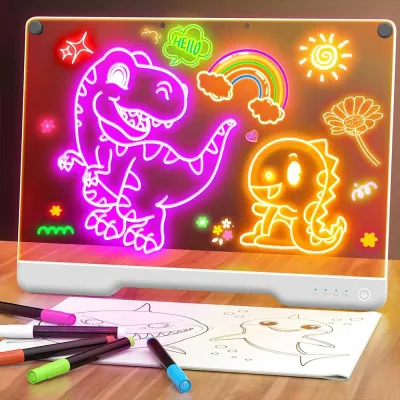
![[SG STOCK] Reusable LED Drawing Board DIY Luminous Acrylic Message Memo Note Pad Night Light Kids Writing Gift发光画板](https://img.lazcdn.com/g/p/4f49319070b36c6e7ba9cbce60944690.jpg_400x400q80.jpg_.webp)
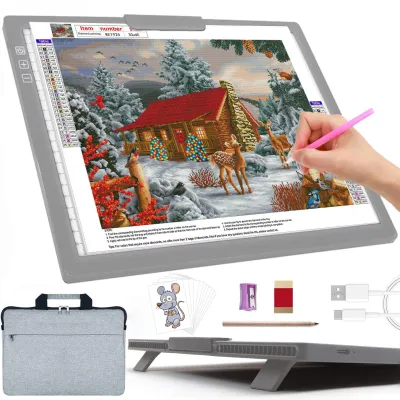
Prices are valid at publication and may change. Please refer to the product page for the latest price.

- A4 Boards (approx. 300 x 200 mm active area): These compact models are highly portable and fit easily on small study desks or dining tables. They are ideal for standard lettering, sketching, bullet journaling, and small-scale diamond painting projects.
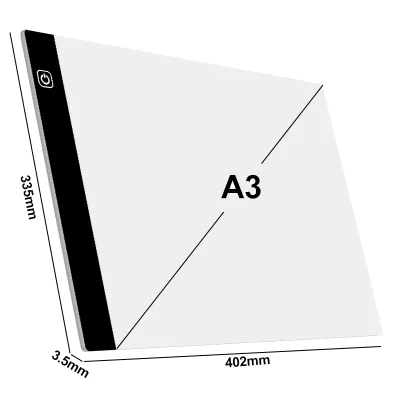
- A3 Boards (approx. 420 x 300 mm active area): Offering double the working space of an A4, this size is the sweet spot for most hobbyists and professionals. It comfortably accommodates larger scrapbooking layouts, detailed architectural sketches, and medium-sized diamond canvases without requiring you to constantly shift your work.
- A2 and Larger Boards: Reserved for large-scale drafting, professional animation, and expansive craft projects, these boards require a dedicated, permanent desk setup.
Beyond the surface area, pay close attention to the board’s thickness and weight. Ultra-thin profiles (around 5mm to 8mm) are incredibly lightweight and easy to slip into a laptop bag, making them perfect for students or crafters on the go. However, if you tend to lean heavily on your work or use heavy tools, a slightly thicker, rigid acrylic board provides better structural stability. Always verify the manufacturer’s specifications for the “active lighting area” versus the “total dimensions.” A wide bezel can reduce your actual working space, and poor edge-to-edge illumination can create distracting shadows near the borders of your project.
Selecting Brightness, Dimming, and Surface Features by Skill Level
The core performance of any light drawing board lies in its illumination quality. Different crafts and materials demand varying levels of brightness to ensure clear visibility without causing eye fatigue.
- Fixed vs. Stepless Dimming: Basic models often feature three preset brightness levels, which work well for standard copy paper and simple tracing. However, for advanced projects, look for stepless dimming. This feature allows you to hold down the power button to gradually adjust the light intensity to the exact level required for your specific material combination.
- Material Compatibility and Light Penetration: The thickness and texture of your medium dictate how much light you need. Standard 80gsm copy paper requires minimal illumination, but heavy 300gsm watercolor paper, dark cardstock, or thick canvas sheets demand a much stronger light source. When choosing a board, check if the light can easily penetrate your heaviest preferred medium. You can verify this by performing an observable trial: place your target paper over a light source in a moderately lit room; if the guidelines underneath are blurry or invisible, you require a board with a higher maximum lumen output.
- Surface Texture and Eye Care: The physical surface of the board should match your craft's physical demands. For diamond painting, a slightly textured or high-friction surface helps prevent acrylic drills and trays from sliding around. For calligraphy and illustration, an ultra-smooth, scratch-resistant acrylic surface allows pens and brushes to glide effortlessly. To protect your eyes during long crafting sessions, prioritize boards equipped with flicker-free LED technology and built-in light diffusion layers. These features distribute light evenly across the entire panel, eliminating harsh "hot spots" that cause headaches and eye strain.
Evaluating Power Sources and Workspace Compatibility
Your light board must integrate seamlessly into your physical workspace and power infrastructure. Consider how and where you plan to use the device before making a decision.
- USB-Powered Models: These are the most common and versatile options. They typically connect via USB-C or Micro-USB cables, allowing you to power the board directly from a laptop, a portable power bank, or a standard USB wall adapter. This setup is highly convenient for flexible workspaces or crafting on the go.
- Battery-Operated Boards: Some premium models feature built-in rechargeable lithium-ion batteries. While they offer complete wireless freedom, they are generally heavier and require regular recharging, which may interrupt long working sessions.
- Direct Plug-In Models: Larger A2 or professional-grade light boxes often require a dedicated AC power adapter to maintain consistent, high-intensity illumination.
When setting up your workspace, check the included cable length. A short cable can limit your movement and create clutter, especially on compact desks. Ensure your cable routing is clear of high-traffic areas to prevent tripping hazards. For users in Singapore, verify that any included wall adapter matches the local Type G three-pin plug standard and is rated for 230V at 50Hz. If the board only includes a USB cable, ensure your existing USB wall charger provides the correct output voltage and amperage (typically 5V, 1A or 2A) specified in the product manual to prevent overheating or flickering.
Pre-Purchase Verification Checklist
Before finalizing your purchase on any online marketplace or at a local craft store, run through this quick verification checklist to ensure the light drawing board meets your expectations:
- Media Thickness Check: Confirm the board's light output is rated to penetrate your specific paper weight (e.g., verifying compatibility with 300gsm watercolor paper if you paint).
- Power Compatibility: Ensure the connection type (USB-C, Micro-USB, or AC adapter) matches your available power sources and that any wall plug is compatible with Singapore's Type G outlets.
- Active Area Dimensions: Double-check that the active illuminated area—not just the outer frame dimensions—fully accommodates your standard project paper sizes.
- Included Accessories: Verify if essential tools like a power adapter, USB cable, securing clips, or a protective carrying sleeve are included in the package or must be purchased separately.
- Warranty and Returns: Check the seller's return policy and warranty terms for electronic craft tools to protect against potential LED defects or shipping damage.
Frequently Asked Questions (FAQ)
Can I use a light drawing board for diamond painting without the beads sliding off?
Yes, you can comfortably use a light board for diamond painting. To prevent your resin drills and sorting trays from sliding off the smooth acrylic surface, look for a light board with a slightly textured surface, or use a removable, non-slip silicone crafting mat. Many crafters also use low-tack artist tape or specialized clips to secure the canvas firmly to the edges of the board, ensuring a stable workspace even when working at an angle.
Does the light color temperature affect tracing accuracy?
Light color temperature significantly impacts contrast and eye comfort. Most light drawing boards utilize cool white light (around 5000K to 6500K), which provides high contrast and sharp detail visibility, making it excellent for precise tracing, calligraphy, and technical drafting. However, for prolonged evening sessions, a board that offers adjustable color temperatures—allowing you to switch to a warmer, softer light—can help reduce eye strain and minimize disruption to your sleep cycle.
How do I clean the surface of my light board without damaging the LEDs?
To maintain optimal light clarity, clean the acrylic surface regularly using a soft, dry microfiber cloth to remove dust and fingerprints. For stubborn residue, such as adhesive from diamond painting or tape, slightly dampen the cloth with water or a mild, diluted dish soap solution. Never spray liquids directly onto the board, and avoid using harsh chemical solvents, alcohol, or abrasive scrubbing pads, as these can scratch the acrylic surface, degrade the light diffusion layer, or seep into the internal LED circuitry.
Community discussion
Share your experience or ask a question. Comments are reviewed before publication.