
To choose the right knitting needle size and material, you must balance the physical thickness of your yarn with the texture of its fibers. The ideal pairing allows stitches to glide smoothly without slipping off the tips unexpectedly, while producing a fabric with the exact drape and density your project requires. By understanding how needle dimensions correspond to standardized yarn weights and how different materials interact with specific fibers, you can set yourself up for a comfortable, frustration-free knitting experience.
Understanding Yarn Weights and Needle Size Standards
Every knitting project begins with the information printed on the yarn banderole, or label. This small paper band contains essential specifications, including the fiber content, care instructions, and a recommended needle size and gauge. The suggested needle size is typically represented by a range, which the manufacturer has determined will produce a balanced, standard fabric. This recommendation serves as an excellent starting point, but it is not an absolute rule.
Sizing systems for knitting needles can be confusing because different regions use different labeling conventions. In the United States, needles are sized numerically from 0 to 50, where higher numbers indicate thicker needles. In the United Kingdom, older sizing systems use an inverse scale where smaller numbers represent larger needles. To avoid confusion and ensure cross-brand accuracy, always rely on the metric measurement in millimeters (mm). A 5.0 mm needle will always be 5.0 mm, regardless of whether a brand labels it as a “US 8” or a “UK 6.”
Products mentioned in this guide
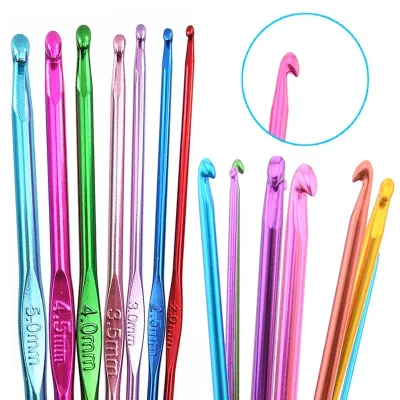
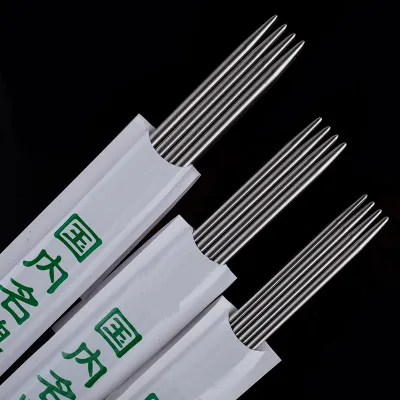
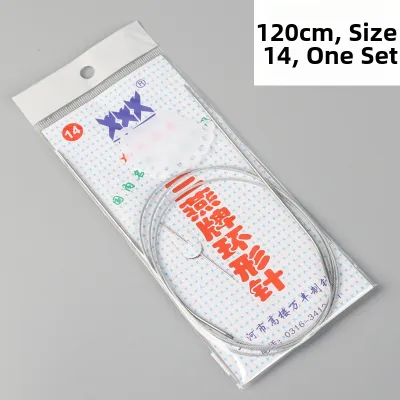
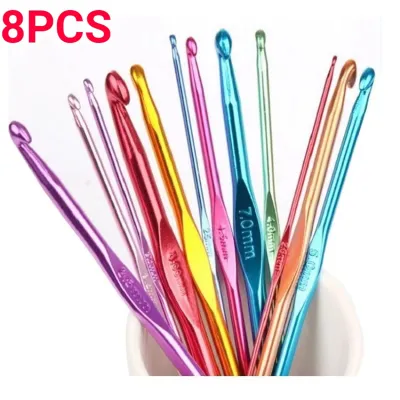
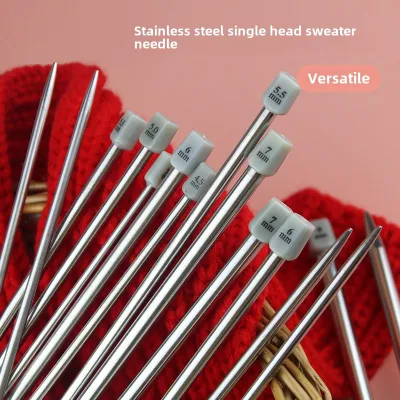
Prices are valid at publication and may change. Please refer to the product page for the latest price.
Yarn weights are standardized into categories ranging from lace to jumbo to help knitters plan their projects. For example, lace weight yarn (Category 0) is incredibly fine and typically pairs with needles ranging from 1.5 mm to 2.5 mm. Medium-weight yarns, such as worsted or aran (Category 4), are highly versatile and commonly pair with needles between 4.5 mm and 5.5 mm. Understanding these standard pairings allows you to quickly narrow down your needle choices when planning a project, even if you are substituting one yarn for another.
Choosing the Right Needle Material for Your Yarn Fiber
The material of your knitting needles plays a significant role in how your yarn behaves as you work. The three most common materials are metal, wood or bamboo, and plastic or acrylic. Each material offers distinct characteristics regarding surface friction, weight, and tip sharpness, which directly affect your knitting speed, hand comfort, and stitch consistency.

Metal needles, often made from aluminum, brass, or stainless steel, are highly polished and offer the lowest surface friction. This slick surface allows stitches to slide effortlessly, making them a favorite for fast knitters and those working with sticky or high-friction fibers. Natural wool, mohair, alpaca, and brushed acrylics tend to cling to themselves and to needles; using a smooth metal needle reduces this drag and prevents hand fatigue. Additionally, metal needles can be manufactured with incredibly sharp, durable tips, which are highly beneficial for intricate lace patterns that require complex decreases.
Wood and bamboo needles provide a warm, organic feel and a moderate to high level of surface friction. This natural grip is incredibly helpful when working with slippery, smooth fibers like silk, rayon, bamboo, or mercerized cotton. The texture of the wood prevents these slick stitches from sliding off the needle tips prematurely, helping you maintain even tension and avoid dropped stitches. Wood needles also have a slight natural flex, making them gentler on the hands and wrists during long knitting sessions, though very fine wooden needles require careful handling to prevent snapping.
Plastic and acrylic needles offer a middle ground, providing a lightweight feel with a moderate amount of grip. They are particularly useful for very large needle sizes, such as those used for bulky or jumbo yarns, where metal needles would be too heavy and tiring to hold. Before purchasing any needle set, check the manufacturer’s specifications regarding joint smoothness and tip durability. High-quality needles feature seamless transitions where the needle tip meets the cable or shaft, preventing yarn from snagging as you work.
Step-by-Step Selection Process for Your Project
Selecting the perfect needle for your project is a systematic process that ensures your tools match your materials and your design goals. By following a structured workflow, you can avoid common pitfalls and ensure a smooth knitting experience from the first cast-on stitch to the final bind-off.
First, identify your pattern requirements and cross-reference them with your yarn label. If your pattern specifies a particular yarn and needle size, start there. If you are substituting yarn, compare the recommended needle size on your new yarn’s label with the size requested by the pattern. If there is a discrepancy, prioritize the pattern’s recommended needle size as your initial starting point, as the designer selected this size to achieve the specific dimensions of the finished item.
Second, select your starting needle size and material based on the desired fabric drape. The drape refers to how the finished fabric hangs and moves. If you are knitting a structured item like a winter hat, a stuffed toy, or a sturdy bag, you want a dense, firm fabric, which requires a smaller needle size. If you are knitting a lightweight shawl or a flowing summer top, you want a loose, airy fabric with plenty of movement, which requires a larger needle size to create larger, more open stitches.
Third, consider project-specific format factors, such as needle length and type. Straight needles are excellent for flat, narrow projects like scarves or dishcloths. Circular needles, which consist of two needle tips joined by a flexible cable, are incredibly versatile; they can be used to knit flat projects of any size or to knit seamless tubes in the round. When choosing circular needles, ensure the cable length is slightly shorter than the total circumference of your project so the stitches can slide freely around the loop without being stretched. Double-pointed needles (DPNs) are another excellent option for small-circumference circular knitting, such as socks, mittens, or the crowns of hats.
Fourth, gather physically compatible notions before you begin. Ensure your stitch markers are large enough to slide easily over your chosen needle size without getting stuck, yet small enough not to distort your stitches. If you are using an interchangeable needle system, verify that your cables, connectors, and end caps are compatible with the specific brand and size of your needle tips. Having these compatible accessories ready prevents interruptions once your project is underway.
Testing Your Gauge and Adjusting Needle Size
Even if you follow all recommendations perfectly, your individual knitting tension may differ from the designer’s tension. To ensure your finished project fits correctly and looks as intended, you must knit and measure a gauge swatch. This step is the only reliable way to verify your needle choice before committing hours of work to your project.
To create a proper gauge swatch, cast on enough stitches to knit a square that is slightly larger than the target gauge area, which is typically 10 cm by 10 cm (4 inches by 4 inches). Knit the swatch using the same stitch pattern, needle size, and needle material you plan to use for the project. Once completed, wash and block the swatch exactly as you plan to care for the finished item. Washing relaxes the fibers, allowing the yarn to “bloom” and settle into its permanent shape, which can significantly alter the stitch count.
Once the swatch is completely dry, lay it flat on a hard, level surface. Use a rigid ruler to count the number of stitches and rows within a 10 cm (4 inch) square. Avoid using a flexible sewing tape measure, as these can stretch over time and lead to inaccurate measurements. Count the stitches carefully, including fractional stitches, to get an exact measurement.
If your stitch count is higher than the pattern’s target gauge, your stitches are too small and your knitting is too tight. To correct this, size up your needles (for example, from 4.0 mm to 4.5 mm) to create larger stitches. If your stitch count is lower than the target gauge, your stitches are too large and your knitting is too loose. In this case, size down your needles (for example, from 4.0 mm to 3.75 mm) to tighten your fabric. If the fabric feels stiff or if the yarn splits and snags during swatching, consider changing the needle material entirely to improve the stitch quality and your overall comfort.
Frequently Asked Questions (FAQ)
Can I use a different needle size than what the yarn label recommends?
Yes, you can absolutely use a different needle size than what is printed on the yarn label. The label recommendation is simply a starting guideline designed to produce a standard, medium-drape fabric. Intentionally sizing up is common when knitting delicate lace shawls or lightweight, flowing garments, as larger needles create open, airy stitches. Conversely, sizing down is necessary for projects that require a dense, rigid fabric, such as amigurumi toys, thick socks, or structured bags, where you want to prevent stuffing or skin from showing through the stitches.
Do circular knitting needles come in different cable lengths, and how do I choose?
Circular knitting needles are available in a wide variety of cable lengths, typically ranging from 23 cm (9 inches) to 150 cm (60 inches) or more. To choose the correct length, select a cable that is slightly shorter than the total circumference of the project you are knitting in the round. For example, a hat typically requires a 40 cm (16 inch) cable, while a sweater body might require an 80 cm (32 inch) cable. Alternatively, you can use a very long cable (80 cm or longer) to knit small-circumference items like socks or sleeves using the magic loop method, which loops the excess cable out of the way.
How do I know if my knitting needles are too slippery or too grippy for my yarn?
You can easily identify a mismatch between your needle material and yarn fiber by observing how the stitches behave as you knit. If your needles are too slippery, you will find stitches sliding off the tips unintentionally, making it difficult to maintain even tension and causing frequent dropped stitches. If your needles are too grippy, you will hear the yarn dragging audibly against the needle surface, feel physical resistance when trying to slide stitches along the shaft, or notice delicate fibers snagging and splitting, which can lead to hand fatigue and uneven stitch definition.
Community discussion
Share your experience or ask a question. Comments are reviewed before publication.