
Selecting the right kids scissors for primary school depends on matching the tool’s safety features and blade design to your child’s developmental stage and school guidelines. For Lower Primary students (Primary 1 to 3), the focus is on safety, fine motor skill development, and ease of use, making blunt-tip, short-bladed, or spring-assisted scissors the ideal choice. As students transition to Upper Primary (Primary 4 to 6), their craft projects demand higher precision, allowing them to move toward pointed-tip, longer stainless steel blades that can cut through thicker materials like cardboard.
By aligning the scissor type with your child’s grade level, you ensure they can complete classroom activities confidently without frustration or safety risks. This guide breaks down the specific requirements for each grade band, helping you choose a durable, comfortable, and school-compliant tool for your child’s pencil case.
Checking School Rules and Safety Requirements First
Before purchasing any stationery for the new school term, parents should consult the specific booklist or stationery requirements provided by the school. Many primary schools in Singapore issue detailed guidelines outlining what students can and cannot bring to class. Some schools explicitly ban pointed-tip scissors for lower primary levels or restrict blade lengths to prevent accidents in crowded classrooms.
Products mentioned in this guide
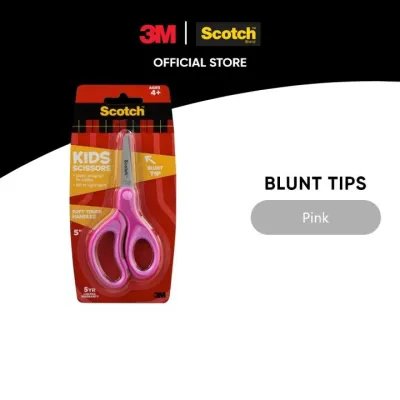
![[Bundle of 2] 3M Scotch™ 5 Kids Scissors with Blunt Tips - Purple](https://img.lazcdn.com/g/p/71827ac3d2f417e1d1faa27b4e2a3b2d.png_400x400q80.png_.webp)
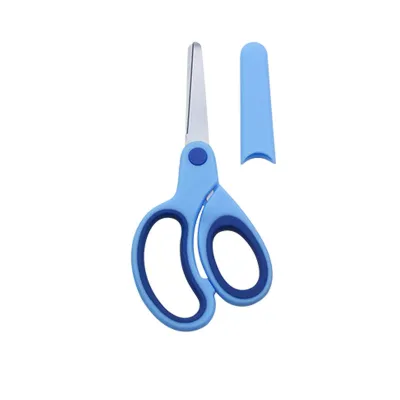
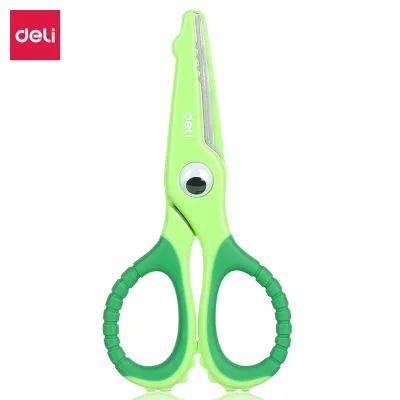

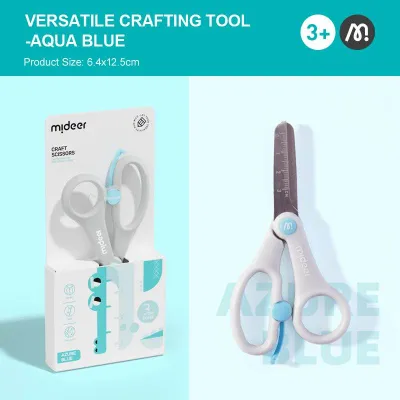
Prices are valid at publication and may change. Please refer to the product page for the latest price.
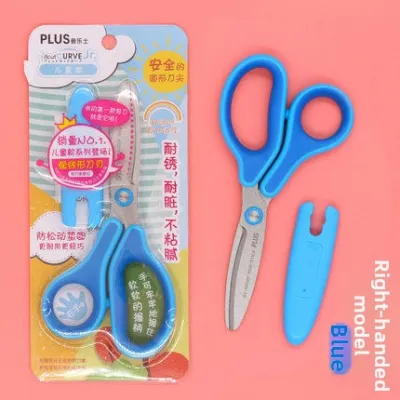
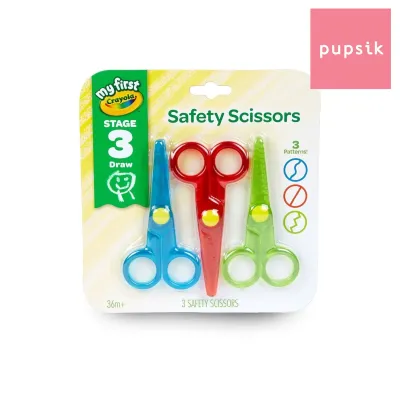
Safety features should always be your baseline filter when browsing options. Look for scissors that feature blunt or rounded tips, which significantly reduce the risk of accidental skin punctures. Additionally, some models come with protective blade covers or sheaths, which keep the blades safely enclosed when stored inside a school bag or desk drawer.
Portability and storage compatibility are also practical factors to keep in mind. The scissors must fit comfortably inside a standard pencil case or a dedicated art pouch alongside rulers, pens, and glue sticks. A pair of scissors that is too bulky or lacks a protective cap can damage other stationery items or pose a hazard when a child reaches into their bag.
Lower Primary (Primary 1 to 3): Safety and Skill Building
During the first three years of primary school, children are still developing their fine motor skills and hand-eye coordination. Scissors designed for this age group must prioritize safety while helping students learn the mechanics of cutting. Blunt-tip designs are the standard recommendation here, as they provide a rounded front edge that minimizes the chance of accidental pokes during fast-paced classroom activities.

Blade length is another critical factor for younger hands. Shorter blades, typically measuring around 12 to 13 centimeters in total length, are much easier for small hands to control. A shorter blade requires less hand span to open and close, allowing children to focus on following cutting lines rather than struggling to balance a heavy tool.
For students who struggle with grip strength or coordination, ergonomic handles with spring-assisted mechanisms can be incredibly helpful. These scissors feature a small, switchable spring that automatically reopens the blades after each cut. This design reduces hand fatigue, allowing the child to practice the cutting motion without getting frustrated by the effort required to open the scissors repeatedly. As their hand muscles strengthen, the spring can usually be flipped down to transition them to standard manual cutting.
When selecting scissors for Lower Primary, look for lightweight plastic-covered blades or highly rounded metal blades. These materials ensure the tool remains light enough for prolonged use during art and craft lessons. Ensuring the finger loops are lined with soft, non-slip rubber can also prevent slipping and blisters during repetitive cutting tasks.
Upper Primary (Primary 4 to 6): Precision and Complex Crafts
As students enter Primary 4, their schoolwork and art projects become more complex, requiring precise cuts, intricate shapes, and the ability to slice through tougher materials. At this stage, children have generally developed the hand strength and coordination needed to handle more advanced tools safely. Transitioning to pointed-tip scissors is often appropriate here, as the sharp point allows students to puncture paper cleanly to start internal cuts or navigate tight corners.
The materials used in Upper Primary crafts also change, moving beyond thin construction paper to thicker mediums like corrugated cardboard, felt, foam sheets, and multiple layers of paper. To handle these materials without bending or tearing, older students need longer, durable stainless steel blades. Blades measuring around 15 centimeters provide a longer cutting edge, allowing for smoother, continuous straight cuts with fewer snips.
At this developmental stage, spring-assisted handles are no longer necessary. Moving to standard, non-spring handles is important for building full hand strength and fine motor control. Standard handles require the child to actively open and close the blades, which refines their grip and prepares them for using adult-sized scissors in the future.
However, even with older children, ergonomic handle design remains vital. Look for handles with asymmetrical loops—a smaller loop for the thumb and a larger, elongated loop for the index and middle fingers. This configuration distributes pressure more evenly across the hand, providing better leverage and control when cutting denser materials.
Key Features to Evaluate When Buying Kids Scissors
When shopping for kids scissors, several design details warrant close inspection to ensure you are getting a functional, high-quality tool. The most critical, yet frequently overlooked, feature is left-handed compatibility. If your child is left-handed, simply buying scissors with “ambidextrous” handles is not enough. True left-handed scissors have reversed blades, placing the left blade on top so the child can clearly see the cutting line; standard blades block a left-handed user’s view, forcing them to tilt the scissors and tear the paper.
Handle comfort and grip size must be matched to your child’s current hand size. Avoid buying oversized scissors with the expectation that the child will “grow into” them, as loose handles lead to slipping and poor control. The finger loops should fit snugly without pinching, and a textured, rubberized grip is highly recommended to prevent hands from sliding forward toward the blades.
The quality of the blade material and the pivot screw determines how smoothly the scissors operate. Look for stainless steel blades that resist rust and adhesive buildup from tape and glue. The pivot screw should be tight enough to keep the blades in close contact without wobbling, yet loose enough that a child can open and close them without straining. A loose pivot screw causes paper to fold between the blades rather than cut, which is a common source of frustration for young students.
Teaching Safe Handling and Basic Maintenance
Owning the right pair of scissors is only half the battle; teaching your child how to handle and care for their tools is equally important for classroom safety. Instruct your child on the correct way to carry and pass scissors. They should always hold the closed blades in their palm, leaving the handle exposed for the other person to grab, and they must never run or play while holding scissors.
Classroom crafts frequently involve sticky materials like sticky tape, double-sided tape, and liquid glue. Over time, adhesive residue builds up on the blades, causing them to stick together and tear paper. Teach your child to wipe the blades clean with a damp cloth or a wet wipe after art class, ensuring they dry the blades thoroughly afterward to prevent any potential rust.
Finally, establish a consistent routine for storing the scissors. They should always be placed back in their protective sheath or inside a designated pencil case compartment immediately after use. This habit protects the blades from getting nicked or dulled by other metal items, prevents glue from transferring to other stationery, and ensures the sharp edges are safely covered when the child reaches into their bag.
Frequently Asked Questions (FAQ)
Can left-handed children use standard right-handed scissors?
No, left-handed children should not use standard right-handed scissors. When a left-handed child uses right-handed scissors, the natural squeezing motion of their hand actually pushes the blades apart rather than together, resulting in folded or torn paper. Furthermore, the top blade of a right-handed pair blocks the cutting line from a left-handed user’s line of sight, making precise cutting nearly impossible. Investing in a true left-handed pair with reversed blades is essential for their comfort and skill development.
How often should kids' scissors be replaced?
Kids’ scissors should be replaced as soon as they show signs of wear that compromise safety or performance. Inspect the blades regularly; if they have become dull and begin to fold or tear paper instead of cutting cleanly, it is time for a replacement. You should also check the handles for any hairline cracks in the plastic, and examine the pivot screw to ensure it has not become dangerously loose or wobbly, which can cause the blades to overlap incorrectly.
Are spring-loaded scissors necessary for Primary 1 students?
Spring-loaded scissors are not strictly mandatory for all Primary 1 students, but they are highly beneficial for children who are still building hand strength or struggling with coordination. The spring mechanism assists by automatically pushing the handles open, allowing the child to focus entirely on the closing cut action. If your child can already cut paper smoothly with standard blunt-tip scissors, you can skip the spring-loaded phase and go straight to standard handles to continue building their natural hand strength.

Community discussion
Share your experience or ask a question. Comments are reviewed before publication.