
Choosing the right jeans fastener requires matching the specific repair scenario to the correct hardware type, measuring both the buttonhole and the compressed fabric thickness, and using the appropriate setting tools. A successful repair ensures the hardware stays secure under tension without tearing the surrounding denim. By evaluating the structural demands of your garment, you can select a replacement that restores both function and style.
Identify Your Repair Need and Fastener Type
Jeans are constructed to withstand significant wear, but different areas of the garment experience distinct types of physical stress. When planning a repair, you must first distinguish between functional closures and decorative or structural reinforcements. The waistband and fly require fasteners that can handle high lateral tension, while pocket corners and side seams need reinforcements that prevent the fabric layers from shearing apart under localized pressure.
Tack buttons, often referred to as jeans buttons, are the standard choice for waistbands. These fasteners consist of a metal cap and a separate ribbed tack that is driven through the fabric from the reverse side. Because they do not rely on thread, they offer exceptional resistance to pulling forces. They are available in both solid, rigid designs and swiveling versions that allow the button cap to tilt slightly, making them easier to slide through stiff, heavy-weight denim buttonholes.
Products mentioned in this guide
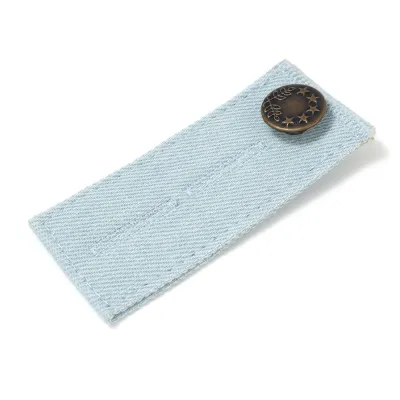
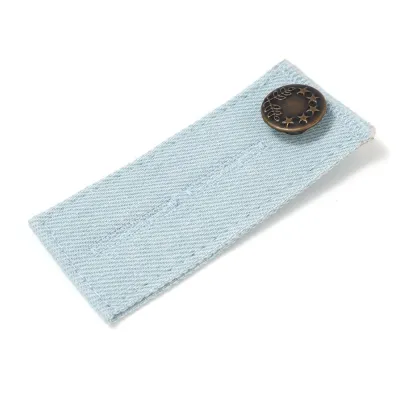
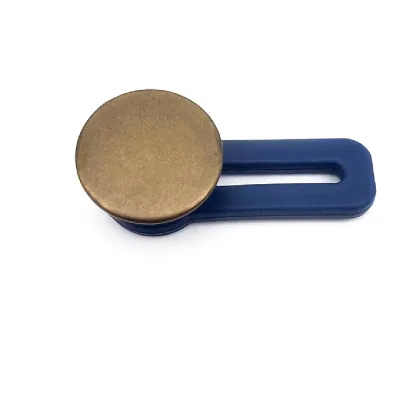
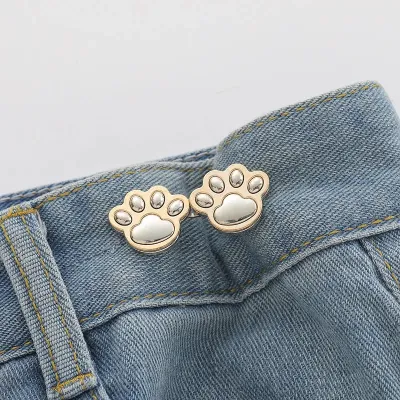
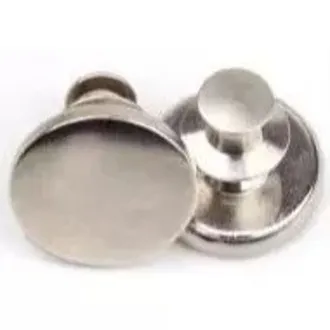
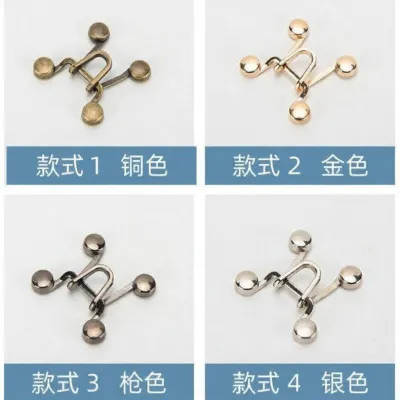
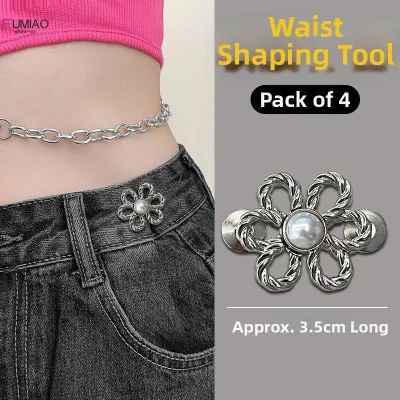
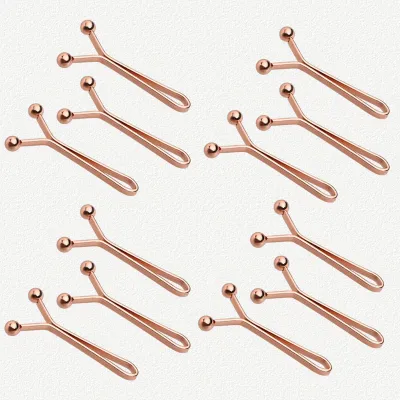
Prices are valid at publication and may change. Please refer to the product page for the latest price.
Shank buttons present an alternative for lighter denim or garments where a bit of movement is desired. Unlike tack buttons, shank buttons feature a solid loop on the back and are sewn onto the fabric using heavy-duty thread. While they offer excellent flexibility, they are generally less robust than metal tacks and are best reserved for areas with moderate tension, such as the fly of lightweight denim trousers or decorative pocket flaps.
Rivets serve a purely structural reinforcement role rather than acting as a closure. Composed of a small metal cap and a matching post, they are set permanently into high-stress areas like the corners of front pockets and the base of the fly. By pinching the denim layers tightly together, rivets prevent the seams from unraveling when you pull on the pockets or stretch the fabric during daily movement.
Snap fasteners utilize a spring-loaded socket and stud mechanism to provide a quick-release closure. They are highly practical for denim jackets, shirts, or utility pockets where rapid fastening is preferred over maximum load-bearing capacity. However, because snaps can pop open under heavy lateral tension, they are rarely suitable for the main waistband of tight-fitting jeans.
Identifying when a fastener needs replacement involves looking for specific visual and functional signs. A button cap that spins freely, wobbles excessively, or sits at an angle usually indicates a bent or partially collapsed internal post. If the metal around the tack has begun to crack, or if the fabric surrounding the fastener is fraying and pulling away, the hardware must be removed and replaced before the denim degrades further.
Measure and Select the Correct Fastener Size
Achieving a secure, long-lasting repair depends heavily on selecting the precise dimensions for your replacement hardware. Installing a button that is too large for the existing buttonhole will make fastening difficult and accelerate fabric wear, while a button that is too small will slip out of place constantly.

To determine the correct cap diameter, use a caliper or a standard ruler to measure the outer diameter of the original button if it is still available. If the original hardware is missing, measure the internal length of the buttonhole. As a general guideline, the button diameter should be approximately 1mm to 2mm smaller than the buttonhole opening to allow for smooth passage without excessive slack. Standard waistband buttons typically measure 17mm or 20mm, while fly buttons are usually smaller, ranging from 14mm to 15mm.
Matching the post or tack length to the total thickness of your fabric is equally critical. When compressed, the denim layers must fill the space inside the set fastener without leaving any gaps. If the post is too short, it will not penetrate far enough into the cap to lock securely, causing the button to fall off under pressure. Conversely, if the post is too long, the button will wobble, droop, or bend during the setting process because the metal cannot compress fully.
Before purchasing replacement hardware, verify the dimensions using a simple checklist. Measure the total thickness of the compressed denim layers at the installation site using a ruler or by pinching the fabric firmly. Ensure the post length of the replacement fastener exceeds this compressed thickness by approximately 1.5mm to 2mm, which provides the necessary material to flare and lock inside the cap. Additionally, check that the cap diameter matches your buttonhole and that the post diameter is compatible with any pre-existing holes in the fabric.
Match Installation Tools to Your Fabric Condition
The success of your repair relies on matching your installation method to both the hardware type and the current state of the denim. Using the wrong tools can easily bend the metal posts, crack the decorative caps, or damage the surrounding fabric fibers.
Hand-setting tools, such as a basic hammer and a specialized anvil or setter, are highly accessible and cost-effective for occasional home repairs. A basic repair kit containing a variety of tacks and a simple setter typically costs between S$5 and S$15 at local haberdashery shops. When using a hammer, you must work on a completely solid, non-rebounding surface like a concrete floor or a heavy cast-iron anvil. Soft wooden tables or plastic workbenches absorb the impact energy, leading to misaligned strikes that bend the tack.
For more precise control, specialized setting pliers offer a portable alternative. These pliers squeeze the cap and tack together using mechanical leverage, reducing the risk of cosmetic damage to the button face. However, they require moderate hand strength and may struggle to fully compress heavy-duty steel fasteners. For frequent repairs or professional-grade results, a heavy-duty bench press machine with interchangeable dies provides perfectly vertical, consistent pressure, ensuring a flawless set every time.
Before installing new hardware, evaluate the condition of the denim. Frayed edges, stretched buttonholes, or thinned fabric cannot support the mechanical stress of a new fastener. If you attempt to set a button into damaged denim, the hardware will quickly pull through the fabric. Pre-treat these areas by darning the weakened fibers with matching thread, or fuse a small patch of heavy-duty woven interfacing to the backside of the denim to rebuild its structural integrity.
There are specific stop conditions where a DIY repair is no longer advisable. If the denim around the waistband is completely shredded, dry-rotted, or missing a section larger than the button cap itself, a simple hardware replacement will fail. In these situations, attempting to force a new fastener into place will only cause further tearing. The garment should instead be taken to a professional tailor for structural fabric reconstruction, or retired if the fibers have degraded beyond recovery.
Install the Fastener and Verify the Repair
Once you have selected the correct hardware and prepared your tools, follow a systematic installation process to ensure a clean, durable result. Proper alignment and steady pressure are the keys to preventing bent posts and loose fittings.
Begin by marking the exact placement of the new fastener using tailor’s chalk or a fine-tip fabric marker. If the original hole has stretched or frayed, reinforce the area first by fusing a small square of heavy interfacing to the inside of the waistband. Instead of cutting a hole with scissors, which severs the fabric yarns and weakens the structure, use a sharp awl to gently push the denim threads aside. This creates a tight, clean passage that grips the post securely.
Insert the tack or post from the inside of the garment so that the pointed end protrudes through to the right side of the fabric. Place the button cap or rivet head over the protruding post, ensuring the assembly sits perfectly perpendicular to the fabric surface. If you are using a hammer and setter, hold the tool firmly and strike the top of the setter with a series of controlled, straight downward blows. Avoid striking at an angle, as this will cause the post to collapse sideways inside the cap.
After setting the hardware, perform a series of physical checks to verify the security of the repair. First, gently tug and twist the button cap; it should feel firmly anchored without any wobbling, spinning, or vertical play. Next, inspect the reverse side of the fabric to ensure the tack base sits completely flush against the denim without pinching or puckering the material.
Finally, test the functional performance of the fastener. Slide the button through the buttonhole several times to verify that the clearance is correct and that the fabric does not catch or strain excessively. For snap fasteners, open and close the snap repeatedly to check the tension. The snap should engage with a distinct click and hold securely under moderate pulling force, yet release smoothly without placing undue stress on the surrounding denim fibers.
Frequently Asked Questions (FAQ)
Can I use a standard sew-on button to replace a jeans tack button?
While a standard sew-on button can serve as a temporary fix, it is rarely a reliable long-term solution for a jeans waistband. The high lateral tension exerted on a waistband will quickly stretch and wear down standard sewing thread against the abrasive denim fibers, leading to premature failure. Additionally, plastic buttons often crack under the pressure. If you must use a sew-on alternative, select a heavy-duty metal shank button and sew it using reinforced topstitching thread or heavy nylon thread, ensuring you wrap the thread tightly beneath the button to create a sturdy shank for fabric clearance.
How do I remove a metal rivet without tearing the denim?
Removing a set metal rivet requires patience and the right tools to avoid shredding the surrounding fabric. Use a pair of end-cutting pliers or side cutters to grip the backside of the rivet (the post or tack flange). Carefully squeeze and wiggle the pliers to distort the metal, or gently pry the cap away from the post. If the rivet has a hollow center, you can use a hand drill with a small metal-cutting bit to carefully drill out the flared end of the post from the back. Always wear eye protection during this process, and work slowly to prevent the tools from slipping and slicing the denim.
What should I do if the new snap fastener feels too loose?
A loose snap fastener usually indicates that the post was not compressed sufficiently during installation, or that the denim layers are too thin for the post length. You can attempt to resolve this by placing the snap back into your setting tool or pliers and applying additional firm, even pressure to further flare the post. If the post is simply too long for the fabric thickness, the snap will continue to wobble. In this case, you must remove the loose snap and install a new one, placing a small fabric spacer or an extra layer of heavy interfacing between the denim layers to fill the gap and ensure a tight grip.
Community discussion
Share your experience or ask a question. Comments are reviewed before publication.