
Selecting the correct jeans button pin requires matching the cap diameter to your garment’s existing buttonhole and choosing a pin length that corresponds to the thickness of your denim layers. A mismatched button will either slip through the buttonhole too easily, fail to close at all, or wobble and tear through the fabric over time. By measuring your current hardware, evaluating the thickness of your waistband, and selecting the appropriate attachment style, you can achieve a secure, professional-grade repair that restores your denim garment to full utility.
Understanding Jeans Button Pin Components and Types
A standard jeans button consists of two primary components: the front cap and the back pin (often called a tack). The front cap is the visible, decorative portion that sits on the outside of the waistband, while the back pin penetrates the fabric from the inside to lock the cap securely in place. Understanding how these two parts interact is essential before purchasing replacement hardware, as different designs require different installation methods and tools.
The most common attachment mechanisms are hammer-in tacks and screw-in pins. Hammer-in tacks feature a ribbed or barbed post that drives permanently into a plastic or metal sleeve inside the button cap. This style requires a hammer or a specialized setting tool and provides a highly secure, permanent hold. Screw-in pins, on the other hand, use a threaded post that secures to the cap with a small screwdriver. While screw-in options are easier to install and adjust, they can gradually loosen with wear and are best suited for temporary fixes or garments that do not undergo heavy strain.
Products mentioned in this guide
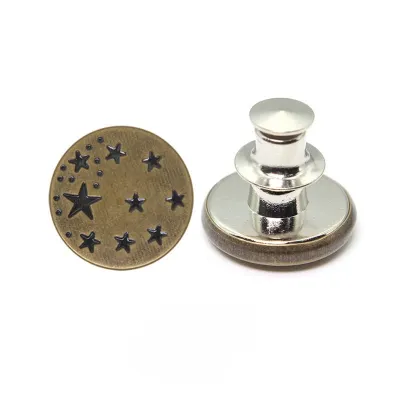
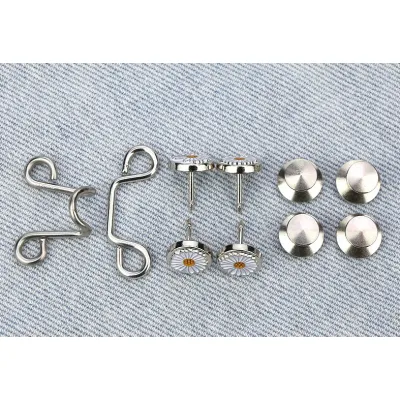
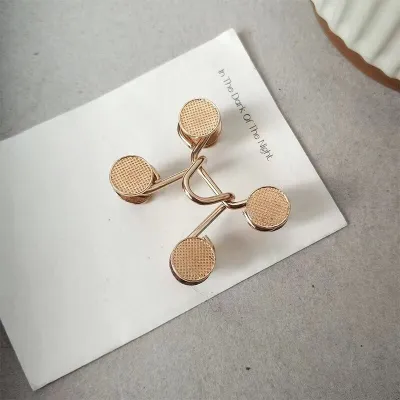
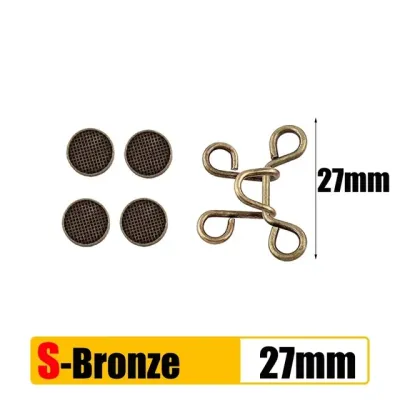
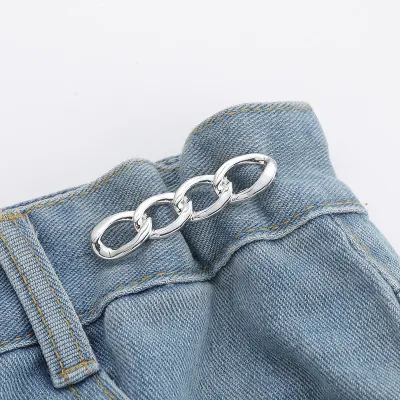
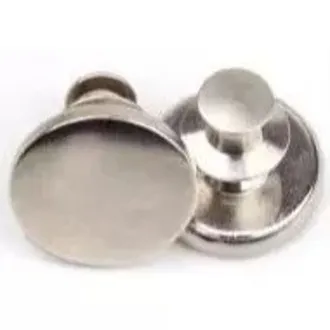
Prices are valid at publication and may change. Please refer to the product page for the latest price.
Additionally, button caps are categorized as hollow or solid. Hollow caps are lightweight and often feature a swiveling design that allows the button to tilt slightly, making it easier to fasten through stiff denim. Solid caps are rigid, heavier, and offer maximum durability for heavy-duty workwear. When selecting a replacement, check the manufacturer’s specifications to ensure the cap style matches your garment’s functional demands.
How to Measure for the Correct Cap Diameter
To find the correct button size, you must measure the diameter of the button cap in millimeters. Standard jeans buttons typically range from 14 mm to 20 mm in diameter. A 17 mm button is the industry standard for most adult jeans waistbands, while smaller 14 mm buttons are commonly used for jackets, pockets, or children’s wear. Larger 20 mm buttons are generally reserved for heavy-duty work jackets or oversized fashion designs.

If you have an existing button that needs replacement, use a pair of calipers or a standard ruler to measure across the widest part of the cap. If the original button is missing entirely, you can determine the correct size by measuring the length of the buttonhole. Measure the inner slit of the buttonhole from end to end with a ruler. As a general rule, the button cap diameter should be approximately 2 mm to 3 mm larger than the buttonhole length to prevent the button from slipping out while still allowing it to pass through without straining the stitching.
Before finalizing your choice, inspect the area surrounding the buttonhole. Ensure that the new cap diameter will not overlap with nearby decorative stitching, rivets, or the edge of the waistband fabric. A button that is too large can rub against the fabric edge, leading to premature fraying and wear.
Matching Pin Length to Denim Thickness
Selecting the correct pin length is just as critical as choosing the right cap diameter. The pin must be long enough to pass completely through all layers of denim at the waistband and seat securely inside the button cap, but not so long that it leaves excess space. To determine the required length, compress the fabric layers at the installation site between your fingers and measure the total thickness.
If the pin is too short, it will not penetrate the fabric deeply enough to engage the locking mechanism inside the cap, causing the button to fall off immediately. Conversely, if the pin is too long, it can puncture through the face of the front cap during installation, or leave a gap that allows the button to wobble. A loose, wobbling button exerts uneven leverage on the denim, which quickly stretches out the fabric hole and can cause the button to tear completely through the waistband.
Most replacement button packages specify the pin length or the fabric weight they are designed to accommodate. Lightweight denim (under 10 ounces) typically requires a shorter pin of around 6 mm to 7 mm. Mid-weight denim (10 to 14 ounces), which is standard for most everyday jeans, generally pairs best with an 8 mm pin. Heavyweight denim (over 14 ounces), often found in premium raw denim or utility wear, may require pins of 9 mm or longer to clear the thick, folded seams of the waistband.
Step-by-Step Guide to Testing and Installing
Before committing to installing a new button on your favorite pair of jeans, perform a test run on a scrap piece of denim or a hidden area to verify size compatibility and tool alignment. This trial allows you to verify that the pin length matches your fabric thickness and helps you get a feel for the alignment of your tools. A test run prevents accidental damage to your garment that can be difficult to repair.
To install a standard hammer-in tack button, place the back pin through the fabric from the inside of the waistband so the sharp point emerges on the outside. Position the front cap over the protruding pin. Place the assembly face-down on a solid, flat surface, such as a wooden cutting board or a metal anvil, protecting the decorative face of the button with a soft cloth to prevent scratching. Hold the button cap straight and strike the back of the pin firmly with a hammer. Use straight, downward force to ensure the pin drives directly into the center of the cap sleeve without bending.
During this process, watch for clear stopping conditions. If the pin begins to bend, if the fabric starts to tear around the hole, or if the cap becomes misaligned, stop immediately. Forcing a bent pin can ruin the locking mechanism inside the cap. If the fabric is severely damaged or if you cannot get the hardware to align straight, consult a professional tailor to reinforce the area with a darning stitch before attempting another installation.
Frequently Asked Questions (FAQ)
Can I reuse the original pin when replacing a broken jeans button cap?
No, you should not reuse the original pin when installing a new button cap. During the initial installation, the pin is driven into the cap sleeve, which deforms or scores the metal to create a permanent, high-friction lock. Removing the old cap inevitably bends, blunts, or weakens the pin’s shaft. Reusing a compromised pin will result in a loose fit, reducing the security of the button and increasing the risk of it detaching unexpectedly during wear. Always use the fresh pin supplied with your replacement button set.
What tools do I need to install a standard tack button at home?
To install a standard hammer-in tack button, you will need a hammer, a solid backing surface like a heavy wooden cutting board or a metal block, and a soft cloth to protect the button’s finish. Some replacement kits include a small plastic positioning holder to keep the pin and cap aligned during striking. To protect your fingers and ensure safety, avoid holding the pin directly with your fingers while striking; instead, use a pair of needle-nose pliers to hold the pin in place for the initial tap before driving it home.
Why does my new jeans button keep falling off after installation?
A replacement button usually falls off because of a mismatched pin length, insufficient striking force, or weakened fabric. If the pin is too short for your waistband’s thickness, it cannot lock securely inside the cap. If the striking force was uneven or too light, the pin may not have fully seated. Additionally, if the original button tore a large hole in the denim, the new pin will have no fabric to grip. To fix this, reinforce the damaged area with a small denim backing patch or a fusible interfacing stabilizer before installing a new button.
Community discussion
Share your experience or ask a question. Comments are reviewed before publication.