
Selecting the correct jean button requires matching the structural type to your denim weight, accurately measuring the required diameter for the buttonhole, and choosing a durable material that withstands regular washing. Whether you are repairing a favorite pair of trousers or finishing a custom sewing project, installing the right hardware ensures your waistband remains secure under daily stress. This guide walks you through identifying the right hardware, measuring for a secure fit, and installing it safely.
Understand Jean Button Types: Shank vs. Tack Buttons
When replacing a button on denim, the first step is choosing between a sew-through shank button and a classic two-part tack button. These two styles serve very different structural purposes, and using the wrong one can lead to fabric damage or a button that pulls through under tension.
Sew-through shank buttons feature a small loop or shank on the back instead of holes through the face. You sew these onto the fabric using heavy-duty thread, which allows the button to sit slightly above the fabric surface to accommodate the thickness of the denim waistband. These buttons are typically best for lightweight denim, chambray shirts, denim skirts, or decorative placements where the waistband does not experience extreme pulling forces. Because they rely on thread, they offer more flexibility but less absolute resistance to heavy, structural tension.
Products mentioned in this guide
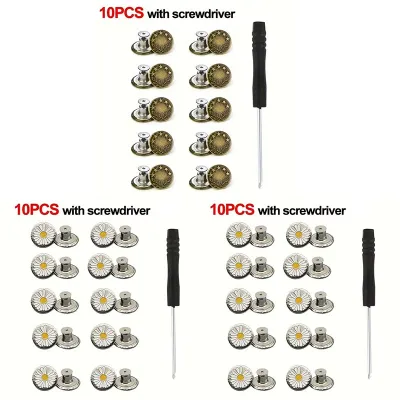
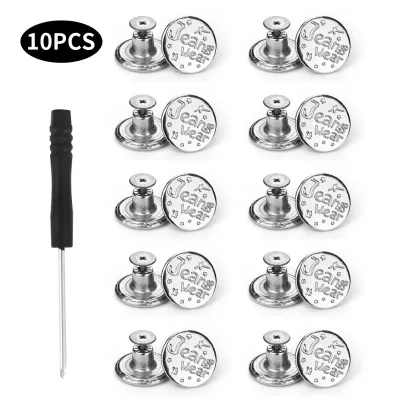
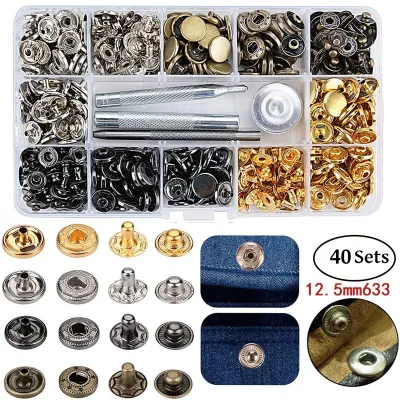
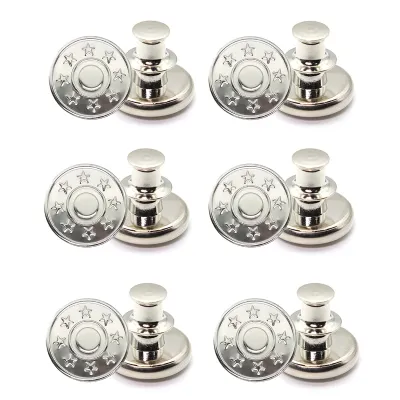
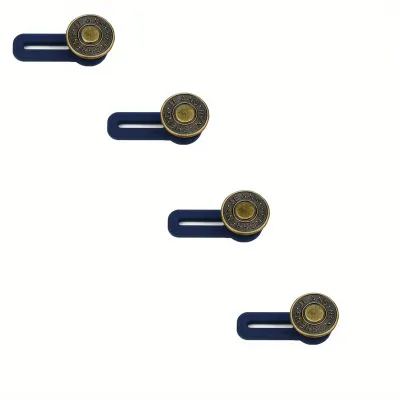
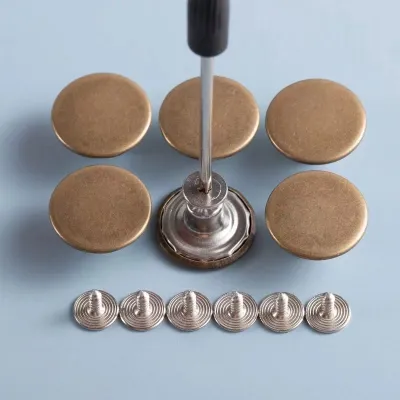
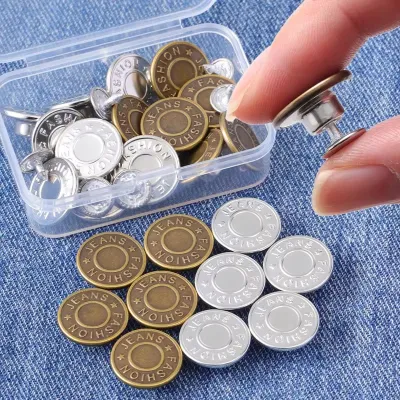
Prices are valid at publication and may change. Please refer to the product page for the latest price.
Tack buttons, also known as rivet buttons, are the standard hardware found on classic jeans and heavy denim jackets. These are two-part metal fasteners consisting of a decorative button face with a hollow stem and a separate sharp tack or nail. Instead of using thread, you push the tack through the back of the fabric and hammer it into the button face, locking the two pieces permanently together. This mechanical connection distributes stress across a wider area of the fabric, making it highly resistant to the pulling forces of a tight waistband.
To identify which type your garment originally used, inspect the area around the missing button. If you see a clean, round hole with no thread remnants and perhaps a small metal backing still clinging to the inside of the waistband, the garment originally used a tack button. If you see thread scars, multiple small stitch marks, or a clean fabric surface with no structural hole, it was likely a sew-on shank button. Matching the replacement to the original style ensures the fabric can handle the mechanical stress of daily wear.
How to Measure and Select the Correct Button Size
Choosing the correct button size is essential for both functionality and appearance. A button that is too large will struggle to pass through the buttonhole, causing the fabric to stretch and fray, while a button that is too small will slip out constantly, leaving your waistband unfastened.

Button sizes are traditionally measured in millimeters. For standard jeans, the most common waistband button size is 17 mm, while smaller buttons used for button flies or pocket flaps are typically 14 mm. If you are replacing a button, the easiest method is to measure the diameter of an existing button on the same garment, such as one from the fly, using a precise ruler or caliper. You can also check the manufacturer’s label or product specifications online to maintain visual and functional consistency.
If the original button is missing entirely, you must measure the buttonhole itself to determine the correct replacement size. Lay the waistband flat and measure the inner length of the buttonhole from one end to the other using a flexible measuring tape or a small sewing gauge. As a general rule, the button diameter should be slightly smaller than the buttonhole length to allow for easy fastening, but large enough to stay secure. For heavy denim, adding a small allowance of about 2 to 3 millimeters to the button’s physical diameter relative to the slit length ensures a snug fit that does not slip open.
Beyond the face diameter, you must also verify the length of the shank or the tack stem. Denim waistbands are constructed from multiple layers of fabric, often including interfacing and folded seams, which can make the material quite thick. If the tack stem or button shank is too short, it will pinch the fabric too tightly, making it difficult to slide the button through the buttonhole and putting extra stress on the surrounding fibers. Ensure the hardware specifications match the compressed thickness of your specific waistband before proceeding with installation.
Choosing the Right Material and Finish
The material and finish of your jean button determine not only how well it matches your garment’s aesthetic but also how well it survives daily wear, high-humidity climates, and frequent laundering. Selecting high-quality hardware prevents rust stains on your fabric and keeps the button from bending or breaking under pressure.
Metal alloys, such as brass, copper, steel, and zinc, are the industry standard for heavy-duty tack buttons. Brass and copper are naturally highly resistant to corrosion, making them excellent choices for humid environments where garments dry slowly. Zinc alloy buttons are lightweight yet strong, often featuring molded designs or brand logos. For lighter denim garments, shirts, or casual dresses, reinforced plastics, resin, or wood shank buttons offer a softer, more decorative appearance while still providing adequate strength for lighter fabric weights.
When selecting a finish, look at the other hardware on your garment, such as the zipper, pocket rivets, and adjustable buckles. Matching an antique brass button with antique brass rivets creates a cohesive, professional look, while a shiny silver or gunmetal finish can give a modern, clean appearance to dark indigo or black denim. If you prefer a minimalist look, you can also find fabric-covered shank buttons or matte black finishes that blend seamlessly into the waistband.
Before purchasing, check the garment’s care label to ensure the chosen material and finish are rust-resistant and suitable for the required washing conditions. High-quality buttons are designed to withstand the tumbling action of washing machines and dryers without losing their finish or chipping. If you are using resin or plastic buttons, verify that they are heat-resistant so they do not melt or warp when you iron your jeans.
Tools Needed and Steps to Attach a Tack Button
Installing a two-part tack button is a straightforward process, but it requires precision and the right tools to avoid damaging the denim or bending the hardware. Taking your time to prepare the fabric ensures a durable, professional-grade result.
Before you begin, gather your tools: a replacement tack button set, a hammer or mallet, an awl or a heavy-duty hole punch, a solid work surface (such as a wooden cutting board or a concrete floor), and a small scrap of thick cloth to protect the button face. Avoid hammering directly on delicate countertops or glass tables, as the force required can damage these surfaces. If you do not have an awl, a thick nail or a small screwdriver can work to create the pilot hole.
First, mark the exact spot where the new button should sit. If you are replacing a lost button, this will usually be the site of the original hole. If the fabric around the old hole is torn or frayed, you must repair it first by applying a small patch of denim or heavy interfacing to the back of the waistband and stitching over it to reinforce the area. Attempting to install a new tack button into damaged, weak fabric will cause the button to pull out almost immediately.
Next, use your awl or hole punch to create a clean pilot hole through all layers of the reinforced waistband. Push the sharp tack piece through this hole from the inside of the waistband to the outside, so the pointed post sticks out on the front of the jeans. Position the button face over the protruding tack post, ensuring it sits straight and is not tilted.
Place the garment on your hard work surface with the button face pointing downward. To prevent the hammer from scratching or denting the decorative metal face, place your scrap cloth or a piece of cardboard directly underneath the button face. Holding the tack straight with your fingers, use your hammer to strike the back of the tack with firm, even downward blows. Avoid hitting at an angle, which can bend the tack stem and ruin the alignment. If the fabric begins to tear, the tack bends, or the alignment shifts, stop immediately to adjust or replace the damaged hardware.
Once the tack is fully driven into the button stem, lift the garment and inspect your work. The button should feel completely secure, with no wobbling or spinning when you gently twist it. The back of the tack should sit flush against the inside of the waistband without puckering or distorting the surrounding denim. Test the closure by fastening the button through the buttonhole a few times to ensure a smooth, comfortable fit.
Frequently Asked Questions (FAQ)
Can I replace a tack button with a sew-on shank button?
While it is physically possible to sew a shank button onto a pair of jeans, it is generally not recommended for heavy-duty waistbands. Heavy denim waistbands experience significant lateral tension when you sit, bend, or move, which puts immense stress on the fastening point. A sew-on shank button relies entirely on thread, which can wear down, snap, or pull through the woven fibers of the denim over time. If you must use a sew-on button, ensure you use heavy-duty upholstery thread, reinforce the back of the fabric with a sturdy backing button or patch, and limit this substitution to lightweight denim garments that do not experience high tension.
What should I do if the new button feels too tight in the buttonhole?
If your new button is difficult to push through the buttonhole, first verify that you have selected the correct size. If the button is only slightly too snug, you can gently work the buttonhole to relax the fabric fibers. Use your fingers or a smooth tool, like the handle of a small spoon, to gently stretch the buttonhole opening. For stiff, unwashed denim, washing the garment can also help soften the fibers and make the opening more pliable. If the button is significantly larger than the opening, do not force it, as this will tear the stitching around the buttonhole; instead, replace it with a button that is one size smaller.
Are there temporary fixes for a broken jean button?
If your button breaks while you are away from your sewing tools, there are a few temporary, reversible fixes you can use until you can perform a proper repair. A specialized clip-on button pin, which works like a safety pin with a button face, can be pushed through the denim and secured on the back. Alternatively, you can slide a heavy-duty twist-tie, a small safety pin, or even a small carabiner through the buttonhole and the remaining hole in the waistband to hold the pants closed. Keep in mind that these temporary solutions are not secure under high tension, are not wash-safe, and can scratch your skin or damage the fabric if left in place long-term.
Community discussion
Share your experience or ask a question. Comments are reviewed before publication.