
Selecting the right embroidery yarn is the foundation of any successful needlework project. For beginners, the vast array of materials, thicknesses, and colors can feel overwhelming. Matching your thread to your fabric, skill level, and creative vision ensures a smooth crafting experience without wasting time or materials. By understanding how different fibers behave, you can confidently select the best tools for your first design.
Understand the Basic Types of Embroidery Yarn
Stranded cotton, often called embroidery floss, is the most common and beginner-friendly option available. It consists of six individual threads wound together, which you can easily separate to customize your line thickness. This material glides smoothly through most fabrics, resists fraying, and comes in an extensive range of colors, making it highly versatile for almost any basic project.
Crewel wool and tapestry wool offer a thicker, highly textured alternative with a completely matte finish. Wool yarn is excellent for creating raised, rustic designs on heavy fabrics, but its coarse texture creates more friction as it passes through the weave. This friction can make wool slightly more challenging for absolute beginners to pull through tight fabrics without causing wear.
Products mentioned in this guide
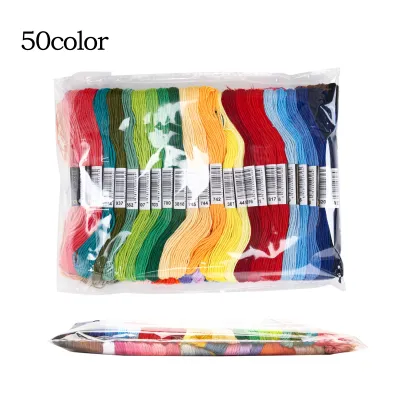
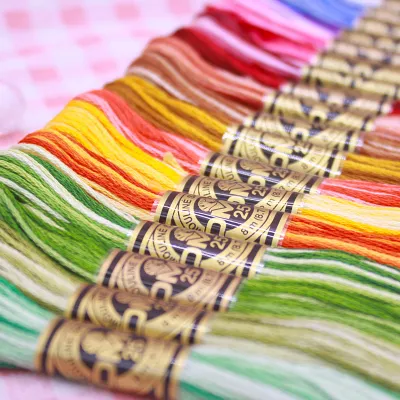
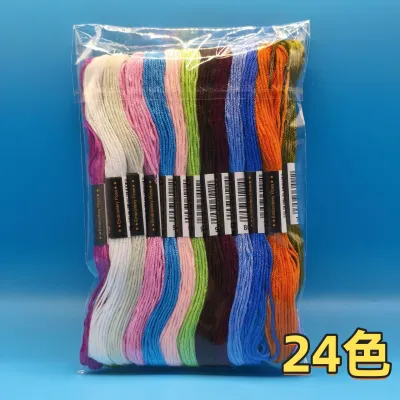
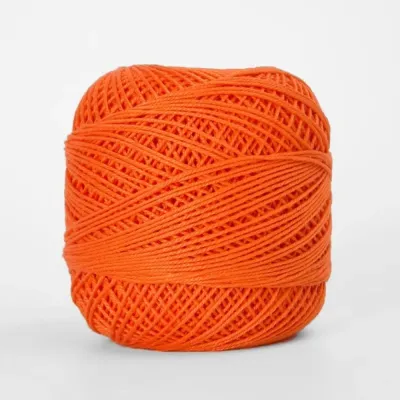
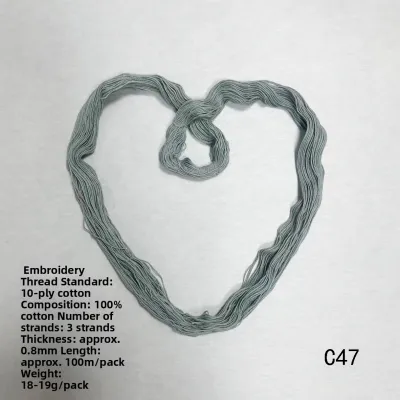
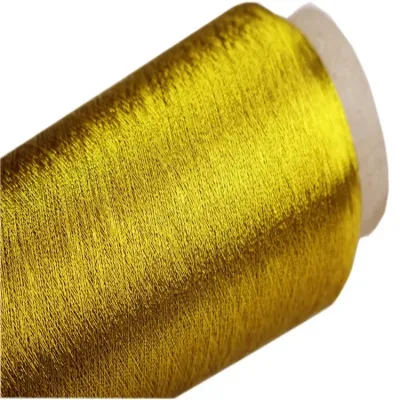
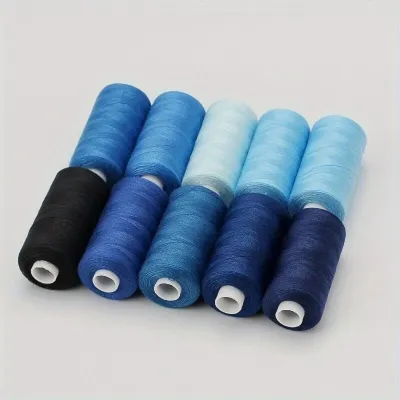
Prices are valid at publication and may change. Please refer to the product page for the latest price.
Specialty options like metallic and rayon threads provide striking visual effects but require advanced handling. Metallic threads add a beautiful sparkle, yet they tend to spring open, tangle easily, and fray quickly at the needle eye. Rayon threads offer a brilliant, silk-like sheen, but their slippery nature makes keeping stitches uniform and knots secure difficult for a first-time stitcher.
Fiber content directly influences the final texture, drape, and light reflection of your finished piece. Natural fibers like cotton and wool offer reliable tension and classic textures, while synthetic fibers can range from ultra-matte to high-gloss finishes. For your first project, sticking to stranded cotton allows you to practice basic stitches with a forgiving material that is easy to thread, manipulate, and undo if you make a mistake.
Match the Yarn to Your Fabric and Project Type
A fundamental rule of embroidery is balancing the weight of your base fabric with the thickness of your yarn. Fine, delicate threads will get lost on heavy canvas or denim, while thick wool yarns will warp, puck, or tear lightweight linens. Choosing a medium-weight fabric, such as cotton calico or linen, provides a stable foundation that supports a wide range of thread thicknesses.

Consider how the finished item will be used and maintained over time. If you are creating decorative wall art framed in a wooden hoop, you can use delicate, non-washable fibers like silk or specialty metallics. These pieces remain undisturbed on a wall, meaning they do not require regular cleaning or resistance to physical wear.
For wearable garments, daily-use tote bags, or cushion covers, durability and washability are paramount. These items require colorfast, tightly twisted cotton or synthetic threads that can withstand regular laundering and friction without pilling or bleeding. Choosing the wrong yarn for a garment can result in the colors running and ruining the fabric during the first wash.
Always read the product labels carefully before purchasing to verify care instructions. Look for explicit indications of colorfastness to ensure the dyes will not bleed when wet. If you plan to wash the finished item, pre-washing both your base fabric and your yarn prevents uneven shrinkage from distorting your embroidery later.
Evaluate Yarn Thickness and Strand Separation
Standard six-strand embroidery floss is designed to be split, allowing you to customize the thickness of your stitches. Using a single strand produces incredibly fine, detailed lines suitable for delicate facial features, pet portraiture, or miniature lettering. Conversely, using three to four strands provides a bolder line, while all six strands are ideal for chunky outlines or filling large shapes rapidly.
The number of strands you choose dramatically alters the texture of your stitches. For satin stitch fills—where stitches lie side-by-side to create a smooth surface—using fewer strands results in a flatter, more professional finish. Using too many strands for fills often leads to a bumpy, uneven texture that catches the light awkwardly and makes it difficult to maintain straight edges.
To minimize tangling and knotting, cut your yarn to a manageable length before you begin. A good rule of thumb is to cut pieces that measure from your fingertips to your elbow, which is roughly 45 to 50 centimeters. Lengthy threads are highly susceptible to static, twisting, and wearing down as they pass repeatedly through the fabric.
When separating strands, pull them out one by one rather than pulling multiple strands apart at once. Pulling a single strand upward while holding the rest of the skein loosely allows the remaining threads to slide and untangle naturally. Once you have separated the individual strands you need, smooth them back together before threading your needle.
Select Colors and Finishes for Your Desired Outcome
The finish of your yarn defines the overall mood and style of your embroidery. Matte finishes, common in wool and some specialty cottons, evoke a rustic, modern, or vintage feel. Semi-gloss finishes, typical of standard mercerized cotton, offer a classic, clean look that reflects just enough light to highlight your stitch definition. High-sheen finishes, such as rayon or silk, create a luxurious, luminous effect that works beautifully for natural elements like water, feathers, or flower petals.
Contrast is the key to pattern visibility. Before stitching, lay your chosen yarn colors across your base fabric under natural light to ensure they stand out. Low-contrast combinations, such as pastel pink on light cream, can make intricate stitches disappear, while high-contrast pairings ensure your design stands out clearly.
For beginners, pre-curated multi-color starter kits are highly convenient and cost-effective, providing a balanced palette without the overwhelm of choosing individual shades. However, selecting individual skeins allows you to customize your palette precisely and ensures you only pay for the exact colors your pattern requires.
Look for the term “mercerized” on the label. Mercerization is a treatment for cotton that increases luster, improves dye uptake for more vibrant colors, and strengthens the fibers, making the yarn smoother and more resistant to fraying.
Check Quality Indicators Before You Buy
Before purchasing, physically inspect the skein to ensure it is wound neatly without loose loops or tangles escaping the paper bands. A messy skein often indicates poor handling or storage, which can lead to frustrating knots before you even begin stitching. Run your fingers gently along the exposed thread to check for a consistent twist. High-quality yarn should feel smooth and uniform, without sudden thin spots, thick slubs, or excessive surface fuzz that suggests weak, short-staple fibers.
Examine the paper label for essential tracking information. A reputable manufacturer will clearly print the fiber composition, a unique color identification number, and a dye lot number. Dye lot numbers are critical because yarn dyed in different batches can have subtle color variations, even if they share the same color code. If your project requires multiple skeins of the same color, verify that the dye lot numbers match exactly to avoid visible color blocks in your work.
Watch out for red flags such as faded packaging, which suggests prolonged sun exposure that can weaken fibers and fade colors. Avoid yarns with missing labels or unusual chemical odors, as these can indicate poor manufacturing standards or damp storage conditions that promote mold.
When managing your initial budget in Singapore, you might find starter sets priced around S$10 to S$20 on local online marketplaces. While these are excellent for practicing basic stitches, consider investing in premium, branded skeins (usually costing around S$1.50 to S$3.00 each at local craft shops) for the main elements of your project to ensure colorfastness and smooth stitching.
Organize and Store Your Embroidery Yarn
Proper storage preserves the life and color of your embroidery yarn, protecting your investment for future projects. Store your collection in a cool, dry place away from direct sunlight, as UV rays will fade vibrant dyes and dry out natural fibers over time.
To prevent tangling and dust accumulation, wind your leftover threads onto plastic or cardboard bobbins. Store these bobbins upright in clear, compartmentalized plastic organizer boxes, which allow you to view your color palette at a glance. Alternatively, keep individual skeins in clear, resealable plastic bags grouped by color family. This method keeps the yarn clean and prevents different fibers from clinging to one another.
Always retain the original paper labels or write the color and dye lot numbers directly onto your bobbins. Having this information on hand makes it simple to purchase exact replacements if you run out of a specific shade mid-project.
Frequently Asked Questions (FAQ)
Can I use regular sewing thread for embroidery?
While you can technically use regular sewing thread for embroidery, it is not ideal for most projects. Sewing thread is much thinner, tightly twisted, and designed to blend into fabric rather than stand out as a decorative element. Using sewing thread for embroidery requires many more stitches to fill an area, which can distort your fabric and look flat or lifeless. However, it can be useful in a pinch for extremely fine details, such as securing tiny beads or stitching delicate eyelashes on a portrait.
How much embroidery yarn do I need for a beginner project?
The amount of yarn you need depends on the size of your design, the density of your stitches, and how many strands you use. A standard 8-meter skein of six-strand cotton actually yields 48 meters of usable thread if you split it into two-strand sections. For a typical beginner project framed in a 15-centimeter hoop with moderate detail, three to five skeins in your chosen colors are usually more than enough. If you are filling large areas with dense stitches like the long-and-short stitch, buy an extra skein of your background colors from the same dye lot to ensure consistency.
What needle size should I use with different yarn thicknesses?
Your needle eye must be large enough to accommodate your yarn without squeezing or scraping the fibers as you thread it. If the eye is too small, the friction will fray and weaken the yarn, leading to breakage mid-stitch. Choose your needle point based on your fabric: use sharp embroidery (crewel) needles for tightly woven fabrics like cotton or linen, and blunt tapestry needles for open-weave fabrics like Aida or canvas. To verify your match, thread your needle and pull it through a scrap piece of your project fabric. The needle should slide through smoothly, creating a hole just large enough for the yarn to pass through without resistance, but not so large that it leaves a visible gap around the thread.
Community discussion
Share your experience or ask a question. Comments are reviewed before publication.