
Choosing the right embroidery thread for your sewing machine is the key to achieving vibrant, professional-looking designs without the frustration of constant thread snaps or jammed bobbins. To make the correct choice, you must match the thread material to your fabric’s wash requirements, select the appropriate thread weight for your design’s detail level, and pair both with a compatible machine needle and bobbin thread. By understanding how these elements interact with your specific sewing machine, you can confidently set up any embroidery project for success.
Understanding Embroidery Thread Materials and Weights
Machine embroidery threads are engineered differently from standard sewing threads, prioritizing sheen, flexibility, and high-speed performance. The two most common materials you will encounter are polyester and rayon, each offering distinct characteristics for different projects.
Polyester embroidery thread is highly durable, colorfast, and resistant to chlorine bleach and frequent laundering. This makes it the ideal choice for children’s clothing, uniforms, activewear, and items that require regular washing. It has a lovely sheen, though slightly less intense than rayon, and its strength helps prevent breakage during high-speed stitching.
Products mentioned in this guide
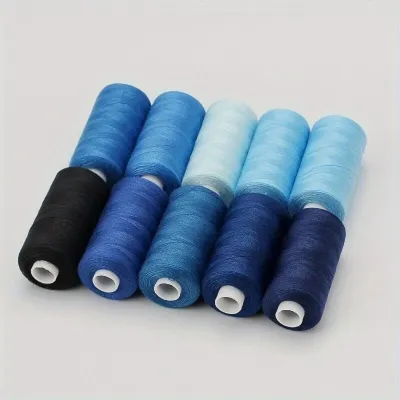
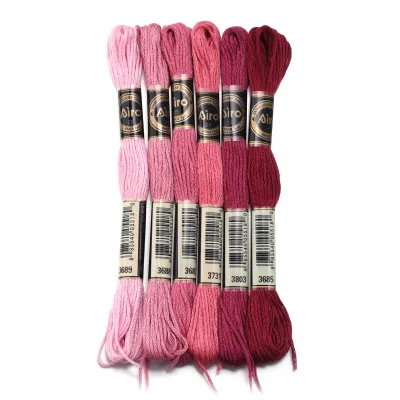
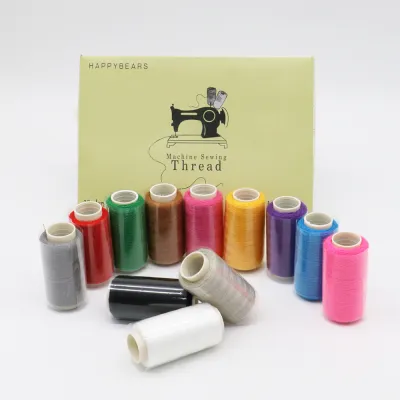
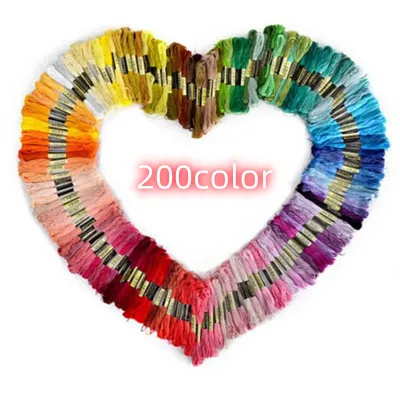
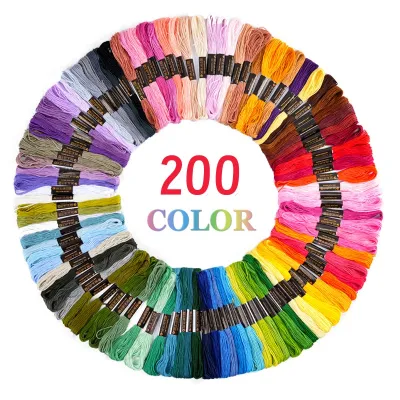
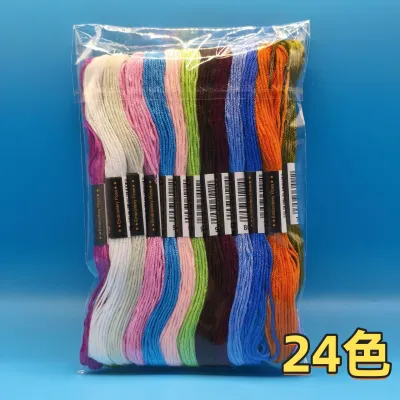
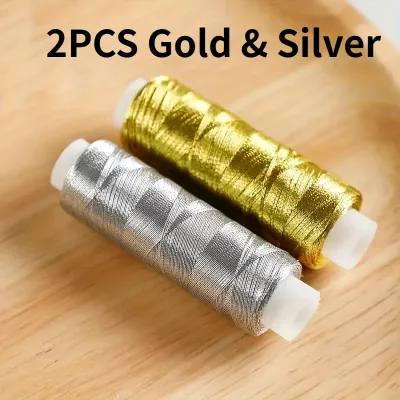
Prices are valid at publication and may change. Please refer to the product page for the latest price.
Rayon embroidery thread is widely celebrated for its exceptionally high, silk-like luster and soft drape. It reflects light beautifully, making intricate designs stand out with a premium finish. However, rayon is less resistant to harsh chemicals and heavy wear, meaning it is best reserved for decorative items, heirloom sewing, or garments that receive gentle care.
Beyond material, understanding thread weight is crucial for achieving clean embroidery details. Thread weight is typically measured using the weight (wt) system, where a higher number indicates a thinner thread. For example, a standard 40-weight thread is thicker than a 60-weight thread.
Most standard machine embroidery designs are digitized specifically for 40-weight thread, which provides excellent coverage for satin stitches and fill patterns. If you are working on highly detailed, miniature designs or tiny lettering, switching to a thinner 60-weight thread prevents the stitches from bunching up and losing definition. Conversely, thicker 30-weight threads can be used for a hand-carved or bold look, though they require careful design adjustments to avoid dense, stiff fabric.
Verifying Sewing Machine Compatibility and Limits
Before purchasing a variety of embroidery threads, you must verify what your specific sewing machine can handle. Every machine has physical limitations based on its tension mechanisms, feed systems, and motor power.

Your first step should always be to consult your sewing machine’s user manual. The manufacturer typically lists recommended thread weights, compatible materials, and any specific restrictions for the machine’s embroidery mode. Some entry-level or combination machines have tension systems calibrated specifically for standard polyester or rayon threads and may struggle with specialty varieties.
Physical clearance is another critical factor when working with thicker or textured threads. Inspect the needle plate hole and the presser foot clearance on your machine. Thicker specialty threads, such as heavy cotton or metallic threads, require sufficient space to pass through the needle plate without catching or shredding against the metal edges.
If your manual explicitly forbids the use of certain specialty threads, such as heavy-duty industrial threads or specific wire-core metallics, treat this as a strict stop condition. Attempting to force incompatible threads through a domestic machine can damage the tension discs, scratch the hook assembly, or throw the machine’s timing out of alignment. When in doubt, halt your project and contact the manufacturer or an authorized service center for guidance.
Matching Thread Weight to the Correct Needle Size
A mismatch between your embroidery thread weight and your machine needle is one of the most common causes of shredded thread and skipped stitches. The needle eye must be large enough to allow the thread to pass through freely at high speeds, yet small enough to maintain stitch precision.
To establish a reliable pairing, follow a standard matching framework. For a typical 40-weight embroidery thread, a size 75/11 or 80/12 embroidery needle is generally the standard choice. If you transition to a finer 60-weight thread for delicate details, scale down to a 60/8 or 70/10 needle. For thicker 30-weight threads, a larger 90/14 needle is necessary to accommodate the extra bulk.
You can perform a simple visual inspection to verify the fit before threading your machine. Take a loose needle and thread it by hand, holding the thread vertically. Slide the needle up and down; it should glide smoothly along the thread without catching, twisting, or leaving visible friction marks. If the needle clings to the thread or struggles to slide, the needle eye is too small.
Additionally, always inspect the condition of your needle before starting a new embroidery project. High-speed embroidery places significant friction on the needle tip, causing it to become blunt or slightly bent over time. A damaged needle will snag the delicate fibers of your embroidery thread, leading to frequent breaks and fabric damage. Replacing a worn needle is a highly cost-effective step, as a new pack of quality embroidery needles typically costs only around S$5 to S$8.
Choosing the Proper Bobbin Thread for Balance
While the top thread provides the color and sheen of your design, the bobbin thread plays an equally vital role in securing the stitches and maintaining a flat, professional finish. Using the wrong bobbin thread can ruin the drape of your fabric and cause severe tension imbalances.
Standard sewing thread is generally unsuitable for the bobbin in machine embroidery. Sewing thread is typically 40-weight or 50-weight, which is too thick for embroidery bobbins. Using it results in a bulky underside, stiff designs, and a high risk of the bobbin thread pulling through to the front of the fabric, ruining the appearance of your design.
Instead, machine embroidery requires a much thinner bobbin thread, typically 60-weight or 90-weight polyester. This fine thread allows the top embroidery thread to wrap slightly around to the back of the fabric, locking the stitches securely without adding unnecessary bulk.
You can choose between purchasing pre-wound bobbins or winding your own from a spool of embroidery bobbin thread. Pre-wound bobbins offer the advantage of uniform winding tension and maximum thread capacity, which helps prevent tension fluctuations during long stitching sessions. If you choose to wind your own, ensure your machine’s bobbin winder is clean and winds the thread evenly without stretching it.
Keep an eye out for visual signs of poor bobbin tension during your projects. If you notice loops of top thread forming on the underside of your fabric, or if the fabric begins to pucker excessively around the design boundaries, your bobbin thread may be too loose or improperly threaded in the bobbin case.
Testing Tension and Troubleshooting Thread Breakage
Achieving perfect embroidery results requires a brief testing phase before you begin stitching on your final project. Because different fabrics, stabilizers, and threads interact uniquely, a test swatch is your best defense against ruined garments.
Always stitch a test design on a scrap piece of the exact fabric and stabilizer you plan to use. Use a small, dense test pattern—such as a simple filled square or a series of satin-stitch columns—to observe how the thread behaves under tension.
Once the test pattern is complete, turn the fabric over to inspect the underside. In a perfectly balanced embroidery stitch, you should see a clean “one-third” ratio: the top embroidery thread should pull through to the back, covering approximately one-third of the stitch width on each side, while the bobbin thread occupies the center third.
If you see only the top thread on the back, or if the bobbin thread is pulling through to the front of the design, you must adjust your upper tension. Make small, incremental adjustments to your machine’s upper tension dial—usually moving it by half-step increments at a time—and run another test swatch.
If adjusting the upper tension dial does not resolve the issue, or if you hear unusual clicking noises from the bobbin area, stop adjusting immediately. Forcing extreme tension settings can strain your machine’s motor. At this point, clean the bobbin area of any lint, re-thread both the top and bottom paths, and if the problem persists, seek professional servicing to check the machine’s internal tension calibration.
Frequently Asked Questions (FAQ)
Can I use regular sewing thread for machine embroidery?
While it is physically possible to use regular sewing thread in an embroidery machine, it is generally not recommended for standard designs. Regular sewing thread is thicker and lacks the high-luster finish characteristic of embroidery threads, resulting in a dull, dense, and stiff design. Furthermore, the extra thickness can cause excessive lint buildup in your machine’s tension discs and bobbin case, leading to frequent thread jams and tension errors during high-speed stitching.
Why does my embroidery thread keep breaking?
Frequent thread breakage is usually caused by a few common, easily correctable issues. First, check that your needle size matches your thread weight; a needle eye that is too small will shred the thread. Second, inspect the threading path to ensure the thread is fully seated in the tension discs and has not caught on the spool cap. Finally, ensure you are using fresh, high-quality thread, as old or poorly stored thread can become brittle and snap easily under the high tension of embroidery speeds.
Community discussion
Share your experience or ask a question. Comments are reviewed before publication.