
Starting a fabric dyeing or tie-dye project in Singapore is an exciting way to refresh old garments, customize tote bags, or explore a new craft. To get the best results without the frustration of buying mismatched supplies, a beginner-friendly dye starter set is the ideal entry point. The ideal kit should contain not just the colorants, but also the necessary chemical fixatives, application tools, and protective gear required to complete a project from start to finish. By selecting a kit tailored to your specific fabric type and workspace, you can avoid common pitfalls like fading colors, messy spills, and ruined clothing.
Key Components to Look for in a Beginner Dye Kit
When evaluating starter sets, the completeness of the package determines how quickly you can begin your project. A truly comprehensive kit eliminates the need for mid-project trips to the hardware or art supply store.
First, look at the dye agents themselves. Starter sets typically offer dyes in either dry powder form or pre-measured squeeze bottles containing powder that you activate by adding water. For beginners, pre-measured bottles are highly convenient because they minimize airborne dust. Along with the dye, a high-quality kit must include the appropriate fixative. For fiber-reactive dyes, this is usually sodium carbonate, commonly known as soda ash. Soda ash raises the pH of the fabric, allowing the dye to bond chemically with the fibers. Without this crucial component, your vibrant designs will simply wash down the drain during the first rinse.
Products mentioned in this guide
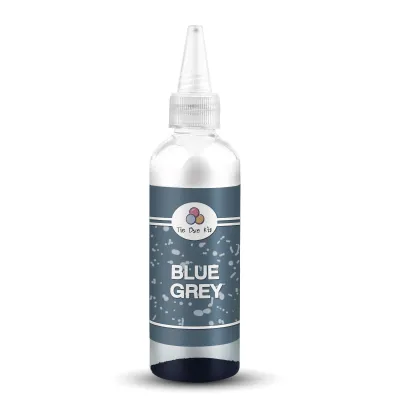
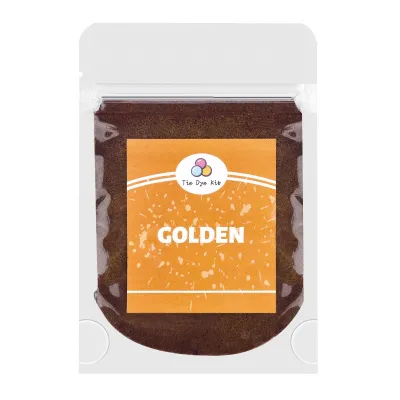
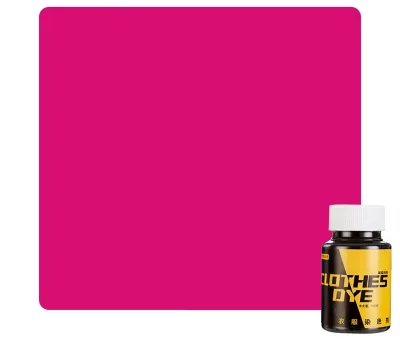
Prices are valid at publication and may change. Please refer to the product page for the latest price.
Next, examine the application tools provided. Squeeze bottles with fine-tip nozzles are essential for precise tie-dye patterns, allowing you to direct the liquid into specific folds of the fabric. If you plan to try dip-dyeing, ombre effects, or solid-color immersion dyeing, look for kits that suggest or include larger dipping tubs or resealable bags. Brushes are also useful if you want to paint freehand designs directly onto the textile.
Protective gear is another non-negotiable element of a starter set. Dyeing is inherently messy, and high-quality kits will include thick, reusable or disposable plastic gloves and a protective apron. These items prevent the dye from staining your hands and clothing. Additionally, look for binding tools such as heavy-duty rubber bands, sinew, or plastic clips. These tools are vital for creating the resists that define classic tie-dye patterns like spirals, bullseyes, and stripes.
Finally, a clear, step-by-step instruction manual is the backbone of any beginner kit. The manual should guide you through fabric preparation, mixing ratios, binding techniques, curing times, and the crucial post-dye washing process. Look for kits that provide visual diagrams or links to video tutorials, as seeing the folding techniques in action can significantly reduce the learning curve for first-time crafters.
Tie-Dye vs. Fabric Dye: Matching the Kit to Your Project
Not all dyes are created equal, and choosing the wrong type for your fabric will lead to disappointing, washed-out results. Before purchasing a starter set, you must match the chemical properties of the dye to the fiber composition of your project.

Fiber-reactive dyes are the gold standard for tie-dye and bright, multi-colored projects. These dyes work by forming a covalent bond with cellulose fibers, which include natural materials like cotton, linen, rayon, and viscose. Because the dye becomes part of the fiber itself, fiber-reactive dyes offer exceptional wash-fastness and color vibrancy. They are typically applied at room temperature, making them safe and easy to use at home without the need for boiling water.
In contrast, all-purpose dyes are formulated to work on a wider variety of fabrics, including both natural fibers and some synthetic blends (such as nylon or low-percentage polyester blends). However, all-purpose dyes do not form the same chemical bond as fiber-reactive dyes. Instead, they require high heat—often near-boiling temperatures—to open up the fabric fibers and allow the pigment to enter. This process, known as immersion dyeing, is excellent for achieving solid, uniform colors on garments but is much more difficult to use for intricate, multi-colored tie-dye patterns.
Before you begin, always check the care label on the garment or fabric you intend to dye. If your item is 100% cotton, a fiber-reactive tie-dye kit will yield the most vibrant and long-lasting results. If the fabric is a blend, such as 60% cotton and 40% polyester, a standard fiber-reactive dye will only color the cotton fibers, resulting in a pastel or heathered appearance. For fabrics with high synthetic content, you will need a specialized dye kit formulated specifically for synthetics, which requires a sustained heat source to set.
Curing times and wash-fastness also differ significantly between these dye types. Fiber-reactive dyes require a curing period—typically 8 to 24 hours—during which the fabric must remain damp and warm for the chemical reaction to complete. All-purpose dyes, on the other hand, set almost immediately during the hot bath process but often require an additional liquid fixative treatment afterward to prevent bleeding and fading during subsequent laundry cycles.
Evaluating Ease of Use and Safety Standards
Working with dyes involves handling chemical agents, making safety and ease of use primary considerations, especially when crafting in typical Singapore residential spaces like HDB apartments.
When comparing pre-mixed liquid dyes to dry powders, consider both convenience and shelf life. Pre-mixed liquid dyes are incredibly easy to use because they eliminate the step of dissolving powder, reducing the risk of inhaling fine dye particles. However, once water is added to fiber-reactive dye powders, the chemical reaction begins, and the dye’s potency starts to degrade within a few days. Dry powder kits offer a much longer shelf life, allowing you to mix only the amount of dye you need for a specific session while saving the rest for future projects. If you choose a powder-based kit, ensure you mix the dyes in a well-ventilated area to avoid inhaling the fine dust.
Ventilation is particularly important when working in enclosed spaces. In Singapore’s humid climate, setting up your dyeing station near an open window, on a balcony, or in a well-ventilated service yard is highly recommended. Always wear a dust mask or respirator when handling dry dye powders to protect your respiratory tract. Skin protection is equally vital; while most beginner dyes are non-toxic, they can cause mild skin irritation or leave stubborn stains that take days to wash out. Ensure the kit’s gloves fit snugly and cover your wrists.
If you are planning a dyeing activity with children, pay close attention to the manufacturer’s age recommendations and safety warnings. Many beginner tie-dye kits are labeled as non-toxic and suitable for children aged six and up with adult supervision. For younger children, look for kits that feature self-contained design systems, such as dye tubs with secure lids or pre-filled squeeze bottles that minimize direct contact with the dye. Regardless of the kit’s safety rating, an adult should always handle the initial mixing of dry powders and supervise the entire process to prevent accidental ingestion or contact with eyes.
Building Your Shortlist: What to Verify Before Buying
With numerous dye kits available on online marketplaces and in local art supply stores, a systematic verification process will ensure you purchase a high-quality, complete product.
First, check the manufacturing or packaging date on the kit. Chemical fixatives like soda ash and certain liquid dye concentrates can degrade over time, especially when exposed to high humidity and warm temperatures. A kit that has sat on a shelf for years may produce dull, faded colors. If the packaging does not list an expiration date, look for reputable sellers with high inventory turnover to ensure you receive fresh stock.
Next, verify the included component list against your specific project requirements. Some kits may advertise “complete supplies” but omit essential items like soda ash, fabric detergent, or a sufficient number of squeeze bottles. Calculate the total cost of any additional items you will need to purchase separately, such as extra rubber bands, plastic drop cloths, or a dedicated mixing bucket. A basic starter kit in Singapore typically ranges from S$15 to S$40 depending on the number of colors and included tools, so a slightly more expensive kit that truly includes everything may offer better value than a cheaper, incomplete alternative.
Reading user reviews on ecommerce platforms can provide valuable insights into the real-world performance of the kit. Look for reviews that mention the vibrancy of the colors after the first wash. If multiple users complain that the colors washed out completely or turned muddy, it often indicates poor-quality dye or an ineffective fixative. Also, pay attention to feedback regarding missing parts, leaking bottles, or confusing instructions, as these issues can quickly ruin a beginner’s experience.
Finally, confirm the seller’s return and exchange policy before finalizing your purchase. Because dye kits contain chemical liquids or powders, they can occasionally leak during transit, especially if subjected to rough handling. Ensure the seller offers a straightforward refund or replacement policy for damaged or defective items, allowing you to shop with confidence.
Frequently Asked Questions (FAQ)
Can I use standard fabric dye kits on synthetic materials like polyester?
Standard beginner dye kits, which typically contain fiber-reactive or all-purpose dyes, are not designed for synthetic materials like polyester, acrylic, or acetate. These synthetic fibers are essentially plastics and lack the chemical structure required to absorb standard dyes. If you attempt to use a standard kit on polyester, the color will either fail to adhere entirely or wash out completely during the first rinse. To dye synthetic fabrics successfully, you must look for specialized kits labeled specifically for synthetics. These kits contain disperse dyes, which require a sustained boiling process on a stovetop to force the synthetic fibers to open up and accept the pigment.
How long do mixed dyes last before they lose their effectiveness?
Once you mix water with fiber-reactive dye powder, a chemical reaction called hydrolysis begins. This reaction causes the dye to gradually lose its ability to bond with fabric fibers. Generally, mixed fiber-reactive dyes remain highly effective for about 1 to 2 hours after mixing, and their potency will decline significantly after 24 hours. While the liquid may still look colorful, applying it to fabric after this window will result in much duller, faded results. To maximize your materials, only mix the amount of dye powder you plan to use during your immediate crafting session, and store the remaining dry powder in a cool, dry, airtight container for future use.
Community discussion
Share your experience or ask a question. Comments are reviewed before publication.