
Selecting the right modeling clay can make the difference between a durable, beautifully finished craft and a project that cracks, warps, or fails under its own weight. DAS air-dry clay is a staple for hobbyists, educators, and professional crafters alike, but its different formulations are engineered for distinct tasks. Choosing the correct variant requires matching your project’s physical scale, weight limits, and aesthetic goals with the specific properties of each formula. Whether you are sculpting a delicate piece of jewelry, a large-scale decorative bust, or a rustic piece of faux pottery, understanding how these clays behave during modeling and curing ensures your hard work stands the test of time.
Assessing Your Project Requirements Before Choosing
Before reaching for a block of clay, take a moment to analyze the physical demands of your planned creation. The physical size and structural complexity of your piece dictate the type of support and material density required. Large, solid sculptures behave differently during the drying process than small, flat items, making material selection critical from the very first step.
Consider whether your project will need an internal armature to maintain its shape. Heavy, dense clays can slump or collapse under their own weight during the sculpting phase if they lack internal support. If you plan to build a tall figure or an intricate, reaching structure, you must evaluate whether the clay can cling securely to wire or foil armatures without slipping.
Products mentioned in this guide
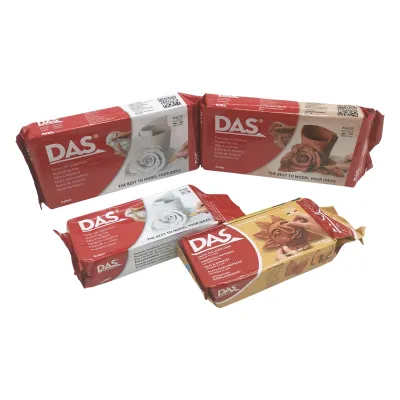
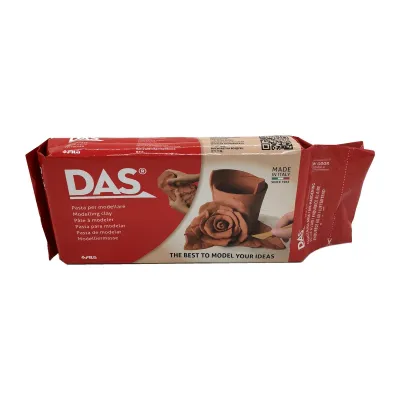
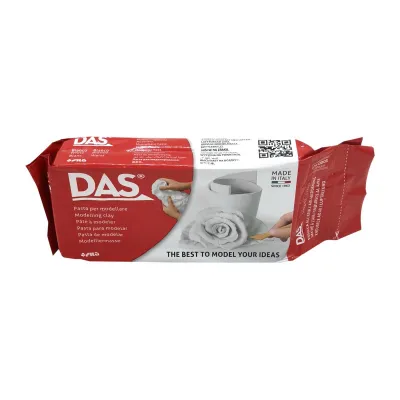
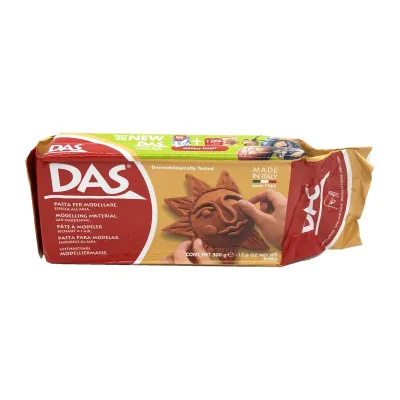
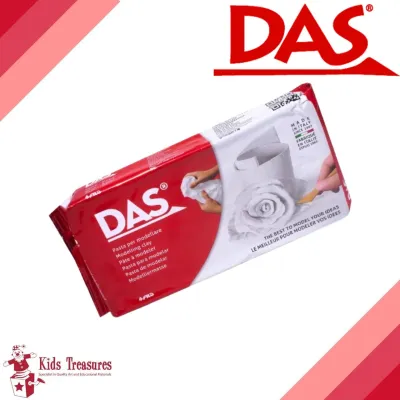
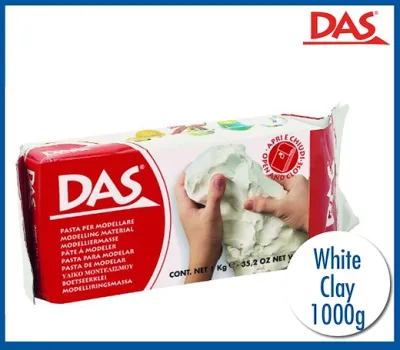
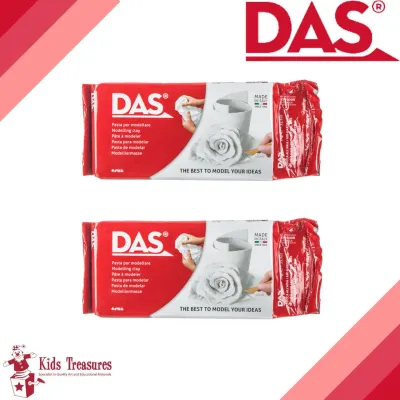
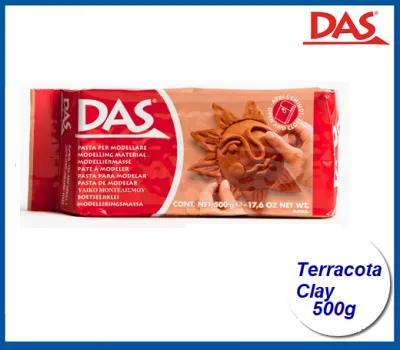
Prices are valid at publication and may change. Please refer to the product page for the latest price.
Weight is another critical factor, especially for items intended to be worn, hung, or suspended. A heavy pendant or a large wall hanging made from standard clay can put undue stress on chains, hooks, or the piece itself. For these applications, a lightweight formula that reduces physical load without sacrificing volume is often the more practical choice.
Aesthetic preferences should also guide your decision before you begin. Decide whether you want a clean, neutral canvas that you can paint and seal with custom colors, or if you prefer a natural, earthy finish that looks complete without any additional pigment. Some projects benefit from the rustic, unpainted texture of terracotta, while others require a smooth, white base to make vibrant acrylic paints pop.
Finally, evaluate your workspace and drying environment. Air-dry clays cure through moisture evaporation, which means local humidity, temperature, and airflow will directly impact your drying timeline. A damp or poorly ventilated room can significantly delay curing, while an overly dry or drafty space might cause the outer layer to dry too quickly, leading to surface cracks.
Comparing Core DAS Clay Variants for Different Needs
To select the ideal material, it helps to compare the core variants across key performance areas: weight, texture, and structural suitability. Each formula is tailored to specific crafting scenarios, and understanding these distinctions prevents common sculpting mishaps. Always verify the exact drying times, shrinkage rates, and working times printed on your specific product packaging, as these can vary depending on the batch and environmental conditions.

DAS Original (Standard Air-Dry)
DAS Original is the traditional, mineral-based air-dry clay that serves as the benchmark for general modeling. It features a solid, substantial density that feels similar to traditional kiln-fired clay during handling. This standard weight makes it highly suitable for detailed modeling, school projects, and flat reliefs where a sturdy, solid feel is desired.
Because of its standard density, larger three-dimensional builds using DAS Original almost always require a robust internal armature. Without a wire or foil core, thick sections of standard clay take a long time to dry and are prone to sagging under their own weight during the sculpting process. Using an armature not only saves material but also speeds up the overall drying process by reducing the maximum thickness of the clay walls.
Once fully cured, DAS Original dries to a hard, durable finish with a neutral white or grey tone. This clean surface is highly receptive to sanding, carving, and painting. However, before applying any decorative finishes, you must verify the compatibility of your paints and sealants with mineral-based clays to ensure proper adhesion and prevent peeling.
DAS Light (Lightweight Formula)
DAS Light is formulated specifically for projects where minimizing weight is the primary concern. This lightweight variant is exceptionally soft and easy to knead, making it comfortable for extended crafting sessions or for use by younger crafters. It is the ideal choice for hanging ornaments, mobile elements, large-volume fills, and wearable crafts like earrings or masks where standard clay would be too heavy.
While the handling texture is airy and pliable, it behaves differently from the standard variant when it comes to fine detailing. The lightweight structure can sometimes feel slightly spongy, which requires a gentle touch when carving fine lines or pressing intricate textures. It excels at smooth, rounded shapes and broad volumes rather than razor-sharp, delicate details.
Additionally, DAS Light has specific structural limitations regarding thin, unsupported extensions. Because the cured material is less dense than the standard version, thin protruding parts can be fragile and susceptible to bending or snapping. If your design includes delicate limbs or fine, reaching details, you should plan to use a denser clay or ensure those elements are fully supported by an internal wire frame.
DAS Terracotta (Earth-Toned Texture)
DAS Terracotta offers the same reliable working properties as the standard original clay but features a rich, warm, earth-toned finish. This variant is perfect for creating faux pottery, rustic sculptures, and decorative planters where you want the classic look of traditional earthenware without the need for a high-temperature kiln. The natural color provides an instant, finished aesthetic right out of the package.
Using a pre-colored clay changes how you plan your finishing steps. While you can still paint over terracotta clay, the dark, warm base will affect the vibrancy of light-colored acrylics unless you apply a thick, opaque primer first. Instead of covering the beautiful natural tone, many crafters prefer to use dry-brushing techniques, washes, or clear sealants to highlight the clay’s organic texture and depth.
When working with DAS Terracotta, it is important to check the product label for any specific instructions regarding moisture retention and working time. Earth-toned pigments can sometimes alter how the clay absorbs water during sculpting. Keeping a small spray bottle of water nearby allows you to maintain the clay’s pliability without oversaturating the material.
Handling, Armatures, and Drying Preparation
Successful clay crafting relies heavily on proper preparation and handling before the drying process even begins. Always review the manufacturer instructions on your specific packaging for recommended kneading, joining, and moisture-adding techniques. Properly conditioning your clay by kneading it thoroughly before sculpting helps distribute moisture evenly and eliminates air pockets that could cause structural weak spots.
When building complex or large-scale projects, plan your armature selection carefully based on the density of your chosen clay. Aluminum foil wrapped tightly around wire is an excellent lightweight core that provides structural support while reducing the overall volume of clay needed. Ensure the armature is completely clean and dry before applying the clay, and press the clay firmly onto the frame to prevent air gaps.
To dry your finished pieces safely, establish a clean, dust-free, and well-ventilated drying area away from direct sunlight, drafts, or active heat sources. Check the product label for the manufacturer’s estimated curing timelines, keeping in mind that actual drying times depend heavily on the thickness of your piece and your local climate. Covering your piece loosely with a plastic sheet during the first few hours can help slow down the initial drying phase, promoting a more even cure.
Keep an eye out for early signs of improper drying, such as surface cracking or uneven color patches. Cracking typically occurs when the outer layer dries and shrinks faster than the moist interior. If you notice cracks forming, you can gently fill them with a small slurry of fresh clay and water, and then adjust your drying environment to slow down the evaporation rate.
Finishing, Sealing, and Care for Finished Pieces
Before you begin sanding, painting, or sealing, you must verify that your clay project is completely dry throughout. Even if the surface feels dry and cool to the touch, moisture may still be trapped deep inside the core. Working on a piece that is not fully cured can trap moisture beneath your paint or sealant, leading to mold growth, softening, or eventual structural failure.
Once you are certain the piece is dry, you can smooth out any rough spots with fine-grit sandpaper. When selecting sealants, such as water-based varnishes or acrylic topcoats, always check the compatibility and application instructions on the product label. Applying a high-quality sealant is essential to protect your finished craft from ambient humidity and minor handling wear.
To ensure the longevity of your finished pieces, store and display them in a stable environment. Avoid placing your crafts in areas prone to high humidity, such as bathrooms, or in direct sunlight, which can cause colors to fade and materials to warp over time. Dust your pieces gently with a dry, soft microfiber cloth rather than using wet wipes or liquid cleaners.
It is vital to keep in mind the inherent limits of air-dry clay. Unlike kiln-fired ceramics, air-dry clay remains sensitive to water and is not inherently waterproof, even when sealed with commercial varnishes. Additionally, these materials are not food-safe, microwave-safe, or dishwasher-safe, meaning they should be reserved strictly for decorative, non-functional display pieces.
Frequently Asked Questions (FAQ)
Can I speed up the drying process of DAS clay using an oven or microwave?
Applying external heat sources like an oven, microwave, or hair dryer to speed up the drying process carries significant risks. Rapid heating causes the water inside the clay to turn into steam and expand, which almost always results in severe cracking, warping, or even bubbling and burning of the material. To preserve the structural integrity and fine details of your sculpture, you should always check the specific product label for any manufacturer-approved drying methods. In almost all cases, natural, gradual air-drying in a well-ventilated room is the safest and most reliable approach to ensure a successful cure.
Is DAS clay safe for making functional items like bowls or mugs?
Standard air-dry clays, including the DAS product line, are not safe for making functional kitchenware such as bowls, plates, mugs, or utensils. These materials are not food-safe, microwave-safe, or dishwasher-safe, and they cannot withstand direct contact with liquids or hot food. Even if you apply multiple layers of commercial, water-resistant sealants, the underlying clay remains porous and susceptible to breaking down, and the sealants themselves are rarely certified for food contact. For safety reasons, always reserve your finished air-dry clay pieces strictly for decorative purposes, and check the specific product safety certifications and labels if you intend to use the clay for prolonged skin-contact crafts like jewelry.
Community discussion
Share your experience or ask a question. Comments are reviewed before publication.