
Selecting the right clothes elastic band is the difference between a garment repair that lasts for years and one that fails after a single wear. The ideal choice depends on the weight of your fabric, whether you plan to sew directly through the elastic, and how much tension the garment area requires. Matching these physical properties to your specific repair project ensures your clothes remain comfortable, functional, and structurally sound.
Understanding the Main Types of Elastic Bands
Identifying the structural differences between the three primary types of elastic—braided, knitted, and woven—is the first step to a successful repair. Each type is manufactured differently, resulting in distinct behaviors when stretched, sewn, or washed. By performing simple visual and tactile checks, you can easily determine which elastic matches your fabric’s weight and behavior.
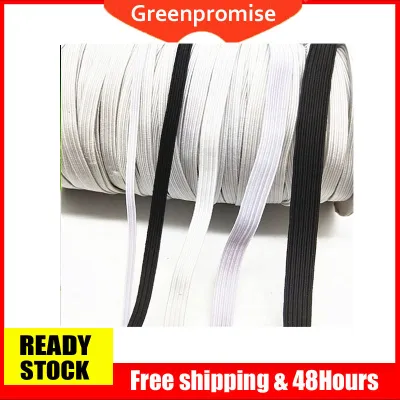
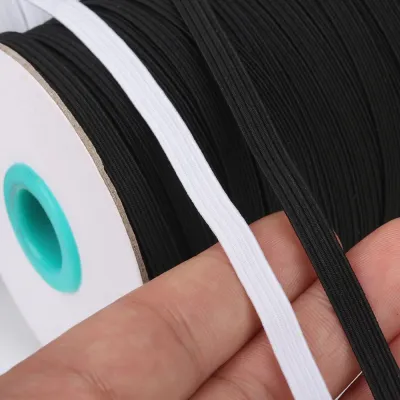
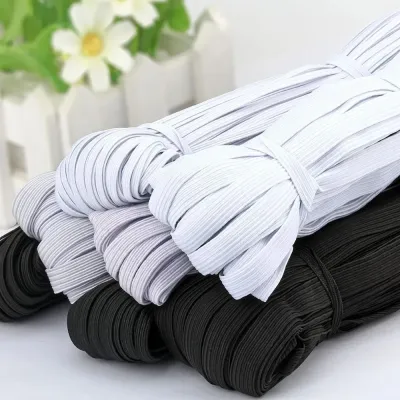
Braided elastic is easily identified by its parallel, lengthwise ridges. When you stretch braided elastic, you will notice that it becomes significantly narrower. This narrowing effect makes it highly suitable for enclosed casings where the fabric can gather freely around it. However, because of its braided construction, piercing it with a sewing needle can sever the internal rubber or spandex strands, leading to a rapid loss of elasticity. Consequently, braided elastic should rarely be sewn through directly.
Products mentioned in this guide
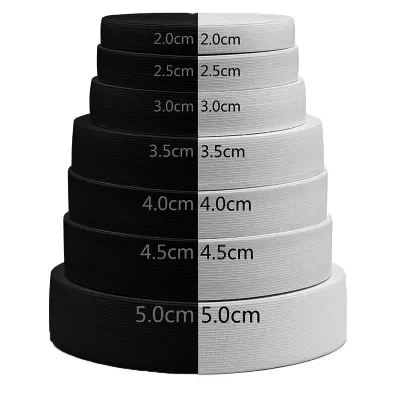
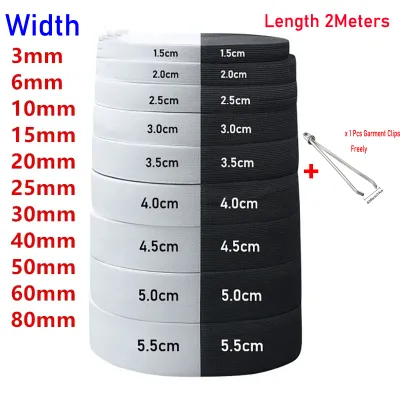
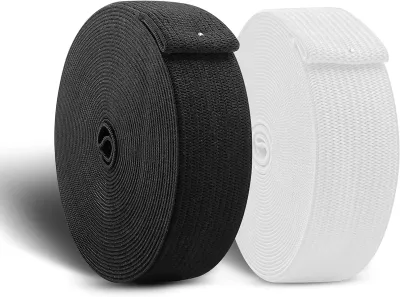
Prices are valid at publication and may change. Please refer to the product page for the latest price.
Knitted elastic is soft, highly flexible, and lightweight. Unlike braided options, it does not narrow when stretched, and it retains its original width beautifully. The unique knit structure allows a sewing needle to pass between the fibers without damaging the elastomeric core. This makes knitted elastic the go-to choice for projects where you need to sew the elastic directly to the fabric, such as in waistbands or exposed elastic edges. It feels soft against the skin, making it ideal for close-fitting garments.
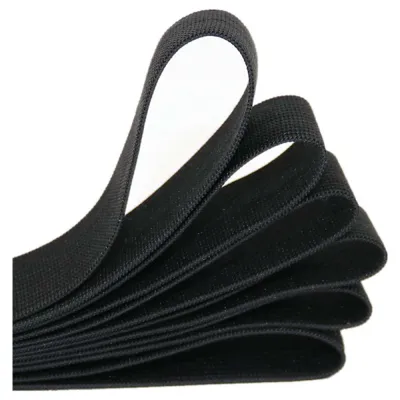
Woven elastic is the heaviest and firmest of the three main types. It is constructed by weaving warp and weft threads around thick elastomeric cores, resulting in a dense, rigid band. It does not narrow when stretched and easily resists rolling or twisting. Woven elastic is exceptionally durable and can be sewn through directly without losing its structural integrity, making it ideal for heavy-duty garments and thick fabrics.
Matching Elastic Types to Specific Repair Projects
Waistband replacements require careful consideration of both fabric weight and wearer comfort. For heavy fabrics like denim, canvas, or thick fleece, woven elastic provides the necessary tension to hold the garment up without collapsing or rolling under the weight. For lightweight or medium-weight fabrics, such as cotton pajamas, linen trousers, or knit loungewear, knitted elastic offers a softer, more flexible stretch that moves comfortably with the body.

Cuffs and sleeve repairs typically demand narrower, more delicate elastics. Braided elastic is excellent for creating clean, gathered finishes on sleeve cuffs or ankle hems, provided it is inserted into a casing rather than sewn directly. If the garment fabric is exceptionally fine or sheer, a lightweight knitted elastic can prevent the gathered area from feeling bulky or stiff against the skin, ensuring the garment remains comfortable to wear.
Swimwear and activewear repairs require specialized materials that can withstand harsh environments. Standard polyester and rubber elastics will quickly degrade when exposed to chlorine, salt water, sunscreen, and body oils. When repairing these garments, check product labels for chlorine-resistant polyurethane or specialized rubber elastics designed specifically for swimwear to ensure the repair does not stretch out prematurely.
Sometimes, a repair requires more than just a new elastic band. If the fabric casing itself is frayed, torn, or showing signs of dry rot, simply threading new elastic through will not solve the problem. In these cases, you must replace or reinforce the entire casing channel before inserting the new elastic to prevent the fabric from tearing further under tension.
Sizing and Measuring for a Secure Fit
To calculate the correct length of elastic for a waistband, start by measuring the wearer’s actual waist circumference with a flexible measuring tape. As a general guideline, subtract 2 to 3 inches (approximately 5 to 7.5 centimeters) from this measurement to ensure the elastic provides enough tension to hold the garment secure. Remember to add 1 inch (2.5 centimeters) to this calculated length to allow for a comfortable overlap when sewing the ends together.
Always check the elastic packaging for specific stretch percentages and width recommendations. A high-stretch elastic may require a slightly shorter cut to achieve the same holding power as a firm, low-stretch woven elastic. Matching the width of the elastic to the width of the casing is equally critical; the elastic should be about 1/8 inch (3 millimeters) narrower than the casing to slide through smoothly without bunching.
Before cutting your elastic, perform a manual tension test. Wrap the cut length around the target body area, pin the ends together with a safety pin, and move around to test the comfort level. This simple check allows you to adjust the tension before making any permanent cuts or stitches, preventing a finished repair that is either painfully tight or loose.
Step-by-Step Guide to Replacing the Elastic
Begin by carefully opening a small section of the casing seam using a sharp seam ripper. To avoid cutting the garment’s outer fabric, slide the ball point of the seam ripper under the stitches and push gently away from your body. Keep your fingers well clear of the blade’s path to prevent accidental cuts. Once you have created an opening of about 1 to 2 inches, locate the old elastic, cut it, and pull it out completely.
Attach a sturdy safety pin or a specialized sewing bodkin to one end of the new elastic band. To prevent the opposite end from accidentally slipping into the casing during the threading process, secure it to the outside of the garment fabric with a straight pin. Gently feed the safety pin or bodkin through the casing, using your fingers to bunch and smooth the fabric along the channel until the pin emerges from the other side.
Before securing the ends, run your thumb and forefinger along the entire length of the casing to verify that the elastic lies completely flat and has not twisted inside. Overlap the two ends of the elastic by 1/2 inch (1.3 centimeters) and sew them together securely using a multi-stitch zigzag pattern. Finally, tuck the joined elastic back into the casing and sew the opening closed, taking care not to catch the elastic in your stitches unless you intend to anchor it.
Troubleshooting Common Elastic Issues
If your elastic constantly rolls or twists inside the casing after a repair, it is usually because the casing is too wide or the elastic is too soft. You can easily anchor the elastic in place by sewing a vertical line of stitches directly through the casing and the elastic at the side seams of the garment. This “stitch-in-the-ditch” method keeps the elastic flat without restricting its overall stretch.
Over time, heat, age, and chemical exposure will cause elastic to degrade. You can recognize degraded elastic by its loss of recovery, a brittle or powdery texture, or a distinct crackling sound when stretched. Once elastic has reached this state, it cannot be restored and must be completely replaced to make the garment wearable again.
If the repaired area feels slightly too tight or too loose after your initial fitting, do not panic. If it is too tight, you can sometimes stretch the elastic fully and steam it gently with an iron to relax the fibers slightly, though replacing it with a longer piece is the most reliable fix. If it is too loose, open the casing seam, pull out a small portion of the elastic, shorten it, and resew the connection.
Frequently Asked Questions (FAQ)
Can I machine wash and dry garments with newly replaced elastic?
Yes, but you must check both the elastic packaging and the garment’s care label for specific temperature limits. While most high-quality polyester and rubber elastics are machine washable, high heat in the dryer is the primary cause of premature elastic degradation. Over time, intense heat breaks down the elastomeric core, causing it to lose its stretch and become brittle. To maximize the lifespan of your repair, wash the garment in cool or warm water and air dry it, or use a low-heat setting on your dryer. Signs of heat damage include a wavy, distorted appearance along the elastic edge or a sudden loss of recovery after laundering.
Community discussion
Share your experience or ask a question. Comments are reviewed before publication.