
Choosing the right button is more than a decorative afterthought; it is a critical decision that affects a garment’s structure, ease of wear, and longevity. The ideal button must balance the weight of the fabric, withstand structural tension, and align with the garment’s overall design. To make the correct choice, you must evaluate three primary factors: the physical construction of the button, its precise size relative to the buttonhole, and its compatibility with the fabric’s weight and care requirements.
Failing to match these elements correctly can lead to functional issues, such as garments that pucker, fabric that sags under excess weight, or buttons that repeatedly slip out of their holes. By understanding the mechanics of different button types and sizing standards, you can ensure your sewing and repair projects look professional and perform beautifully over time.
Understanding Button Types and Their Best Uses
Buttons are categorized by how they attach to a garment and their physical profile. Choosing the wrong construction can lead to functional failures, such as a garment that pops open under tension or fabric that puckers around the closure. Understanding the four primary button types allows you to match their mechanical advantages to your specific sewing projects.
Products mentioned in this guide
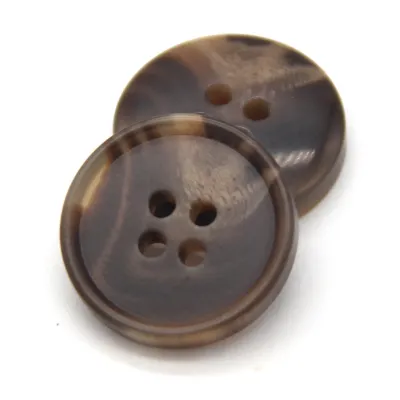
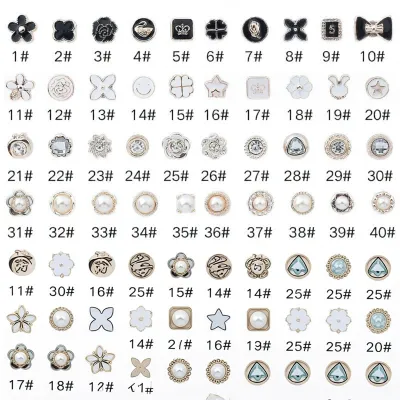
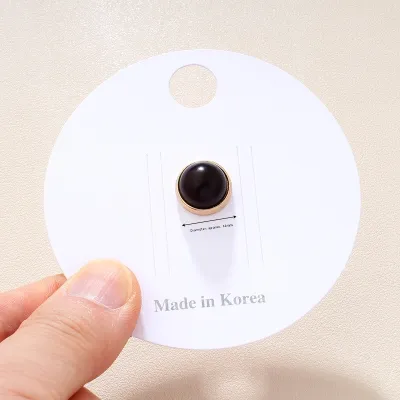
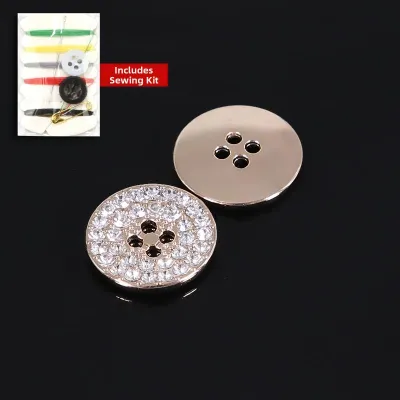
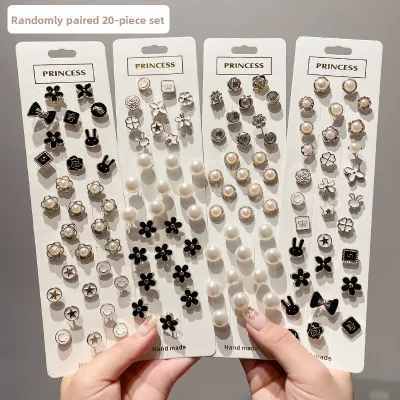
Prices are valid at publication and may change. Please refer to the product page for the latest price.
Shank Buttons
Shank buttons feature a solid, smooth face with no visible holes on the front. Instead, they attach to the garment via a small loop or protruding “shank” on the underside. This design elevates the button slightly off the fabric surface, leaving a physical gap.
This gap is essential for thick fabrics and heavy outerwear, such as wool coats or heavy knit cardigans. The shank provides the necessary space for the overlapping layer of thick fabric to sit flat underneath the button without pulling, puckering, or distorting the garment’s clean lines.
Flat Buttons (Sew-Through)
Flat buttons are the most common fasteners, characterized by a flat profile with either two or four sewing holes drilled directly through the face. They sit flush against the fabric, offering a clean, unobtrusive look.
These buttons are ideal for lightweight to medium-weight garments like office shirts, summer blouses, and lightweight dresses. When sewing a flat button onto slightly thicker fabric, you can manually create a “thread shank” by wrapping thread around the stitches beneath the button before securing it, giving the overlapping fabric room to rest.
Snap Buttons (Press Studs)
Snap buttons consist of two interlocking metal or plastic parts—a male stud and a female socket—that click together when pressed. They can be sewn directly onto the fabric or applied using a specialized setting tool.
Snaps are perfect for casual wear, children’s clothing, and hidden closures where you want clean lines without visible buttonholes. They offer quick, low-effort fastening and are highly useful for activewear or lightweight jackets where traditional buttonholes might stretch out or fail over time.
Toggle Buttons
Toggle buttons are elongated, barrel-shaped fasteners typically made of wood, horn, plastic, or resin. They secure a garment by passing through a flexible loop made of rope, leather, or fabric cord rather than a traditional slit buttonhole.
These fasteners are traditionally reserved for duffle coats, heavy winter outerwear, and chunky knitwear. Because heavy fabrics make standard buttonholes difficult to sew and prone to fraying, the loop-and-toggle system offers a robust, highly functional alternative that can be easily fastened even while wearing gloves.
How to Determine the Correct Button Size
Selecting the correct button size requires an understanding of both metric measurements (millimeters) and traditional haberdashery units known as “lignes” (often abbreviated as “L”). One ligne is equivalent to 0.635 millimeters. For example, a standard shirt button is typically 18L (approximately 11.5 mm), while a suit jacket button is often 24L or 30L (around 15 mm to 19 mm).

To ensure a button functions correctly, you must calculate its relationship to the buttonhole. The standard rule of thumb is that the buttonhole length should equal the button’s outer diameter plus its total thickness. For a flat, thin button, you might only need to add 1 to 2 mm to the diameter. For thick, domed, or shank buttons, you will need to add more to accommodate the extra bulk as the button slides through the slit.
The physical weight of the button must also match the fabric’s capacity. Heavy, oversized buttons will pull down on lightweight fabrics, causing the front of the garment to sag, droop, and drape poorly. Conversely, a button that is too small or thin will slip out of its buttonhole under the slightest physical tension. Always consult your sewing pattern envelope for recommended button sizes, or measure an existing, well-fitting garment of a similar style to establish a reliable baseline.
Matching Buttons to Fabric Weights and Garment Types
The secret to professional-looking garments lies in physical and visual balance. A button should never overpower the fabric it secures, nor should it be so delicate that it fails under tension. In tropical climates like Singapore’s, where lightweight and breathable fabrics are daily staples, understanding these pairings is especially crucial for comfort and durability.
Lightweight Fabrics (Silk, Chiffon, Fine Cotton)
Delicate materials require small, lightweight fasteners that do not disrupt the natural drape of the fabric. Excellent choices include small flat buttons made of mother-of-pearl, lightweight resin, or high-quality plastic.
Avoid heavy metal shank buttons, thick wood, or large toggles on these materials. The excessive weight of heavy fasteners will drag the fabric downward, distort the front placket, and create unsightly tension lines. Over time, the constant pulling of a heavy button can even tear or shred delicate fibers like silk and chiffon.
Medium-Weight Fabrics (Linen, Denim, Standard Cotton)
Everyday garments made of linen, denim, or standard quilting cotton offer excellent structural versatility, allowing you to use either flat buttons or medium-sized shank buttons.
For high-stress areas like the waistband of denim jeans or heavy workwear shirts, prioritize durability. Metal tack buttons (jeans buttons), reinforced four-hole flat buttons, or thick polyester resin options are ideal because they can withstand frequent machine washing, high heat, and intense physical tension without cracking or loosening.
Heavyweight Fabrics (Wool, Tweed, Heavy Coating)
Heavy outerwear, winter garments, and thick blankets require substantial closures that can hold thick layers of fabric securely together. Large shank buttons, heavy metal fasteners, and toggles are the standard choices here.
Using a physical shank is mandatory for heavyweight fabrics. Without the clearance provided by a shank or a long thread shank, the thick overlapping layers of wool or tweed will compress tightly against each other, causing the garment to pucker, pull, and bulge around the closure.
Step-by-Step Guide to Selecting and Testing Your Buttons
Before sewing buttons onto a finished garment, follow this systematic process to ensure a perfect functional and visual match.
- 1. Assess Garment Needs and Stress Points: Analyze where the button will sit and how much tension it will face. Waistbands, cuffs, and chest plackets experience high stress and require secure, multi-hole flat buttons or sturdy snaps. Also, review the garment's washability requirements; for instance, delicate hand-wash fabrics should not be paired with heavy metal buttons that might rust or chip.
- 2. Measure the Buttonhole or Pattern Specifications: If you are using a commercial sewing pattern, check the instructions for the recommended button size. If you are replacing a button on an existing garment, measure the inner length of the buttonhole from end to end using a small sewing gauge or ruler.
- 3. Select and Position Candidate Buttons: Place your candidate buttons directly onto the fabric of your garment. Step back and evaluate the visual scale. Ensure the buttons do not look disproportionately large or small for the placket width, and check that the color and texture complement the fabric weave.
- 4. Perform a Physical Drape and Function Test: Take a scrap piece of your garment fabric, fold it to mimic the thickness of the finished placket, and pin your candidate button to it. Cut a test buttonhole of the calculated size in another scrap piece. Pass the button through the test hole several times to verify that it glides smoothly without catching, yet stays securely fastened when subject to gentle pulling.
- 5. Verify Care and Washability Compatibility: Check the manufacturer's care instructions for both the fabric and the button material. Natural materials like wood, coconut shell, or untreated metal may require specialized dry cleaning or hand washing, whereas high-quality polyester and nylon buttons can easily withstand standard machine washing and ironing temperatures.
If you are working with delicate vintage fabrics, expensive silk, or performing irreversible alterations on high-value garments, stop and consult a professional tailor. A single incorrect cut or excessive tension can permanently ruin irreplaceable fibers.
Common Button Mistakes and How to Avoid Them
Avoiding simple mistakes during the selection process will dramatically extend the lifespan of your handmade or altered garments.
- Using Overweight Buttons: Pairing a heavy metal or wooden button with a lightweight fabric causes the fabric to sag and stretch. Always match the physical weight of the button to the structural density of the textile.
- Omitting a Thread Shank: Sewing a flat button tightly against a thick fabric placket leaves no room for the overlapping layer. This results in severe puckering and makes fastening the garment incredibly difficult. Always use a spacer (like a toothpick or matchstick) while sewing flat buttons on medium-to-heavy fabrics to create a functional thread shank.
- Ignoring Laundry and Care Requirements: Placing delicate wooden, shell, or cheap plastic buttons on garments that undergo frequent high-temperature washing can cause them to crack, discolor, or melt. Always verify that the button material matches the laundering limits of the garment fabric.
Frequently Asked Questions (FAQ)
Can I replace a flat button with a shank button on an existing shirt?
Yes, you can replace a flat button with a shank button, but you must first check the clearance of the existing buttonhole. Because shank buttons sit higher and have a more rounded, three-dimensional profile, they require slightly more room to pass through a fabric slit. Test a single shank button through the shirt’s buttonhole before committing to replacing the entire set.
How do I measure a buttonhole to find the right button size?
To find the correct button size for an existing buttonhole, lay the fabric flat and measure the inner length of the slit with a precise ruler. Since the standard formula states that buttonhole length equals button diameter plus thickness, a 15 mm buttonhole will typically accommodate a flat button that is 12 mm to 13 mm in diameter.
What is the difference between 2-hole and 4-hole flat buttons?
The primary difference lies in strength and security. Four-hole flat buttons distribute structural tension across two intersecting pairs of stitches, making them highly durable and ideal for high-stress areas like waistbands and heavy coats. Two-hole flat buttons are faster to sew, have a cleaner minimalist look, and are perfectly suited for lightweight shirts, cuffs, or decorative applications.
Community discussion
Share your experience or ask a question. Comments are reviewed before publication.