
Choosing the perfect button for clothes is more than a matter of aesthetic coordination; it is a fundamental engineering decision for your wardrobe. The right button ensures a garment stays securely closed, drapes naturally, and withstands the wear and tear of daily use and laundering. Conversely, an incorrect choice can lead to fabric puckering, stretched buttonholes, or buttons that constantly slip undone.
To make the right selection, you must balance two primary factors: the button’s physical diameter and its attachment style. By matching these elements to the weight, stretch, and thickness of your fabric, you can achieve a professional finish that preserves both the function and the lifespan of your clothing.
Understanding Button Attachment Types for Different Fabrics
Every button for clothes falls into one of two primary structural categories: flat buttons or shank buttons. Choosing between them depends entirely on the thickness of the fabric layers that will sit beneath the button when the garment is fastened.
Products mentioned in this guide
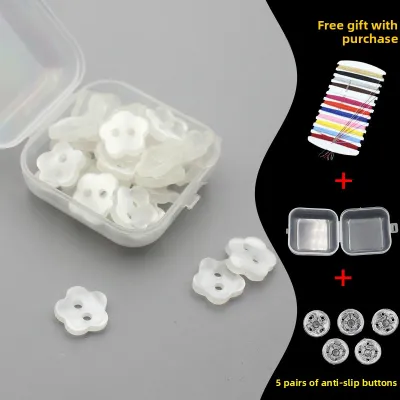
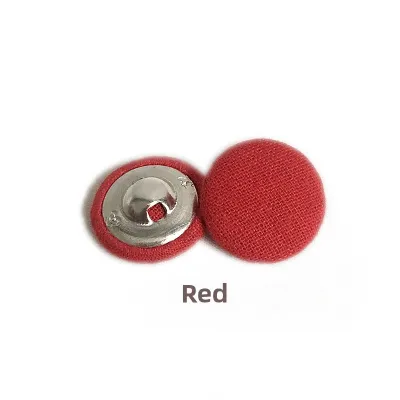
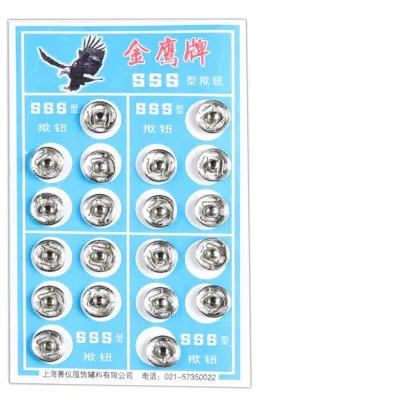
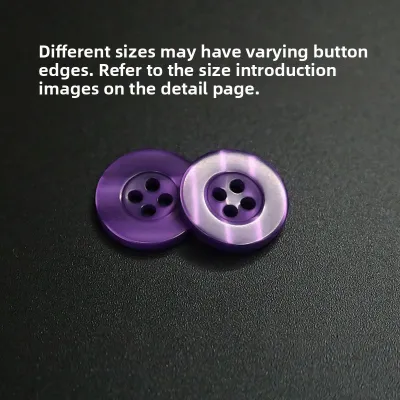
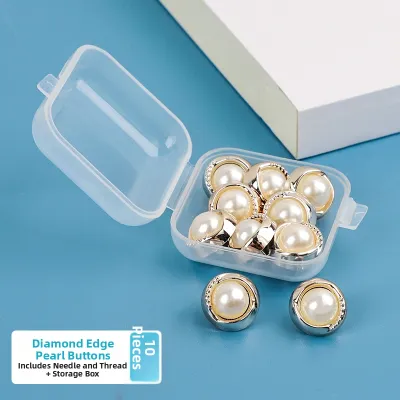
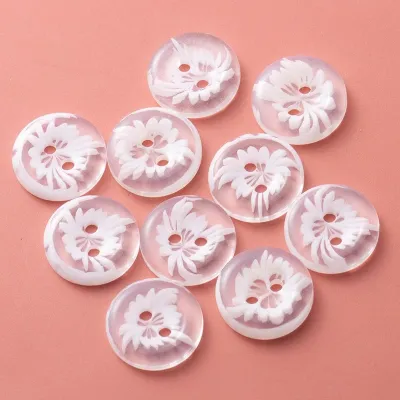
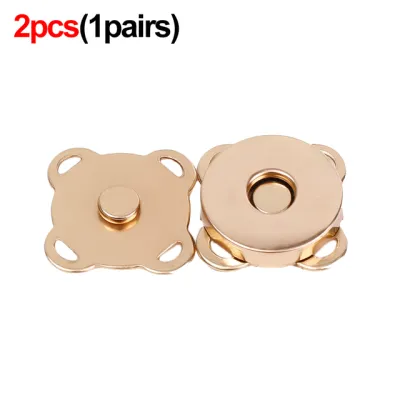
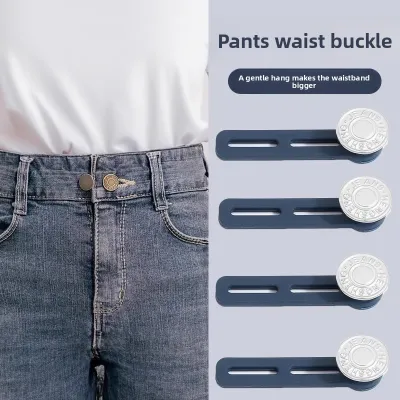
Prices are valid at publication and may change. Please refer to the product page for the latest price.
Flat buttons feature two or four holes drilled directly through the face of the button. They are designed to lie flush against the fabric, making them the ideal choice for lightweight to medium-weight materials like cotton, linen, silk, and light synthetics. Two-hole flat buttons offer a minimalist, clean aesthetic, while four-hole flat buttons provide superior structural security because the thread crosses over in two directions, distributing physical tension more evenly across the fabric fibers.
Shank buttons, on the other hand, do not have holes on their face. Instead, they feature a small loop or protrusion—called a shank—on their underside. This shank creates a built-in gap between the button body and the garment surface. This space is essential for thick, heavy, or layered fabrics, such as wool, denim, heavy canvas, and thick knits. Without this gap, the overlapping layer of thick fabric would press tightly against the button, causing the material to pucker, pull, and eventually tear the thread.
To determine which attachment type your garment needs, inspect the existing buttonholes and the fabric weight. Fold the buttonhole side of the garment over the button side to simulate it being fastened. Measure the combined thickness of these layers. If the fabric is thicker than two millimeters, a standard flat button sewn flush will pinch the material, indicating that you need either a shank button or a flat button sewn with a custom thread shank.
How to Measure and Select the Correct Button Diameter
Selecting the correct button diameter is critical to ensuring the garment remains functional. A button that is even slightly too large will struggle to pass through the buttonhole, causing the fabric to stretch and fray over time. A button that is too small will fail to stay anchored, slipping out of the hole with the slightest body movement.

To find the correct size, you must measure either an existing button from the garment or the buttonhole itself. If you are replacing a lost button and have no matching spares, use a standard ruler, caliper, or a specialized button gauge to measure the length of the buttonhole.
In the sewing and haberdashery industry, button sizes are often measured in “Lignes” (represented by the letter L), an international standard where 1 Ligne equals 0.635 millimeters. For modern sewing projects, translating these measurements to millimeters is highly practical:
- 14L to 16L corresponds to approximately 9mm to 10mm.
- 18L to 20L corresponds to approximately 11.5mm to 13mm.
- 24L to 30L corresponds to approximately 15mm to 19mm.
- 36L to 40L corresponds to approximately 23mm to 25mm.
When measuring a buttonhole to determine the button size, use this basic formula: the buttonhole length should equal the button’s diameter plus its total thickness. For a standard flat button, adding 2mm to 3mm to the button’s diameter generally yields the correct buttonhole size. For thick, chunky, or dome-shaped shank buttons, you may need to add more clearance to allow the bulk of the button to pass through without stretching the threads.
Matching Button Sizes and Types to Specific Garments
Different clothing styles demand specific button configurations to maintain their shape and ease of use. Matching the button to the garment type ensures comfort and durability.
Shirts and Blouses
These garments require small, flat buttons, typically ranging from 9mm to 11.5mm (14L to 18L). Because shirts are worn close to the body and often layered under sweaters or jackets, flat buttons prevent uncomfortable pressure points against the skin. In warm, tropical climates like Singapore, where lightweight linen and cotton poplin are staples, small flat buttons keep the shirt front looking crisp and prevent the lightweight fabric from sagging under excess weight.
Coats and Heavy Jackets
Outerwear requires large, robust buttons, usually ranging from 20mm to 30mm (32L to 45L) or larger. These garments must withstand significant tension and frequent handling, often while the wearer is wearing gloves. Shank buttons are standard here, as they accommodate the thick wool, leather, or down-filled layers of the coat front. The shank allows the heavy fabric to lie flat without pulling the front of the coat out of alignment.
Cardigans and Knitwear
Knit garments present a unique challenge because knitted fabric stretches and has natural openings between the yarns. Cardigans typically require medium-to-large buttons, from 15mm to 25mm (24L to 40L). If the button is too small, it will easily slip through the flexible knit stitches. Flat buttons can work well if they are sewn with a loose thread shank, but shank buttons are often preferred to prevent the knit fabric from bunching up behind the button face.
Before purchasing replacement buttons, always check the garment’s care label or look for spare buttons sewn onto the inside side-seam. Manufacturers often include exact matches for the primary and cuff buttons, which can serve as a perfect reference for size, material, and thickness.
Step-by-Step Guide to Replacing and Attaching Buttons
Replacing a button is a straightforward DIY task that requires only a few basic tools and a little patience. Having a small sewing kit on hand—which typically costs under S$10—will save you from expensive tailor trips.
Gather Your Tools
Prepare a seam ripper or a pair of small, sharp embroidery scissors, a hand sewing needle appropriate for your fabric weight, matching heavy-duty polyester or waxed cotton thread, and a spacer (such as a toothpick, matchstick, or heavy pin).
Remove the Old Button
Slide your seam ripper or small scissors carefully under the old button, cutting only the threads holding it in place. Be extremely careful not to cut the garment’s fabric fibers. Gently pull away the loose thread tails from both the front and back of the fabric.
Attach a Flat Button with a Thread Shank
- Thread the needle: Cut a 50cm length of thread, pass it through the needle, and double it over, tying a secure knot at the end.
- Anchor the thread: Insert the needle from the back of the fabric to the front, exactly where the button will sit.
- Position the spacer: Place the flat button on the fabric, bring the needle up through one hole, and place your toothpick or matchstick across the top of the button between the holes.
- Sew over the spacer: Sew down through the opposite hole and back up, repeating this process 4 to 5 times. The spacer ensures the thread remains loose enough to create a gap.
- Create the shank: Remove the spacer. Pull the button gently away from the fabric. Bring your needle up through the fabric but not through the button. Wrap the thread tightly around the exposed vertical threads under the button 3 to 4 times to create a sturdy column.
- Secure the back: Push the needle back to the underside of the fabric, make a small knot in the stitches, and cut the thread close to the fabric.
Attach a Shank Button
To attach a shank button, you do not need a spacer. Simply sew directly through the fabric and the metal or plastic loop on the back of the button 5 to 6 times. Ensure the alignment matches the buttonhole perfectly before pulling the thread tight. Secure the thread on the underside of the fabric with a double knot to prevent the heavy button from pulling loose.
Troubleshooting Common Button and Buttonhole Fit Issues
Even with careful measurement, you may occasionally encounter functional issues with your buttons. Most of these problems can be diagnosed and fixed with simple adjustments.
If your button constantly slips out of the buttonhole, the buttonhole has likely stretched out over time, or the button you selected is slightly too small. To fix a stretched buttonhole without replacing the button, use a needle and matching thread to sew a few small, dense stitches at one end of the buttonhole, effectively shortening the opening to match the button diameter.
When a buttonhole begins to tear or fray, the fabric structure is compromised. You can reinforce the area by hand using a dense buttonhole stitch (a series of tight, overlapping blanket stitches) around the raw edges. For delicate or loosely woven fabrics, iron a small piece of lightweight fusible interfacing onto the underside of the fabric before stitching to provide structural support.
Fabric puckering around a newly attached button indicates that the thread tension is too tight or the button is sewn too close to the fabric. Snip the thread and reattach the button, ensuring you use a spacer to create a proper thread shank. For delicate materials like silk or chiffon, sew a tiny, flat “backing button” on the inside of the garment directly behind the main button. This sandwich technique distributes the pulling force across a wider surface area, preventing the delicate outer fabric from tearing.
If the fabric has suffered a large, structural rip where the button was anchored, DIY stitching may not provide a clean or lasting repair. In these cases, consult a professional tailor who can properly patch, re-weave, or reinforce the damaged area before reattaching the hardware.
Frequently Asked Questions (FAQ)
Can I use a flat button on a thick coat if I do not have a shank button?
Yes, you can use a flat button on a thick coat by creating an artificial thread shank. When sewing the flat button, place a thick spacer, such as a matchstick or a plastic collar stay, between the button and the fabric. Sew through the holes and over the spacer several times. Once secured, remove the spacer, pull the button upward, and wrap your thread tightly around the loose stitches underneath the button to build a solid column of thread. This elevates the flat button, leaving enough space for the thick coat fabric to sit underneath. Note that for exceptionally heavy or rigid fabrics like thick leather, a molded shank button is still structurally superior.
How should I wash garments with delicate or decorative buttons?
To protect delicate, wooden, shell, or highly decorative buttons from chipping, scratching, or detaching in the wash, always turn the garment inside out before laundering. Placing the item inside a mesh laundry bag provides an extra layer of defense against the washing machine drum. For garments with natural mother-of-pearl, hand-painted ceramic, or vintage metal buttons, hand-washing or professional dry-cleaning is highly recommended to prevent chemical or physical degradation of the button materials.
Community discussion
Share your experience or ask a question. Comments are reviewed before publication.