
To choose the right beading needle size, match the needle’s thickness to the inner diameter of your smallest bead’s hole and the thickness of your thread. Because beading needle sizes are counterintuitive—where higher numbers designate thinner, more flexible needles—selecting the wrong tool can lead to cracked beads, frayed threads, and immense crafting frustration. For most standard projects using size 11/0 seed beads, a size 12 needle serves as the ideal baseline, while intricate patterns or smaller size 15/0 beads demand ultra-fine size 13 or 15 needles.
Finding the perfect balance between needle flexibility, thread thickness, and bead hole diameter is the secret to smooth, enjoyable bead weaving. Whether you are crafting intricate jewelry in a cozy home studio or sourcing specialty supplies from local craft hubs in Singapore, understanding how these elements interact will elevate your work from a struggle into a seamless creative flow.
Understanding How Beading Needle Sizes Work
The sizing system for beading needles operates on an inverse scale. Unlike standard hand-sewing needles, where smaller numbers represent finer tools, beading needles get thinner as the size number increases. For example, a size 10 needle is relatively thick and rigid, whereas a size 15 needle is exceptionally thin and highly flexible.
Products mentioned in this guide
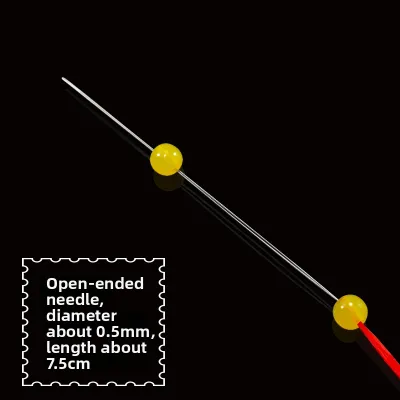
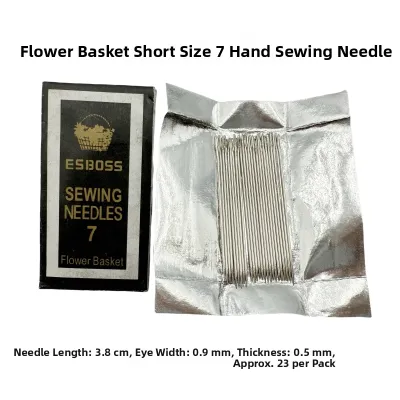
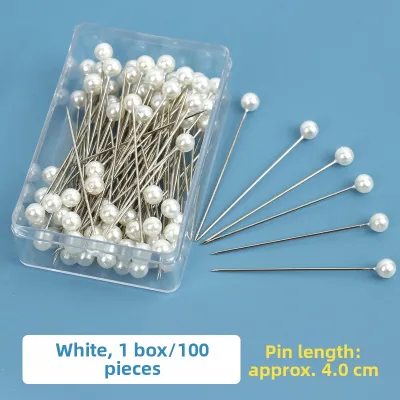
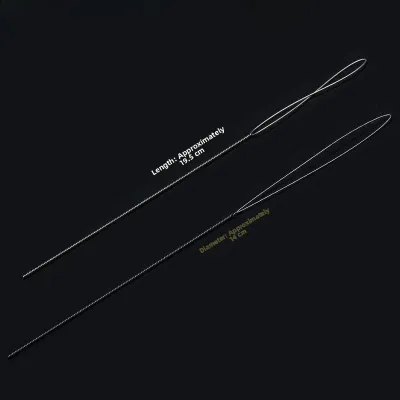
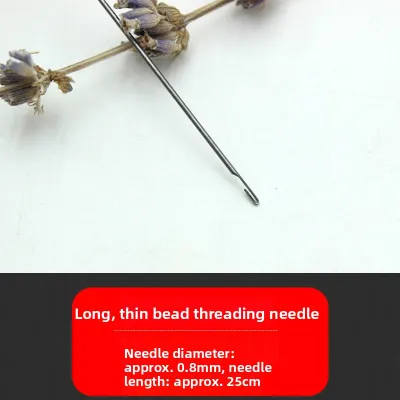
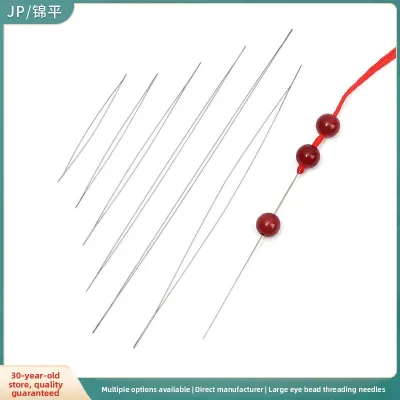
Prices are valid at publication and may change. Please refer to the product page for the latest price.
Understanding the standard sizes available in the market allows you to build a versatile toolkit:
- Size 10: The thickest common beading needle, ideal for heavy-duty projects, larger beads (size 8/0 or 6/0), freshwater pearls, and thick threads.
- Size 12: The standard "workhorse" size, balancing durability with a slim profile. It is the default choice for size 11/0 seed beads.
- Size 13: A finer needle essential for multiple thread passes through a single bead, or when working with delicate size 15/0 seed beads.
- Size 15: The thinnest standard needle, designed specifically for microscopic seed beads and highly intricate multi-pass patterns.
Choosing the right needle involves a trade-off between strength and flexibility. Thicker needles resist bending and are easier to thread, but they cannot navigate tight spaces. Conversely, ultra-fine needles glide through the smallest openings but are prone to warping or snapping under tension.
Beyond standard English beading needles, several specialty designs cater to specific project needs:
- English Beading Needles: Made of high-carbon steel, these are long, thin, and slightly springy, making them the gold standard for traditional off-loom bead weaving.
- Short Beading Needles (Betweens): These offer a shorter shaft, providing greater control for bead embroidery on fabric or leather.
- Big-Eye Needles: Constructed from two welded metal pieces, the entire center splits open to form a giant eye. They are incredibly easy to thread but warp easily under heavy tension.
- Collapsible-Eye Needles: Made of flexible, twisted wire, these feature a large loop that collapses flat as it passes through a bead. They are perfect for stringing irregular gemstones or pearls.
Choosing a Needle Based on Bead Hole Size
The primary physical constraint of any beadwork project is the inner diameter of the bead hole. Your needle must be thin enough to pass through this opening without friction. If a needle is too wide, forcing it through will exert outward pressure, causing delicate glass beads to shatter instantly.

In bead weaving, you must also account for the “multiple pass-through” rule. Stitches such as peyote, brick stitch, or right-angle weave frequently require the needle and thread to pass through the same bead several times. Consequently, a needle that fits easily on the first pass may get stuck or crack the bead on subsequent passes as the internal space becomes crowded with thread.
To ensure smooth crafting, match your needle size to these common bead categories:
- Large Accent Beads (Size 6/0 to 8/0): Use a size 10 needle. These beads have generous holes that easily accommodate thicker needles and robust threads.
- Standard Seed Beads (Size 11/0): Use a size 12 needle for general stitching. If your pattern requires more than three passes, switch to a size 13 needle.
- Tiny Seed Beads (Size 15/0): Use a size 13 or size 15 needle. The holes in these beads are microscopic, requiring the thinnest shafts available.
- Delica and Cylinder Beads: These Japanese glass beads are prized for their uniform shape and exceptionally large holes relative to their size. A size 11/0 Delica can often accommodate a size 10 or 12 needle even with multiple passes.
When working with natural gemstones, freshwater pearls, or handmade glass beads, be prepared for irregular hole sizes. Unlike factory-made Japanese seed beads, natural materials are often drilled manually, resulting in tapered or partially blocked channels. Always inspect your beads beforehand, and keep a manual diamond-tipped bead reamer nearby to gently smooth out and enlarge any restricted passages before stitching.
Matching Your Thread to the Needle and Bead
Selecting the right needle is only half the battle; you must also ensure that your thread is fully compatible with both the needle’s eye and the bead’s internal clearance. The eye of a beading needle is narrow to allow the entire tool to pass through tiny bead holes. Your thread must be thin enough to slide through the eye without bunching, fraying, or requiring excessive force.
Different thread materials behave uniquely and dictate your needle choices:
- Nylon Threads (e.g., Nymo, C-Lon): These classic threads are soft, provide a beautiful drape, and are available in various thicknesses. Because they consist of multiple twisted fibers, they can easily fray at the needle eye if the needle is too small.
- Gel-Spun Polyethylene Threads (e.g., FireLine, WildFire): Known for their extreme strength, these thermally bonded threads are stiffer than nylon. While this stiffness makes them easier to thread, their dense structure does not compress easily, requiring a needle with a clean, perfectly sized eye.
- Silk Threads: Traditionally used for knotting pearls, silk is highly delicate and prone to snagging. It requires a specialized collapsible-eye needle or a very smooth English beading needle to prevent surface damage.
To calculate the necessary clearance, remember that the thread doubles over where it passes through the needle’s eye. Therefore, the bead hole must accommodate the thickness of the needle shaft plus two strands of your thread simultaneously. For multi-pass stitches, this calculation multiplies quickly, making thread diameter selection just as critical as needle sizing.
In Singapore’s warm and humid tropical climate, nylon threads can occasionally soften or become slightly static, increasing the risk of tangling and fraying. Utilizing a high-quality thread conditioner, such as natural beeswax or synthetic microcrystalline wax, is highly recommended. Running your thread through a conditioner coats the fibers, flattens loose flyaways, compresses the overall diameter slightly, and lubricates the strand, allowing it to glide effortlessly through both the needle eye and tight bead channels.
Step-by-Step Guide to Testing Your Beading Setup
Before committing hours to a complex beadwork project, performing a quick physical test of your materials will save you time, thread, and expensive beads. Follow this systematic workflow to verify that your needle, thread, and beads are perfectly matched.
- Step 1: Identify the smallest bead.
Sort through the beads allocated for your project and select the one with the most constricted or narrowest hole. Finding the tightest opening ensures your needle will pass through every single bead in your pile without getting stuck. - Step 2: Select your thread.
Choose a thread thickness that matches the structural demands of your project. Heavy, sharp-edged crystal beads require a thicker, cut-resistant thread, whereas delicate, lace-like bead weaving needs a fine, supple thread that allows the piece to drape beautifully. - Step 3: Pick your starting needle.
Select a needle size based on your thread and bead choices, using size 12 as a reliable baseline. Ensure the needle eye is large enough to accept the thread without forcing it, while the shaft remains visibly thinner than the bead's opening. - Step 4: Perform the physical test.
Thread your needle and pass it through your test bead. If your chosen stitch pattern requires multiple passes, slide the threaded needle through the bead two or three times to simulate the actual construction process, checking for any resistance or friction. - Step 5: Evaluate and adjust.
Analyze how the materials interact during the test. If the needle glides through effortlessly, your setup is ready. If you feel significant resistance, if the thread begins to bunch up, or if you hear a faint clicking sound, stop immediately. Step down to a thinner needle size or select a finer thread diameter.
Safety Warning: Never attempt to force a stuck needle through a bead hole using pliers or excessive finger pressure. Doing so can cause the glass bead to explode into sharp fragments, risking serious eye injury or deep puncture wounds. If a needle does not slide through with gentle guidance, always stop and change to a thinner needle or a larger bead.
Troubleshooting Common Needle and Threading Issues
Even with the correct sizes, working with microscopic needles and threads can present physical challenges. Understanding how to troubleshoot these common frustrations will keep your crafting sessions productive and stress-free.
Bent or Broken Needles Because high-quality beading needles are designed to be flexible to navigate tight angles, they will naturally bend over time. However, pulling your needle at sharp angles or forcing it through restricted bead channels accelerates metal fatigue, causing the needle to warp permanently or snap. To maximize their lifespan, always pull your needle straight out of the bead in the direction of the stitch. If a needle snaps, immediately place the broken fragments into a secure, puncture-proof container—such as a magnetic needle case or a sealed plastic bottle—to prevent accidental skin pricks or injury when discarding them.
Difficulty Threading the Eye Threading an incredibly narrow beading needle eye can try anyone’s patience. To make the process seamless, avoid using standard wire threaders designed for sewing, as they are too thick and will break the delicate needle eye. Instead, use a specialized ultra-fine wire threader designed specifically for beadwork, or employ these manual techniques:
- Cut at an angle: Use sharp embroidery scissors or thread snips to cut the thread at a clean 45-degree angle, creating a pointed tip.
- Flatten the tip: Place the cut tip of the thread between the jaws of flat-nose jewelry pliers and squeeze gently to flatten the round fiber into a ribbon shape that matches the oval eye.
- The "push" method: Hold the thread tightly between your thumb and forefinger so that only a fraction of a millimeter is exposed. Rather than trying to guide the floppy thread through the eye, bring the needle eye down onto the stationary thread tip.
Thread Fraying at the Eye If your thread constantly shreds or splits where it passes through the needle, the culprit is often a microscopic metallic burr inside the needle’s eye. This is a common defect in cheaper, mass-produced needles. To resolve this, invest in premium, polished-eye needles from reputable manufacturers, which feature smooth, rounded internal channels. Additionally, avoid pulling your thread by holding onto the needle itself; instead, grasp the thread just behind the eye to minimize friction and tension at the connection point.
Needle Slipping Out of the Thread It can be incredibly frustrating when your needle repeatedly slips off the thread mid-stitch. To prevent this, ensure you maintain a working tail of at least 10 to 15 centimeters. If you are working with exceptionally slick threads like gel-spun polyethylene, you can tie a loose half-hitch knot directly around the needle eye to lock it in place, or secure a temporary “stopper bead” at the beginning of your thread path to maintain consistent tension.
Frequently Asked Questions (FAQ)
What is the best beading needle size for seed beads?
For standard size 11/0 seed beads, a size 12 beading needle is the absolute best starting point. If your project involves intricate stitches requiring four or more thread passes, or if you are working with tiny size 15/0 seed beads, step down to a size 13 or size 15 needle to ensure smooth passage.
How do I thread a beading needle with a tiny eye?
Threading a microscopic eye requires flattening and stiffening the thread tip. Cut the thread at a sharp 45-degree angle, flatten the end with flat-nose jewelry pliers, and coat the tip with a small amount of thread conditioner or beeswax. Hold the thread stationary between your fingertips and push the needle’s eye onto the stiffened thread tip.
Can I use a regular sewing needle for beading?
No, standard sewing needles are unsuitable for beadwork. Sewing needles feature a tapered shaft that flares significantly at the eye to accommodate thicker sewing threads, which will easily crack delicate glass beads. Beading needles are engineered with a uniform, ultra-slim diameter from tip to eye, allowing the entire needle to glide effortlessly through tiny bead channels.
Community discussion
Share your experience or ask a question. Comments are reviewed before publication.