
Laminating is one of the most effective ways to preserve important documents, create reusable educational materials, and protect creative craft projects from wear and tear. Whether you are a parent looking to preserve your child’s primary school certificates, a home crafter making custom bookmarks, or a teacher preparing durable flashcards for a busy classroom in Singapore, finding the right laminator is essential. The ideal machine balances your specific volume requirements, the dimensions of your projects, and your budget without cluttering your living or teaching space.
Choosing the best laminator requires looking beyond brand names and focusing on key technical specifications. You must consider how often you will use the machine, the thickness of the laminating pouches you require, and the physical constraints of your workspace. In Singapore’s highly humid climate, lamination also serves as a vital shield against moisture damage, preventing paper from warping or growing mold over time. By matching your operational needs with the correct machine category, you can ensure smooth, bubble-free results for every single project.
How to Match Laminator Specs to Your Project Needs
Pouch Size Compatibility
Products mentioned in this guide
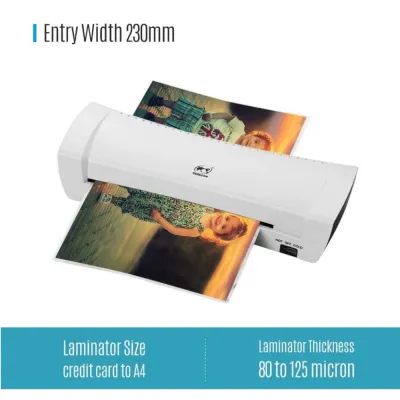
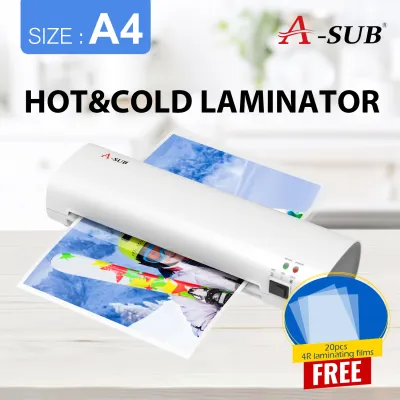
![[✅SG Ready Stock] Laminator A4 Laminating Machine Hot Cold Laminating Film Laminator Home School Office Supplies过塑机覆膜机](https://img.lazcdn.com/g/p/d8772e1b033d1181e4175e47b7bfdf6c.jpg_400x400q80.jpg_.webp)
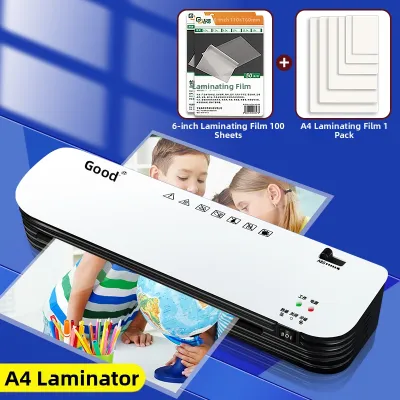
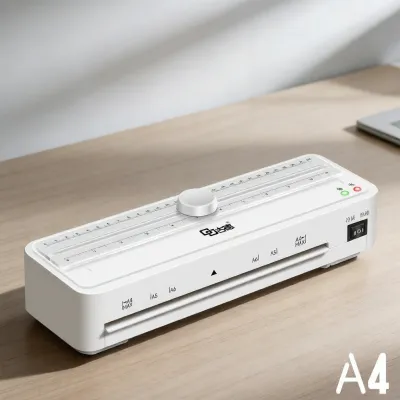
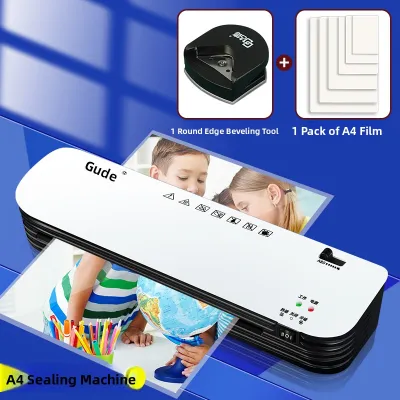
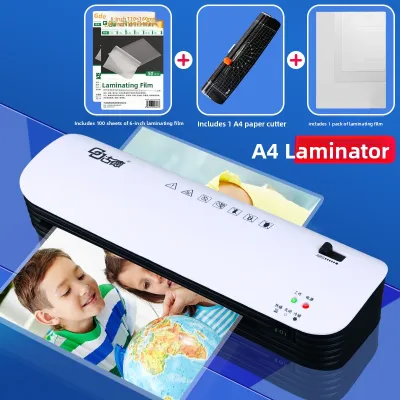
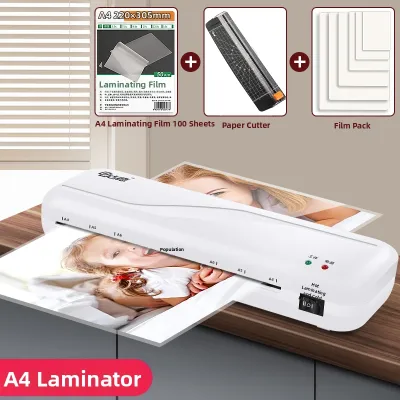
Prices are valid at publication and may change. Please refer to the product page for the latest price.
The physical width of a laminator’s entry slot determines the maximum document size you can process. Most home and school laminators are categorized as either A4 or A3 machines. An A4 laminator is highly compact and perfectly suited for standard worksheets, official certificates, standard-sized photos, and small flashcards. However, if you plan to create large classroom displays, instructional posters, or collaborative group project boards, an A3 laminator is highly recommended. It is important to note that while an A3 laminator can easily process A4 and smaller documents, an A4 machine cannot accommodate larger formats. If you have the storage space and anticipate a wide variety of project sizes, investing in an A3 machine offers the greatest long-term versatility.
Pouch Thickness (Microns/Mils)
Laminating pouches are measured in thickness, typically expressed in microns (mic) or mils (where 1 mil is approximately 25 microns). Standard laminating pouches for everyday use are usually 75 to 80 microns thick (roughly 3 mil). This thickness provides basic, flexible protection that is ideal for documents that will be filed away or handled gently, such as certificates or recipes. For items that will face heavy, daily handling—such as classroom flashcards, game cards, or outdoor signage—a thicker 125-micron (5 mil) pouch is far superior. It provides a rigid, durable, plastic-like finish that resists bending and tearing. When shopping for a laminator, always verify the maximum pouch thickness the machine can melt; basic models are often limited to 80 microns, while advanced models can handle up to 125 microns or more.
Warm-Up and Processing Speed
The time it takes for a laminator to reach its optimal operating temperature can significantly impact your workflow. Basic home laminators typically require 3 to 5 minutes to warm up, which is perfectly acceptable for occasional, single-page tasks. For busy school environments or large-scale crafting sessions, look for machines with rapid warm-up times of 1 to 2 minutes. Additionally, processing speed—measured in millimeters per minute (mm/min)—determines how quickly the rollers pull the pouch through the machine. A standard speed of 300 mm/min is sufficient for small tasks, but if you are laminating an entire class set of 30 worksheets, a faster processing speed will prevent frustrating bottlenecks and save valuable time.
Power and Plug Compatibility
Because many Singaporeans purchase stationery appliances from international online retailers, verifying electrical specifications is a critical safety step. Singapore operates on a 230V, 50Hz power grid and utilizes Type G (three-pin) electrical plugs. Many laminators sold online are manufactured for foreign markets, such as North America, which uses a 110V standard. Plugging a 110V appliance directly into a Singaporean outlet without a heavy-duty step-down voltage converter will permanently destroy the machine and create a serious electrical fire hazard. Always double-check the product listing to ensure the laminator is rated for 220V–240V and comes with a compatible Type G plug or a certified local adapter.
Which Laminator Category Fits Your Home or Classroom?
Light-Duty A4 Laminators for Occasional Home Use
- Best For: These compact machines are designed specifically for households, casual hobbyists, and families who only need to laminate a few documents each month. They are perfect for preserving occasional school certificates, creating simple home organization labels, protecting recipe cards from kitchen spills, or sealing children's drawings.
- Key Specifications to Look For: Look for a lightweight, slim-profile machine that can easily be tucked away in a drawer or on a shelf in a typical Singaporean home. It should support standard 75 to 80-micron A4 pouches and feature a straightforward, one-button interface with a simple "ready" indicator light.
- Limitations: Light-duty laminators are not built for continuous, high-volume operation. Their internal heating elements and small motors can overheat quickly if the machine is left running for more than 10 to 15 minutes continuously. Overheating leads to poor sealing quality, visible bubbling, and can even cause the plastic pouch to melt and wrap around the internal rollers, ruining the machine.
- Before You Buy: Always read the product manual or packaging to check the manufacturer's recommended continuous run time and cooling-off period. If you try to force a light-duty machine to process a large batch of classroom materials in one sitting, you risk damaging the internal gears and voiding the warranty.
Medium-Duty A3/A4 Laminators for Frequent School Projects
- Best For: These robust machines are the ideal choice for preschool teachers, primary school educators, home-schooling parents, and dedicated crafters who regularly laminate large volumes of diverse materials. They are built to handle the rigorous demands of preparing classroom aids, flashcards, interactive learning mats, and large-format educational posters.
- Key Specifications to Look For: A high-quality medium-duty laminator should feature a wide A3 entry slot to accommodate large posters. It must offer adjustable temperature control to switch seamlessly between standard 80-micron and heavy-duty 125-micron pouches. Most importantly, look for a machine equipped with a manual jam-release lever (often labeled ABS) or an electronic reverse button to clear misfed pouches quickly.
- Limitations: These machines are naturally larger, heavier, and require more storage space. They also represent a higher initial financial investment compared to basic A4 models and may take slightly longer to warm up initially due to their larger heating rollers.
- Before You Buy: Confirm that the machine has multiple rollers—ideally four rollers instead of two. A four-roller system provides more even heat distribution and pressure, resulting in a significantly smoother finish with fewer bubbles, which is crucial when laminating thicker cardstock.
Cold Laminators for Heat-Sensitive Artwork and Photos
- Best For: Cold lamination is essential for protecting items that would be damaged or destroyed by the intense heat of a thermal laminator. This includes glossy photographs, heat-sensitive thermal paper (like receipts), delicate watercolor paintings, crayon drawings that might melt, and children's artwork made with wax, glitter, or plastic embellishments.
- Key Specifications to Look For: Look for a dual-mode laminator that features both "Hot" and "Cold" settings, or opt for a dedicated manual hand-crank cold laminator. Cold laminators use pressure-sensitive adhesive pouches rather than heat-activated ones, relying on the physical pressure of the rollers to seal the plastic layers together.
- Limitations: Cold laminating pouches are generally more expensive and less widely available in neighborhood stationery shops in Singapore compared to standard thermal pouches. Additionally, cold lamination requires precise alignment during feeding, as the sticky adhesive bonds instantly on contact and cannot be repositioned once pressed.
- Before You Buy: If you are purchasing a hybrid hot-and-cold machine, verify that the cold setting completely disables the heating element, allowing the rollers to run cool. Always read the instructions on your cold laminating pouches, as they require a different handling technique than thermal alternatives.
Quick Comparison: Features to Verify Before Purchase
| Machine Category | Max Pouch Size | Max Pouch Thickness | Best Use Case | Key Feature to Verify on the Box |
|---|---|---|---|---|
| Light-Duty A4 | A4 | 80 microns (3 mil) | Occasional home crafts, certificates | Compact footprint, single-switch operation |
| Medium-Duty A3 | A3 (and smaller) | 125 microns (5 mil) | Classroom materials, flashcards, posters | Jam-release lever (ABS), multi-temp settings |
| Cold / Hybrid | A4 or A3 | Varies by pouch type | Heat-sensitive photos, crayon drawings | Dedicated cold setting, roller pressure |
Label Reading Guide

When shopping for a laminator, do not rely solely on the marketing text on the front of the box. Turn the machine over or look at the detailed specification sticker on the back. Pay close attention to the listed maximum pouch thickness, which is typically written in microns (e.g., “Max thickness: 125 mic” or “2×125 mic”). The term “2×125 mic” indicates that the machine can handle a laminating pouch where each individual plastic sheet is 125 microns thick, making a total thickness of 250 microns plus the paper inside. Attempting to run a 125-micron pouch through a machine rated only for 80 microns will result in a severe jam, as the heating element cannot melt the thick adhesive, and the motor will stall under the excess thickness.
Consumable Availability
Before finalizing your laminator purchase, consider where you will buy your replacement laminating pouches. Standard A4 80-micron pouches are incredibly easy to find in Singapore, stocked by major heartland stationery chains like Popular, local neighborhood bookstores, and online office supply stores. However, if you choose an A3 machine or plan to use heavy-duty 125-micron pouches regularly, verify that these specific sizes and thicknesses are readily available from your preferred suppliers. Buying a specialized machine without a reliable local source of compatible pouches can stall your school or home projects when you run out of supplies.
How to Prevent Jams and Maintain Your Laminator
Proper Insertion Technique
The single most common cause of laminator jams is incorrect pouch insertion. Always insert the sealed, pre-bonded edge of the laminating pouch into the feed slot first. If you insert the open end first, air becomes trapped inside the pouch as it passes through the rollers, leading to severe wrinkling, large air bubbles, and a high risk of the plastic wrapping itself around the internal rollers. Additionally, ensure the pouch is aligned perfectly straight; feeding a pouch at an angle can cause it to catch on the internal housing and crumple inside the machine. Because Singapore’s high humidity can cause paper to absorb moisture from the air, ensure your document is completely dry before inserting it into the pouch, as trapped moisture will vaporize and create unsightly bubbles.
Using Carrier Sheets
A carrier sheet is a folded piece of heat-resistant cardboard or Teflon that holds your laminating pouch as it passes through the machine. While many modern laminators are advertised as “carrier-free,” using a carrier sheet is highly beneficial in specific scenarios. It is especially useful when laminating very thin paper, small cut-out shapes (such as multiple small flashcards arranged inside a single large pouch), or when using older machines. The carrier sheet prevents excess adhesive from squeezing out of the edges of the pouch and sticking to the silicone rollers, keeping the internal mechanism clean and preventing future jams.
Clearing a Jam Safely
If you hear a strange grinding noise, notice that the pouch has stopped moving forward, or see smoke, you must act immediately to prevent permanent damage. First, turn off the power switch and unplug the laminator from the wall socket. If your machine is equipped with a manual jam-release lever (ABS), press or slide it to disengage the tension on the rollers, then gently and slowly pull the pouch backward out of the feed slot. Never pull the pouch forcefully while the rollers are locked, and never use sharp metal objects like scissors, knives, or tweezers to pry a stuck pouch out, as these will permanently scratch the delicate silicone rollers and ruin the machine’s laminating capability.
Routine Cleaning and Storage
Regular maintenance is key to extending the lifespan of your laminator. To clean the rollers of any accumulated adhesive residue, heat the machine up and run a clean, folded sheet of plain white copy paper through the feed slot several times; the dry paper will safely absorb any excess glue from the rollers. Once the machine has completely cooled down, wipe the plastic exterior with a dry microfiber cloth to remove dust. Store the laminator flat on a stable shelf rather than upright to prevent dust from falling into the entry slot, and loosely wrap the power cord to avoid damaging the internal wiring.
Frequently Asked Questions (FAQ)
Can I laminate thick cardstock or cardboard?
Laminating thick cardstock (such as 160 to 220 GSM paper) is entirely possible, but you must ensure that the combined thickness of the cardstock and the laminating pouch does not exceed the machine’s maximum roller clearance. Most home and school laminators have a maximum clearance of approximately 0.5 mm to 0.6 mm. If you attempt to laminate heavy, rigid cardboard or corrugated board, the rollers will jam, and the heating element will fail to seal the pouch properly. Always consult your laminator’s user manual for the maximum allowable paper weight or thickness, and perform a quick test run with a small scrap piece of cardstock before laminating your final project.
Is it safe to leave the laminator plugged in after use?
No, you should never leave a thermal laminator plugged into the wall outlet after you have finished using it. Thermal laminators operate at exceptionally high temperatures, often exceeding 100°C internally, to melt the pouch adhesive. Even if your machine features an automatic shut-off timer, a malfunctioning internal sensor or switch can cause the heating element to remain active, posing a severe fire hazard. In homes with curious pets or classrooms with young children, a hot, plugged-in laminator is a major safety risk. Always switch the machine off, unplug it from the wall, and place it in a safe, elevated location to cool down completely for at least 30 minutes before storing it.
Community discussion
Share your experience or ask a question. Comments are reviewed before publication.