
Choosing a face paint starter set for your child is an exciting step into creative play, but it requires balancing artistic fun with skin safety. Unlike standard art supplies, face paints are cosmetics that sit directly on delicate young skin. Finding a set that is easy to apply, vibrant, and simple to wash off ensures a positive experience for both you and your child.
To select the right starter kit, prioritize water-activated paints over oil-based alternatives. Water-activated formulas dry quickly, resist light touching, and wash away easily with basic soap and water. Always verify that the packaging displays clear cosmetic safety certifications, age recommendations, and a complete ingredient list. A practical starter kit should also include essential application tools, such as high-density cosmetic sponges and synthetic brushes, so you can begin painting immediately without needing to purchase extra supplies.
Essential Components of a Beginner-Friendly Face Paint Set
When evaluating face paint starter kits, the formulation of the paint is the most critical factor. Water-activated cake paints are the industry standard for beginners and professionals alike. These paints arrive dry in plastic pots or palettes and require a small amount of water to activate the pigment. They dry to a matte finish on the skin within minutes, making them highly resistant to accidental smudges from active children. In contrast, grease-based or cream-based paints remain wet and heavy on the skin. Grease paints require setting powders to stay in place and oil-based cleansers to remove, making them far too cumbersome and messy for casual kids’ activities.
Products mentioned in this guide
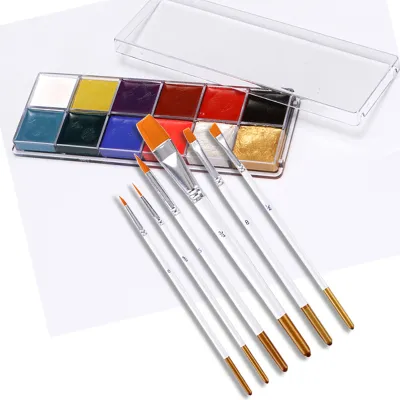
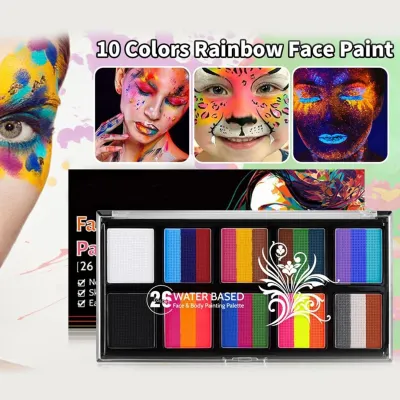
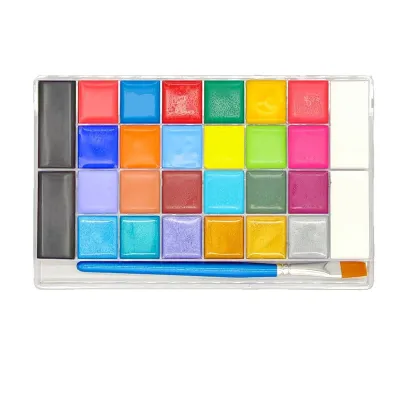
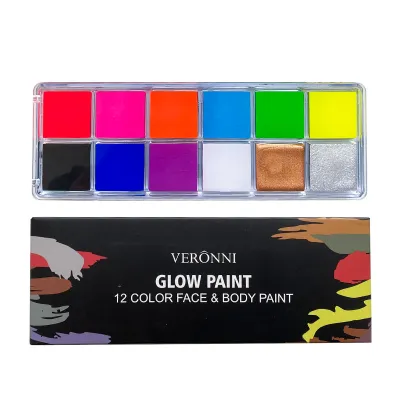
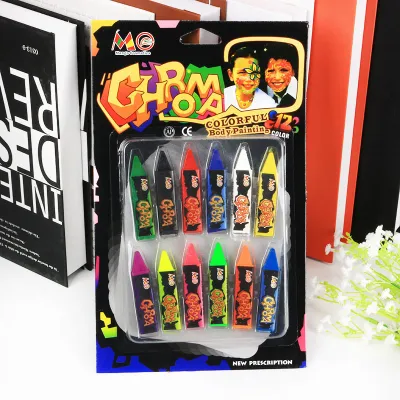
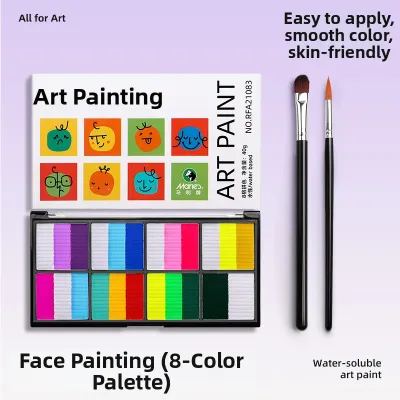
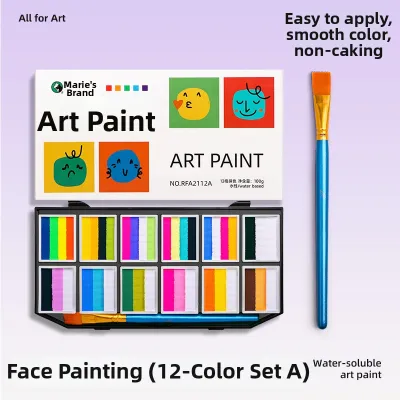
Prices are valid at publication and may change. Please refer to the product page for the latest price.
The quality of the tools included in a starter kit directly impacts how easily you can apply the paint. Look for kits that provide synthetic brushes rather than natural hair brushes. Synthetic fibers, such as nylon or taklon, are resilient, easy to sanitize, and hold their shape well when wet. A good beginner set should feature at least two brush shapes:
- Round Brushes: A medium round brush (size 3 or 4) is indispensable for painting clean lines, teardrops, swirls, and fine details.
- Flat or Chisel Brushes: A small flat brush is ideal for blocking in solid shapes, painting sharp edges, or applying multi-colored stripes from a split-cake.
Sponges are equally vital for achieving smooth, even base coats over larger areas of the face. A high-quality starter kit will include high-density, fine-pored cosmetic sponges. These sponges absorb the paint evenly without soaking up excessive water, which prevents the paint from running or streaking on the child’s face. Round sponges can be cut in half to create flat edges, which are perfect for painting clean lines around the eyes and forehead.
Beyond the paint and basic tools, supplementary items can greatly enhance a beginner’s success. Flexible, reusable plastic stencils are incredibly helpful for parents who do not feel confident in their freehand drawing skills. Look for kits that include adhesive or hold-in-place stencils featuring simple shapes like stars, butterflies, or superhero emblems. If the kit includes glitter, ensure it is explicitly labeled as cosmetic-grade polyester glitter. Standard craft glitter is made of glass or metal and has sharp, hexagonal cuts that can cause severe eye damage; cosmetic glitter is made of soft plastic and is cut into rounded shapes safe for facial application.
Safety First: Verifying Ingredients and Skin Compatibility
Because children have thinner, more sensitive skin than adults, safety must be your primary concern when purchasing a face paint kit. Do not rely solely on front-of-package marketing claims like “natural” or “safe for skin.” Instead, inspect the back of the packaging for recognized regulatory and safety standard marks. In Singapore, cosmetics are monitored for safety, and reputable imported kits should comply with international standards. Look for indications of compliance with the European Union’s EN71 toy safety standards or United States FDA cosmetic regulations. These certifications indicate that the pigments and ingredients have undergone rigorous testing for toxicity and skin compatibility.

Understanding the difference between art supply safety and cosmetic safety is crucial. A product labeled “non-toxic” under art standards (such as ACMI AP seals on school glue or crayons) is certified safe if accidentally ingested or touched, but it is not approved for prolonged contact with facial skin. Only use products that are explicitly manufactured and labeled as cosmetics. Additionally, look for the term “hypoallergenic,” which indicates that the product is formulated to minimize the risk of allergic reactions, though it does not guarantee a complete absence of risk for every individual skin type.
Before using any new face paint set, always perform a 24-hour patch test to identify potential skin sensitivities. This simple precautionary step can prevent widespread irritation or discomfort:
- Clean a small patch of skin on the child's inner elbow or inner wrist.
- Apply a small dab of the activated face paint to the area.
- Allow it to dry and leave it undisturbed for 24 hours.
- Monitor the site closely for any signs of redness, itching, swelling, or bumps.
- If any reaction occurs, wash the area immediately and do not use the product on the child's face.
Be aware of common skin irritants and allergens that can hide in lower-quality face paints. Some children are sensitive to specific organic pigments, particularly strong reds, deep blues, or neon colors, which can sometimes leave a temporary shadow or mild stain on the skin. Avoid kits that contain heavy synthetic fragrances, parabens, or formaldehyde-releasing preservatives, as these are common triggers for contact dermatitis. If your child has a known allergy, such as a gluten or dairy sensitivity, verify with the manufacturer that the face paint formulation is free from those specific binders or derivatives.
Matching the Kit to Your Child's Age and Skill Level
Selecting the right face paint kit depends heavily on the age of the children you plan to paint and their level of patience. Matching the kit’s complexity to the child’s developmental stage ensures a fun, frustration-free experience for everyone involved.
Toddlers and Preschoolers (Ages 2 to 4)
For very young children, speed is the most important factor. Toddlers rarely sit still for more than a minute or two, making detailed freehand designs nearly impossible. For this age group, look for starter kits that focus on quick-drying formulas and simple application methods. Face paint crayons or solid paint sticks are excellent options because they do not require water activation, reducing setup time and mess. Pair these with large, flexible stencils and high-density sponges. Instead of attempting full-face transformations, focus on small, high-impact designs on the cheek or the back of the hand, such as a quick balloon, a flower, or a simple dinosaur.
School-Age Beginners (Ages 5 to 9)
Children in this age bracket generally have the patience to sit still for five to ten minutes, allowing you to create more detailed designs. A classic water-activated palette containing 6 to 12 primary and secondary colors is ideal for this group. Look for kits that include a basic instructional guide with step-by-step visual tutorials for popular designs like tigers, fairies, and superheroes. These kits should provide a mix of sponges for base colors and medium round brushes for outlining. This stage is perfect for teaching children how to mix colors directly on a plastic palette to create custom shades.
Older Kids and Teens (Ages 10 and Above)
Older children often want to paint themselves or their friends, and they possess the fine motor skills required for detailed work. For this group, look for advanced starter kits that feature split-cakes (also known as rainbow cakes). These are small containers of paint with multiple colors aligned side-by-side. By sweeping a flat brush or sponge across the cake, the painter can pick up several colors at once and create beautifully blended, multi-colored strokes in a single movement. These kits should also include fine detail brushes (sizes 0 or 1) and specialized stencils with intricate patterns, such as scales, animal prints, or brick textures, to help them achieve professional-looking results.
Application and Removal: Ensuring a Stress-Free Experience
Proper skin preparation is the secret to both a beautiful face paint design and an easy cleanup process. Before you begin painting, ensure the child’s face is clean and free of excess natural oils or dirt. Apply a thin layer of a light, water-based, non-comedogenic moisturizer to the skin and allow it to absorb completely for five minutes. This moisturizer acts as a gentle barrier, preventing the paint pigments from sinking deep into the pores or dry patches of skin. This step is particularly helpful in preventing temporary skin staining from highly pigmented colors like green, blue, and red.
When applying water-activated paint, controlling the amount of water you use is key to a smooth application. Dip your brush or sponge into clean water, then squeeze or wipe off any excess so it is merely damp. Rub the damp tool onto the surface of the paint cake in a circular motion until you achieve a creamy, lotion-like consistency. If the paint is too wet, it will run, drip, and translucent; if it is too dry, it will drag across the skin and look streaky. Apply the base colors first using a sponge, working in thin, even layers. Allow the base coat to dry completely before using a brush to add outlines or fine details on top, which prevents the colors from bleeding into one another.
Removing water-activated face paint is straightforward if you follow the correct technique. Many parents make the mistake of splashing water onto the face immediately, which can actually reactivate the paint and cause it to smear into the pores. Instead, follow these steps for a clean removal:
- Apply a small amount of mild liquid soap, baby shampoo, or a gentle facial cleanser directly to the painted skin without adding water.
- Gently massage the soap over the painted areas using your fingertips or a soft washcloth to break down the pigment.
- Once the paint has emulsified into a soapy lather, wipe it away with a damp, warm washcloth.
- Rinse the face thoroughly with warm water.
- For any stubborn pigment shadows, apply a small amount of baby oil, coconut oil, or a gentle makeup remover wipe, let it sit for a minute, and wipe it away gently.
Storing and Maintaining Your Face Paint Supplies
Proper maintenance and storage of your face paint kit are essential for hygiene and longevity. Because face paints are applied to the skin and mixed with water, they can easily become breeding grounds for bacteria and mold if stored incorrectly. This is especially true in warm, humid climates like Singapore, where moisture trapped in a dark container can quickly ruin your supplies.
Immediately after each painting session, wash all brushes and sponges thoroughly. Use warm water and a mild soap, baby shampoo, or a dedicated cosmetic brush cleanser. Massage the soap into the bristles and sponge pores until the water runs completely clear. Squeeze out all excess water. Lay your brushes flat on a clean towel to dry; never dry them standing upright in a cup, as water can run down into the metal ferrule, dissolving the glue and causing the bristles to shed. Allow sponges to air dry completely in a well-ventilated area before storing them.
Your paint palette also requires careful attention before it is packed away. Never close the lid of a face paint palette while the cakes are still wet or damp. Leave the palette open in a clean, dry, and well-ventilated room for several hours—or even overnight—until the surface of every paint cake is completely dry to the touch. Once dry, wipe down the plastic dividers between the paint pots with a clean, damp paper towel to remove any color mixing, then close the lid tightly. Store the kit in a cool, dry place away from direct sunlight and extreme temperature fluctuations.
Finally, regularly monitor the condition of your face paint supplies. Most cosmetic products feature a Period After Opening (PAO) symbol on the packaging, which looks like a tiny open jar with a number followed by an “M” (e.g., 12M or 18M). This indicates how many months the product remains safe to use after its first exposure to air and water. Even if the product is within this timeframe, inspect the paints before each use. If you notice a sour or unusual smell, a change in texture, a sticky or slimy film on the surface, or any signs of mold, discard the affected paints immediately to protect your child’s skin.
Frequently Asked Questions (FAQ)
Can I use regular acrylic or watercolor paints on my child's face?
No, you should never use regular acrylics, tempera, poster paints, or student-grade watercolors on human skin. These products are formulated for paper, canvas, and wood, not for the body. Acrylic paints contain plasticizers and chemical binders that can cause severe allergic reactions, contact dermatitis, and chemical burns on sensitive facial skin. Furthermore, as acrylic paint dries, it forms a non-porous plastic film that traps sweat and oils, and peeling it off can painfully tear the fine hairs on a child’s face. Standard watercolors lack cosmetic-grade pigments and can cause deep, stubborn staining and skin irritation. Only use products explicitly manufactured and labeled as skin-safe cosmetics.
How long does water-activated face paint typically last on the skin?
Under normal conditions, water-activated face paint will last comfortably for 2 to 4 hours. However, its longevity depends heavily on environmental factors and the child’s activity level. In hot, humid climates, sweat and natural skin oils will break down water-based paint much faster, leading to smudging or running. To extend the wear time, you can apply a very light dusting of translucent cosmetic setting powder over the dry paint using a fluffy brush. Alternatively, a light mist of a cosmetic setting spray can help lock the design in place. To minimize smudging during active play, encourage children to avoid rubbing their faces and keep designs away from areas prone to heavy sweat, such as the upper lip and forehead.
What should I do if my child gets face paint in their eyes?
If face paint accidentally gets into a child’s eyes, act quickly but remain calm to avoid panicking the child. Immediately flush the eye gently with clean, lukewarm water or a sterile saline eye wash. Have the child tilt their head to the side so the affected eye is downward, preventing the paint from washing into the other eye. Pour a gentle, steady stream of water over the eye for several minutes, encouraging them to blink repeatedly. Do not allow the child to rub their eye, as the friction can push pigment particles deeper or cause painful corneal scratches. If redness, irritation, pain, or vision changes persist after thorough flushing, stop home treatment and seek professional medical attention immediately.
Community discussion
Share your experience or ask a question. Comments are reviewed before publication.