
Selecting the right knitting stitch markers depends entirely on the specific demands of your project. There is no single universal marker; instead, the ideal choice varies based on the stitch manipulations, yarn weight, and visual contrast required for lace, cables, or colorwork. Matching the physical properties of a marker—such as its weight, closure type, and surface texture—to your knitting technique ensures smooth transitions and prevents damage to your yarn.
Using the wrong marker can lead to snagged fibers, distorted tension, or missed pattern repeats. By evaluating the mechanical and material criteria of your tools, you can maintain a fluid knitting rhythm and protect your handiwork. This guide breaks down how to match different marker types to your current knitting task.
Understanding Stitch Marker Mechanisms and Materials
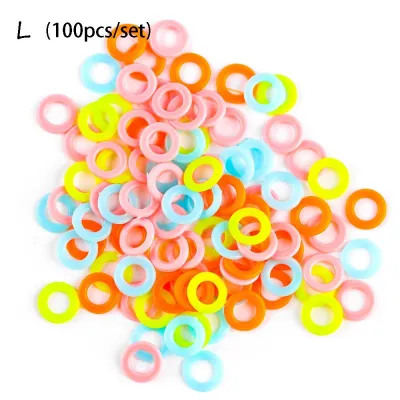
Stitch markers generally fall into two mechanical categories: closed (ring) markers and open (locking or split) markers. Closed markers are solid rings that slide directly onto your knitting needle to mark transitions between pattern repeats. Because they have no openings, they cannot fall off the needle, but they can only be added or removed when you knit to their specific position.
Products mentioned in this guide
Prices are valid at publication and may change. Please refer to the product page for the latest price.
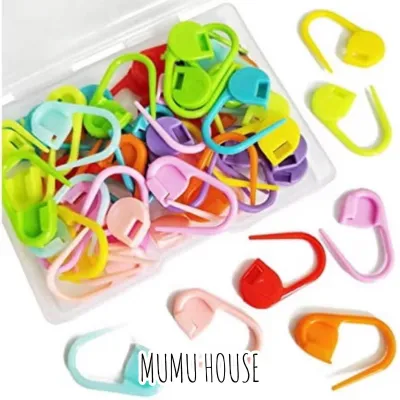
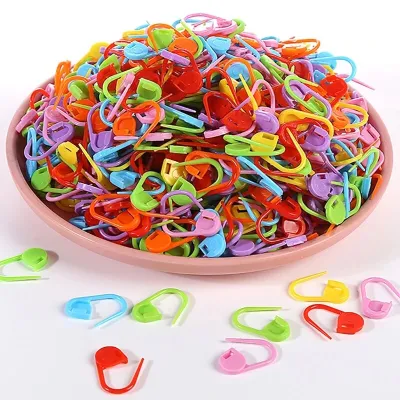
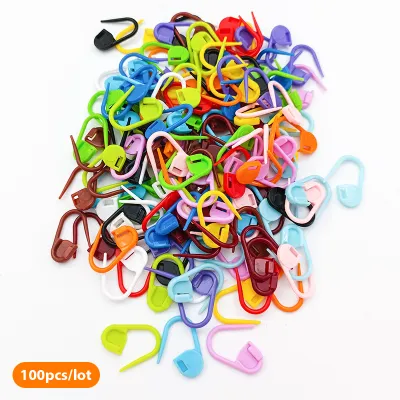
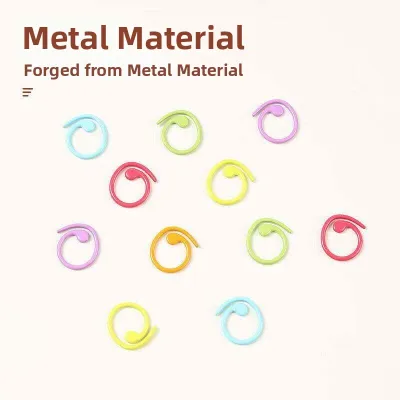
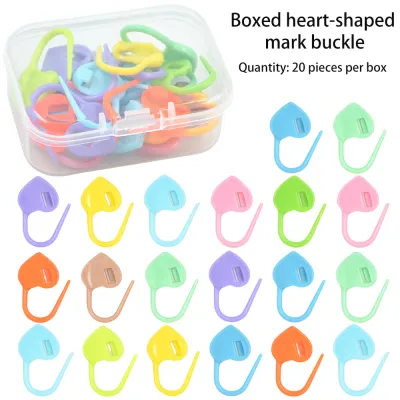
Open or locking markers function similarly to safety pins, allowing you to clip them directly onto individual stitches or slip them onto the needle. This design is highly versatile for marking specific rows, counting vertical pattern repeats, or securing dropped stitches before they run down your fabric. Split-ring markers offer a middle ground, featuring a spiral opening that slips onto the needle or stitch without a locking clasp, though they can occasionally slip out of place.
Material choices significantly impact how a marker interacts with your yarn. Seamless metal rings slide effortlessly across needles and offer excellent durability, but heavier metals can drag down fine, delicate yarns. Molded plastic markers are lightweight and widely available, though they must be inspected for rough manufacturing seams that can snag fibers. Flexible silicone or rubber markers provide a gentle grip that prevents them from sliding too quickly, making them quiet and highly controllable on slick metal needles.
Sizing is the final mechanical consideration. The inner diameter of a ring marker must comfortably clear your needle tip without being so large that it slips over your working stitches or distorts the tension of adjacent loops. As a general rule, select a marker with an inner diameter that is 1mm to 2mm larger than your needle size to ensure smooth sliding without excess bulk.
Selecting Markers for Lace Knitting
Lace knitting involves fine, often single-ply or halo-heavy yarns—such as mohair, silk, or fine merino—combined with frequent yarn-overs and complex decreases. Because the fabric is highly open and delicate, the primary goal when choosing a marker is to prevent snagging and avoid disrupting the delicate tension of the stitches.

Seamless, smooth closed rings are the standard choice for lace projects. Any gap, hinge, or clasp on a marker can easily catch the fine fibers of lace yarn, causing unsightly snags or splitting the ply. Once a fiber is caught, the sliding motion of the marker can pull and pill the yarn, creating a permanent blemish in your lace pattern.
Size and profile are critical when working with lace. If the inner diameter of the marker is too large, the marker can easily slip through a yarn-over loop or become trapped inside a decrease. Choose ultra-thin, lightweight metal rings or seamless, high-grade plastic rings that sit flush against the needle. These minimal profiles ensure the marker stays exactly where it belongs without stretching out adjacent loops.
Weight is another essential factor. Heavy markers can pull down on delicate lace stitches, distorting the openwork before the fabric is blocked. Opting for lightweight materials minimizes drag, allowing you to maintain consistent tension across long rows of intricate lace patterns.
Choosing Markers for Cable Knitting
Cable knitting requires managing complex stitch crossings, often involving a cable needle and shifting groups of stitches. The dense, sculptural nature of cable fabrics demands markers that stay highly visible and secure during these physical manipulations.
Locking markers are incredibly beneficial for cable projects because they allow you to track vertical progress. Cable patterns typically require performing a twist every few rows. By clipping a locking marker directly into the fabric at the row where you performed the last twist, you can easily count your rows vertically without losing track or constantly consulting your pattern chart.
Visual distinction is key when managing multiple cable repeats. Cable charts can be complex, featuring different types of twists within the same row. Using markers of distinct shapes—such as triangles, hexagons, or hearts—or highly contrasting colors helps you instantly differentiate between a simple repeat boundary and the specific column where a cable twist is due.
Consider the physical bulk of your markers. While cable fabrics are robust enough to handle heavier markers, thick rings placed directly next to a tight cable crossing can create physical gaps or “laddering” in your fabric. Choosing flat, low-profile locking markers keeps the adjacent stitches snug and even, preserving the neatness of your cable transitions.
Matching Markers to Colorwork
Colorwork techniques, such as stranded Fair Isle or mosaic knitting, involve carrying multiple strands of yarn across the row. Managing these shifting colors requires markers that maintain high visibility without disrupting your yarn tension or catching on floats.
Color contrast is your primary tool when working with multi-colored yarns. A standard marker can easily get lost in the visual noise of a complex pattern. Select solid, highly contrasting marker colors that stand out clearly against both your background yarn and your pattern yarn. Bright, opaque neon shades or solid black and white work best, while dark or transparent markers should be avoided as they tend to blend into the fabric.
Profile and thickness are crucial for maintaining even tension in stranded colorwork. In these projects, the yarn not in use is carried across the back of the fabric as a “float.” If your stitch marker is thick or has dangling charms, the floats can easily catch on the marker as you carry them across. This can pull the float too tight, causing the fabric to pucker, or leave loose loops on the back of your work.
To prevent this, choose ultra-slim, smooth ring markers that sit flush against the needle. These low-profile markers allow the floats to pass smoothly over the back of the work without catching, ensuring your finished fabric remains flat, elastic, and professionally finished.
Building a Versatile Stitch Marker Kit
Instead of relying on a single set of markers, assembling a curated kit allows you to adapt to any knitting project. A well-rounded collection should include a variety of sizes, materials, and closure types to suit different yarn weights and techniques.
Before purchasing new markers, use a simple verification checklist to ensure quality. Check the manufacturer’s specified inner diameter against your most-used needle sizes, inspect the closure mechanism of locking markers for smooth edges, and feel the surface of plastic or wooden markers for any rough molding seams or splinters.
Always test new markers on a gauge swatch before committing them to a major project. Knit a small sample using your project’s yarn and needles, sliding the marker back and forth and clipping it to the fabric. This allows you to observe how the marker interacts with the yarn, ensuring it does not snag, split the fibers, or create gaps in your stitches.
Proper storage keeps your kit organized and ready for use. Multi-compartment plastic boxes with adjustable dividers are excellent for keeping closed rings, locking markers, and different size ranges separated. If you use metal markers, keeping a small magnetic dish or tin in your knitting bag is a highly effective way to prevent them from scattering.
Frequently Asked Questions (FAQ)
Can I use safety pins as locking stitch markers?
While standard safety pins are a common household substitute, they present significant risks for knitting. The coiled loop at the base of a standard metal safety pin can easily trap and shred yarn fibers, especially delicate or loosely spun plies. Additionally, metal safety pins can rust over time if exposed to moisture during wet blocking—a common step in finishing projects in humid climates like Singapore—leaving permanent stains on your fabric. Purpose-made plastic locking markers feature smooth, coil-free hinges and rounded edges designed specifically to glide over yarn without snagging.
How do I remove a stuck or tangled stitch marker?
If a closed ring marker becomes caught in a split ply, avoid pulling or tugging on the yarn, which can distort the stitch or break the fiber. Gently manipulate the yarn plies with a blunt tapestry needle to ease the loop off the marker. If a plastic locking marker becomes hopelessly tangled or jammed, it is safest to carefully cut the marker using a pair of small craft snips or nail clippers rather than risking damage to your knitting by forcing the clasp open.
Community discussion
Share your experience or ask a question. Comments are reviewed before publication.