
Starting a tie-dye project at home is an exceptional way to transform plain textiles into vibrant, custom works of art. Whether you want to revive faded clothing, create matching shirts for a family gathering, or explore a creative weekend hobby, the success of your project depends heavily on selecting the right fabric dye and a beginner-friendly starter kit. Making an informed choice requires evaluating the chemical compatibility between the dye and your fabric, assessing the completeness of the kit’s accessories, and understanding the safety and preparation steps required for home crafting.
Navigating the wide array of craft supplies can be overwhelming for beginners. Some kits are designed for quick, one-time activities with minimal cleanup, while others offer professional-grade powders that require precise measuring and chemical additives. By understanding the core selection criteria—including dye chemistry, fabric composition, kit components, and safety protocols—you can confidently choose a set that matches your creative vision and ensures long-lasting, brilliant colors.
Understanding Fabric Dye Types for Your Projects
To achieve vibrant, wash-fast results, you must first understand the chemical categories of fabric dyes. Dyes are not universal coloring agents; they rely on specific chemical reactions to bond with different types of fibers. Selecting a dye that does not match your fabric type will result in colors that wash out immediately or appear dull and faded after the first laundry cycle.
Products mentioned in this guide
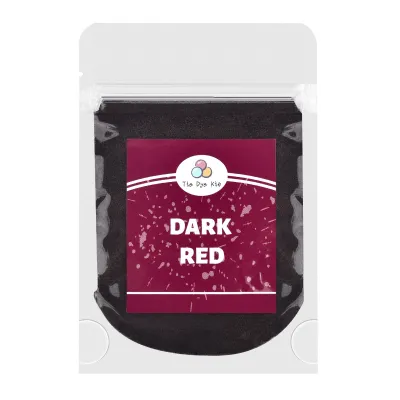
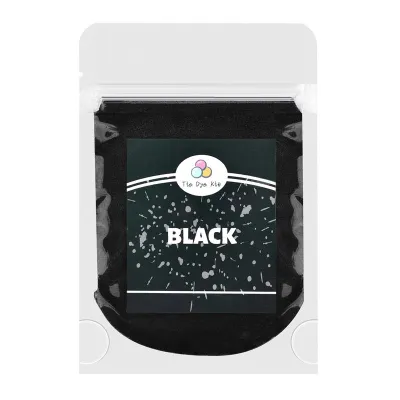
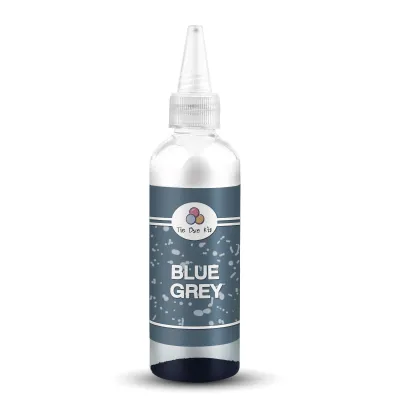
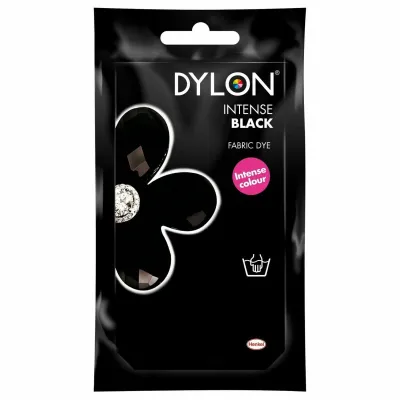

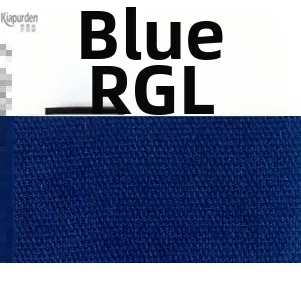
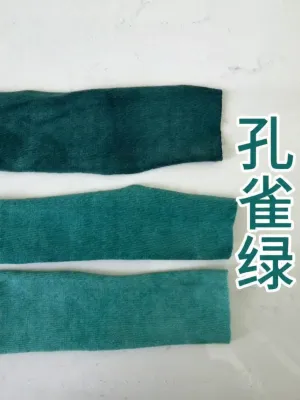
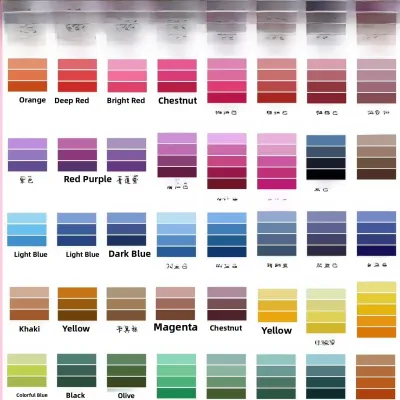
Prices are valid at publication and may change. Please refer to the product page for the latest price.
Fiber-reactive dyes are widely considered the gold standard for home tie-dye projects involving cellulose fibers. Cellulose fibers include natural, plant-based materials such as cotton, linen, rayon, hemp, and bamboo. Fiber-reactive dyes work by forming a covalent bond directly with the molecules of the fiber at a molecular level. This chemical bond is highly stable, meaning the color becomes a permanent part of the fabric. Because this reaction occurs at room temperature, these dyes do not require boiling water, making them incredibly safe and convenient for home use, especially when crafting with children.
All-purpose dyes, by contrast, are formulated to color a broader range of materials but utilize a different chemical mechanism. These products typically combine direct dyes (which color cellulose fibers) and acid dyes (which color protein fibers like silk and wool, as well as synthetic nylon). Because they attempt to cater to all fabric types, they do not form covalent bonds with cellulose. Instead, they rely on heat to open up the fibers and trap the dye molecules inside. To achieve reasonable color fastness with all-purpose dyes, you must use very hot water—often near boiling—and apply a separate chemical fixative after dyeing. Even with proper fixation, all-purpose dyes generally exhibit lower wash-fastness on cotton than fiber-reactive dyes, leading to gradual fading over time.
Before purchasing any dye, always check the manufacturer’s product description and packaging labels for explicit fabric compatibility. Look for terms like “cold-water dye” or “fiber-reactive” if you are working with cotton T-shirts. If you are working with delicate protein fibers like wool or silk, verify that the dye is formulated to work in acidic, heated conditions. Avoid generic products that do not clearly state their chemical type or compatible fiber groups on the label.
What to Look for in a Beginner Tie-Dye Starter Kit
A well-designed beginner tie-dye kit should provide all the essential tools and materials needed to complete a project from start to finish without requiring extra trips to the craft store. When evaluating starter kits, pay close attention to the format of the dye, the quality of the included resist tools, the protective gear provided, and the clarity of the instructional materials.

Dye Format and Packaging
Beginner kits generally offer dye in one of two formats: pre-measured powder inside squeeze bottles, or bulk powder packets. For novices, pre-measured squeeze bottles are highly recommended. These bottles contain a precise amount of dry dye powder; to activate them, you simply add lukewarm water up to a fill line and shake. This design minimizes your exposure to loose dye powder, which can easily become airborne and stain surrounding surfaces or be accidentally inhaled. Bulk powder packets offer excellent value and are ideal for experienced crafters who want to mix custom concentrations, but they require you to purchase separate squeeze bottles, measuring spoons, and funnels.
Resist Tools and Accessories
The characteristic patterns of tie-dye—such as spirals, bullseyes, and stripes—are created by physically restricting the dye from reaching certain areas of the fabric. High-quality kits include a generous supply of high-elasticity rubber bands in various thicknesses. Thicker bands create wider, more defined white lines, while thin bands allow for delicate, intricate patterns. Some advanced beginner kits may also include durable cotton string or artificial sinew, which can be pulled incredibly tight to create crisp, high-contrast boundaries, particularly useful for advanced techniques like geode tie-dye.
Protective Gear and Workspace Safeguards
Fabric dye is formulated to be permanent, meaning it will readily stain skin, countertops, and flooring. A comprehensive starter kit must include adequate protective gear. Look for kits that provide durable, waterproof gloves—preferably nitrile or snug-fitting latex, which offer better hand dexterity than loose, oversized plastic gloves. A plastic apron is also essential to protect your clothing during application. Additionally, verify whether the kit includes a plastic drop cloth or table cover to safeguard your work surfaces from accidental drips and spills.
Instructional Guides and Pattern Tutorials
Clear, step-by-step instructions are vital for a successful first experience. The best beginner kits include illustrated, full-color guides that demonstrate exactly how to fold, bind, and apply dye to achieve specific patterns. These guides should also provide clear instructions on curing times (how long the dyed fabric must sit before rinsing) and the proper rinsing sequence to prevent excess dye from bleeding into the white areas of your design.
Matching Dye Kits to Your Fabric and Project Scale
Selecting the right kit also requires aligning the product’s specifications with the specific textiles you plan to dye and the overall scale of your crafting activity. Failing to match these factors can lead to disappointing color results or running out of materials mid-project.
Fabric composition plays a decisive role in dye absorption and color vibrancy. For the most vivid, saturated results, always choose garments made of 100% natural cellulose fibers, such as 100% cotton. If you use a poly-cotton blend (for example, a shirt made of 50% polyester and 50% cotton), the polyester fibers will completely repel standard fiber-reactive or all-purpose dyes. As a result, only the cotton fibers will take the color, yielding a pastel, heathered, or vintage appearance. If you plan to dye synthetic fabrics like 100% polyester, acrylic, or nylon, standard beginner kits will not work; you must seek out specialized disperse dyes formulated specifically for synthetics, which require sustained high temperatures on a stovetop to bond.
Project scale is another critical factor when choosing a kit size. If you are planning a solo afternoon project to dye one or two small items, a compact kit containing three to five colors (often costing around S$15 to S$25) is perfectly sufficient. However, if you are hosting a birthday party, a family gathering, or a school activity, look for larger party packs. These larger sets typically contain 12 to 24 pre-filled squeeze bottles, multiple sets of protective gloves, a large supply of rubber bands, and extra refill packets of dye powder. Purchasing a larger kit is highly cost-effective for groups and ensures you have a wide variety of colors to prevent creative limitations.
Environmental conditions and your physical workspace should also influence your choice. In warm, humid climates like Singapore, managing the curing and drying process requires some planning. High humidity is actually beneficial during the curing phase because fiber-reactive dyes must remain damp to react chemically with the fabric; if the fabric dries out too quickly, the chemical reaction stops. However, high humidity also means that the final drying process after rinsing will take longer. Furthermore, because many urban homes have compact laundry yards or tiled bathrooms, you must plan where you will rinse the dyed garments. Ensure you have access to a deep stainless steel sink, a plastic utility tub, or an outdoor drain where running water can safely wash away excess dye without staining porous ceramic tiles or grout.
Pre-Purchase Checklist: Safety, Shelf Life, and Additives
Before finalizing your purchase from an online marketplace or a local craft store, use this practical checklist to verify the safety, viability, and completeness of the dye product.
- Safety Certifications: Ensure the product packaging displays a recognized non-toxic certification, such as the ASTM D-4236 standard. This certification indicates that the art material has been evaluated by a toxicologist and is safe for home use when handled according to the instructions. This is especially important if children will be participating in the activity.
- Respiratory and Skin Warnings: Read the product labels for specific handling instructions. Powdered dyes can easily become airborne when being poured or mixed; look for instructions recommending the use of a simple dust mask during the mixing phase to prevent inhalation of fine particles. Snug-fitting gloves should always be worn to prevent skin irritation and long-lasting staining.
- Dye Shelf Life and Viability: Unmixed dye powders stored in airtight containers in a cool, dry place can remain viable for several years. However, once dye powder is mixed with water, its chemical potency begins to degrade rapidly. For fiber-reactive dyes, the mixed liquid solution typically loses its ability to bond with fabric within one to two weeks, and sometimes even within a few hours if the temperature is high. Avoid buying pre-mixed liquid dyes unless you plan to use them immediately, and check the packaging for any manufacturing or expiration codes.
- Required Chemical Additives: Fiber-reactive dyes require an alkaline environment to establish a permanent bond with cellulose fibers. This alkalinity is achieved using sodium carbonate, commonly known as soda ash. Some beginner kits are "one-step" kits, meaning the soda ash is pre-mixed directly into the dye powder inside the bottle. While highly convenient, these dyes must be used within a few hours of adding water, as the dye and soda ash will react and exhaust themselves quickly. Other kits require you to pre-soak your fabric in a separate soda ash solution before applying the dye. Check the kit's contents to confirm if soda ash is included, or if you need to purchase it separately. Other helpful additives to look for include urea (a humectant that keeps the fabric damp longer during curing) and common non-iodized salt (which helps draw all-purpose dyes into the fibers).
Frequently Asked Questions (FAQ)
Do I need to pre-wash my fabric before using a beginner tie-dye kit?
Yes, pre-washing your fabric is an essential step that should never be skipped. New garments are almost always treated with factory sizing, starches, chemical finishes, or optical brighteners during manufacturing. These invisible coatings act as a barrier, blocking the dye from penetrating the fibers evenly and resulting in patchy, faded, or washed-out patterns.
To prepare your fabric, wash it in a washing machine using a standard laundry detergent. Avoid using fabric softeners or dryer sheets, as these products leave a thin, waxy residue on the fibers that will repel water-based dyes. It is best to apply the dye while the fabric is still damp, as the moisture helps the dye draw into the fibers more smoothly and prevents harsh, uneven edges.
Can I use standard fabric dye kits on polyester or synthetic blends?
Standard beginner tie-dye kits, which typically contain fiber-reactive or all-purpose dyes, will not yield satisfactory results on 100% polyester or other synthetic fibers like acrylic and acetate. Synthetic fibers are essentially plastics; they do not have the porous molecular structure of natural fibers and cannot form chemical bonds with standard dyes. If you attempt to use a standard kit on pure polyester, the dye will simply wash down the drain during the rinsing process, leaving the fabric white or extremely faint.
If you are working with a poly-cotton blend, you can use a standard kit, but you must adjust your expectations. The dye will only adhere to the cotton portion of the blend, resulting in a significantly lighter, pastel, or heathered color. To dye synthetic fabrics successfully, you must purchase specialized disperse dyes designed specifically for synthetics, which require a high-temperature stovetop boiling process to force the dye molecules into the synthetic fibers.
How should I store leftover dye from a beginner set for future use?
How you store leftover dye depends entirely on whether the dye has been mixed with water. Dry, unmixed dye powder should be stored in its original airtight containers or sealed plastic bags. Keep these containers in a cool, dark, and dry cupboard away from direct sunlight, humidity, and extreme temperature fluctuations. Under these dry conditions, dye powders can remain highly potent and usable for several years.
Once you have mixed the dye powder with water, its shelf life drops dramatically. For fiber-reactive dyes, the chemical reaction with water begins immediately, causing the dye to gradually lose its ability to bond with fabric. While the liquid may still look colorful, it will produce increasingly dull and faded results if stored. Mixed liquid dyes should ideally be used within 24 hours for maximum vibrancy, and any remaining liquid should be discarded after one week, as it will no longer be capable of forming a permanent bond with your fabric.
Community discussion
Share your experience or ask a question. Comments are reviewed before publication.