
Selecting the right decorative buttons requires aligning the material, size, and attachment method with the specific physical and aesthetic demands of your project. Whether you are embellishing a garment, upgrading home decor, or designing a scrapbook layout, understanding these core variables ensures your finished piece is both visually balanced and structurally sound. The ideal choice balances the weight of the button against the strength of the base material while ensuring the attachment method can withstand the item’s intended use and cleaning routine.
Matching Button Materials to Your Project Type
When selecting button materials, consider the physical and aesthetic requirements of your specific project category. For garments like cardigans and blouses, focus on lightweight, washable, and skin-friendly materials. Resin buttons are highly versatile, offering a vast range of colors and finishes while remaining light enough not to drag down delicate fabrics like linen or cotton. For knitwear, natural wood or fabric-covered buttons provide a warm, organic texture that complements the yarn without adding excessive weight. Whether you are spending under S$5 on a simple set of resin fasteners or investing in premium hand-carved options, matching the material to the fabric weight is essential.
Home decor items like cushions, throw pillows, and heavy tote bags demand durable materials that can handle frequent handling and friction. Metal, glass, and large carved wooden buttons are excellent candidates here because they offer substantial visual weight and tactile interest. A heavy brass or pewter button can elevate a simple canvas tote, while a polished glass button adds a touch of elegance to the center of a tufted cushion. Always ensure the base fabric is sturdy enough to support these heavier embellishments without sagging or tearing over time.
Products mentioned in this guide
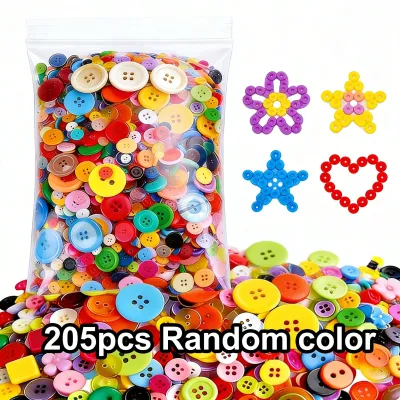
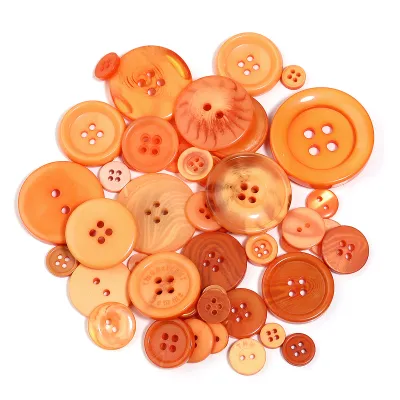
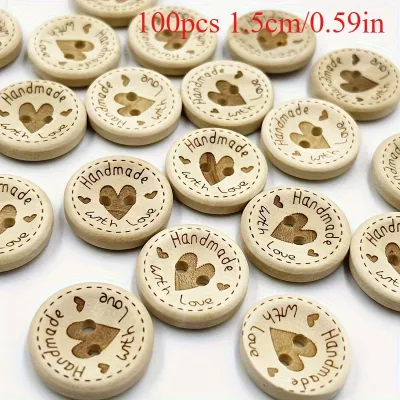
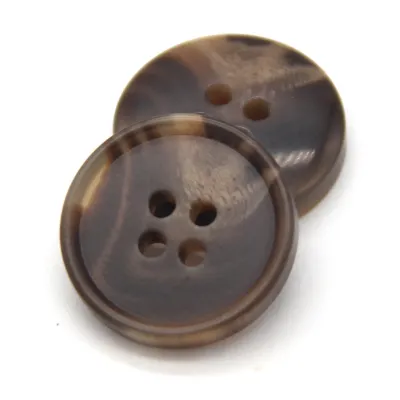
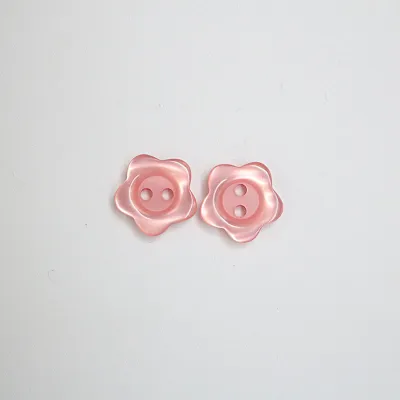
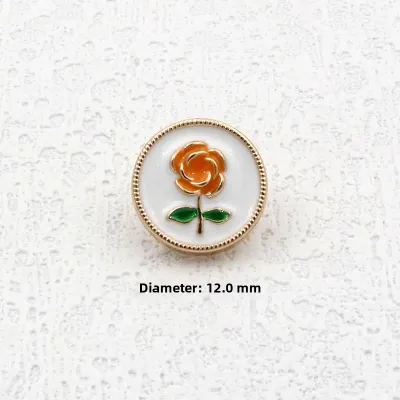
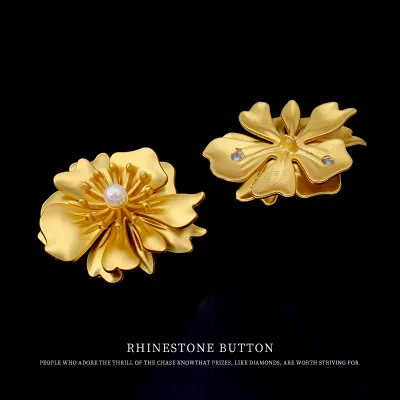
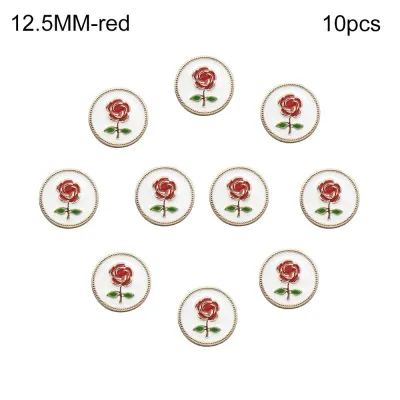
Prices are valid at publication and may change. Please refer to the product page for the latest price.
For paper crafts and scrapbooking, heavy or bulky buttons can cause pages to warp, tear, or fail to close properly. Opt for flat, lightweight options such as thin acrylic, enamel shapes, or brad-backed buttons. These materials provide the desired pop of color and texture without creating excessive bulk. Flat-backed buttons are particularly useful for paper crafts because they lay flush against the page, allowing for easy adhesion with craft glue or double-sided tape without straining the binding of your album.
Sizing and Proportion Guidelines for Different Applications
Achieving the right visual balance involves matching the scale of the button to the overall dimensions of your project. A single, large statement button can serve as a striking focal point on a minimalist coat or a decorative cushion, drawing the eye immediately. Conversely, a clustered arrangement of smaller, mismatched buttons can create a whimsical, collage-like effect on a bag or a scrapbook page. When clustering, group buttons of varying textures but cohesive colors to maintain a sense of design unity and prevent the layout from looking cluttered.

If a button is meant to function as an actual fastener, its size must correspond precisely to the buttonhole or loop. A button that is too large will stretch or damage the buttonhole, while one that is too small will slip out easily, failing to keep the item secure. For purely decorative applications, where the button is sewn directly onto the surface without a corresponding opening, you have much more freedom. In these cases, focus entirely on how the button’s scale interacts with surrounding design elements, such as pockets, collars, or printed patterns.
Before permanently attaching any buttons, it is essential to plan and test their placement. Lay your project flat on a clean work surface and arrange the buttons in their proposed positions. Use a sewing gauge, ruler, or measuring tape to ensure equal spacing between each piece, marking the exact spots with tailor’s chalk or a water-soluble fabric pen. Take a step back or hang the item up to view it from a distance; this perspective helps you verify that the layout looks balanced and aligned before you make the first stitch or apply any adhesive.
Choosing the Right Attachment Method
The physical structure of the button dictates how it sits on the fabric. Flat buttons with two or four holes are sewn directly against the material, making them ideal for lightweight fabrics, shirts, and projects where you want a low profile. Shank buttons, which feature a small loop or protrusion on the back instead of holes, raise the button slightly off the fabric surface. This shank creates necessary space for thick fabrics, such as wool coats or heavy hand-knitted cardigans, allowing the buttoned layers to lie flat without puckering.
For non-sewing projects like paper crafts, wooden signs, or rigid home decor, adhesives offer a quick and secure alternative to thread. When working on scrapbooks or paper albums, always select acid-free, photo-safe craft glues to prevent the paper from yellowing or degrading over time. For fabric-based crafts where sewing is not preferred, a high-quality fabric glue can secure flat-backed buttons, provided the item will not undergo heavy washing. Always test a small drop of adhesive on a scrap piece of material first to check for bleed-through or discoloration.
When permanent attachment is not desired, alternative fastening methods offer excellent flexibility. Button pins allow you to attach decorative elements temporarily, making it easy to remove them before washing a delicate garment or to swap styles depending on your outfit. For paper crafts, brads (split pins) can be threaded through the button holes and pushed through the paper, securing the button on the reverse side by spreading the metal prongs. This method eliminates the need for glue and allows the button to rotate if desired.
Care and Maintenance Considerations
Before sewing decorative buttons onto any washable item, verify how the button materials react to water and detergent. Hand-painted buttons, delicate wooden pieces, or buttons with glued-on rhinestones can easily degrade, lose their finish, or fall apart in a standard washing machine cycle. If you are using these delicate embellishments on garments, consider hand-washing the items or placing them inside a protective mesh laundry bag on a gentle cycle. Alternatively, use temporary fasteners so you can remove the buttons entirely before cleaning.
Some dyed plastic, wooden, or metal buttons can bleed color or rust when exposed to moisture, potentially ruining light-colored fabrics or paper backgrounds. To prevent this, perform a quick colorfastness test by soaking a spare button in warm soapy water and pressing it against a scrap piece of white fabric. If any dye transfers or if you notice any signs of oxidation on metal components, avoid using those buttons on light-colored or highly valuable projects.
Consider the daily environment and usage of your finished project to minimize the risk of damage. Buttons with sharp metal edges, intricate filigree, or protruding plastic shanks can easily snag on loose-knit sweaters, delicate scarves, or upholstery threads. For items that experience high friction, such as the back of a cushion or the front of a daily-use tote bag, prioritize smooth, flat, and rounded buttons. This simple check ensures your project remains beautiful and intact through regular handling.
Frequently Asked Questions (FAQ)
Can I use regular sewing buttons for scrapbooking?
Yes, regular sewing buttons work beautifully for scrapbooking, provided they are relatively flat and lightweight. To avoid creating bulk that might warp your album pages, look for thin plastic, resin, or wooden buttons. If the button has a shank on the back, you can often clip it off using wire cutters to create a flat surface for gluing. When using standard sew-through buttons, threading a small piece of embroidery floss or twine through the holes and tying a knot before gluing the button down gives it a realistic, finished look without needing to sew through the actual paper.
How do I clean cushions with heavy decorative buttons?
Cushions adorned with heavy, delicate, or metallic decorative buttons require careful handling to protect both the embellishments and the fabric. Spot-cleaning is the safest method; use a damp cloth with a mild detergent to gently clean the fabric around the buttons without soaking them. If the cushion cover is removable and requires a full wash, turn the cover inside out to prevent the heavy buttons from banging against the washing machine drum or snagging other fabrics. For extremely delicate or valuable buttons, hand-washing the cover in cool water and laying it flat to dry is highly recommended.
Community discussion
Share your experience or ask a question. Comments are reviewed before publication.