
Selecting suitable blank cards for your DIY greeting card projects requires matching the physical properties of the paper to your chosen crafting techniques. The right card serves as a stable foundation that prevents ink from bleeding, resists warping under wet media, and maintains its structural integrity when folded or embellished. To make an informed decision, you must evaluate four core dimensions: paper weight (measured in grams per square meter, or GSM), surface texture, physical dimensions, and packaging quantities. By aligning these specifications with your artistic tools, you can ensure your handmade creations look professional and stand the test of time.
Essential Selection Criteria for DIY Blank Cards
Paper weight is one of the most critical factors to consider when purchasing blank cards. Measured in grams per square meter (GSM), this metric determines the thickness, stiffness, and overall durability of the cardstock. For a standard greeting card that can stand upright on a mantelpiece or shelf without sagging, a minimum weight of 240 GSM is generally recommended. Cards made from lighter paper, such as 120 to 180 GSM, are often too flimsy to support their own weight when folded, though they can serve as excellent layers or inserts. Conversely, very heavy cardstock exceeding 300 GSM offers premium sturdiness but requires careful handling to achieve clean folds.
The surface texture of the cardstock significantly influences how your crafting mediums interact with the paper. Smooth cardstock provides an even, flat surface that is highly receptive to fine-line pens, markers, and detailed stamping. Vellum finishes offer a subtle, eggshell-like texture that provides a slight grip for dry mediums while remaining relatively smooth to the touch. Linen and other heavily textured papers feature distinct woven patterns that add tactile elegance to minimalist designs, though these uneven surfaces can make adhesive bonding more challenging and may cause stamped images to appear distressed or incomplete.
Products mentioned in this guide
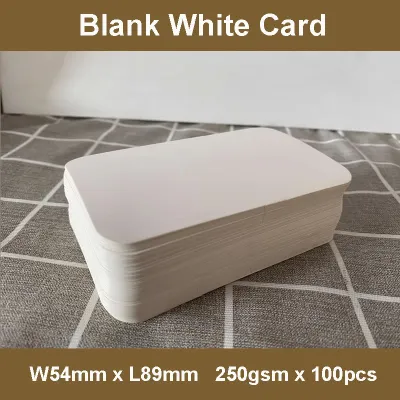
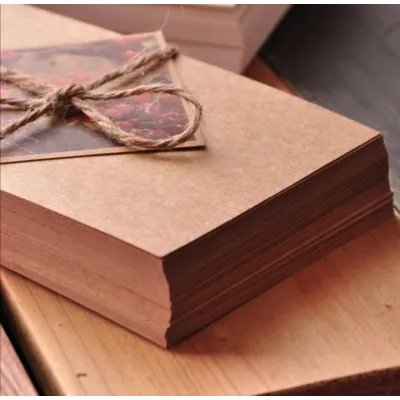

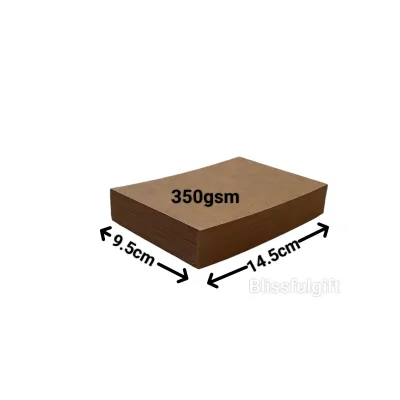
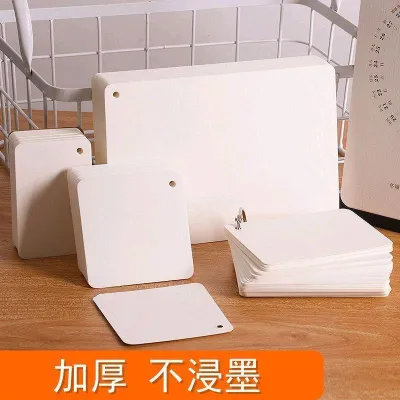
Prices are valid at publication and may change. Please refer to the product page for the latest price.
To ensure your handmade cards remain vibrant and intact for years to come, always check the product packaging for “acid-free” and “lignin-free” designations. Acid-free paper is manufactured using an alkaline pulp process, which prevents the paper from deteriorating, becoming brittle, or yellowing over time. Lignin is a natural organic polymer found in wood pulp that breaks down and produces acid when exposed to light and air. Choosing blank cards that are certified both acid-free and lignin-free is especially important if you plan to incorporate photographs, delicate keepsakes, or archival-quality inks into your designs.
Another practical consideration is the structural format of the blank cards, specifically the choice between pre-scored folded cards and flat cardstock. Pre-scored cards feature a machine-pressed indentation along the fold line, which weakens the paper fibers just enough to allow for a straight, clean fold without cracking the outer surface of the paper. Flat cardstock, on the other hand, gives you complete freedom over the final dimensions and folding orientation of your card. However, working with flat cardstock requires you to use manual scoring tools, such as a bone folder and a scoring board, to prepare the fold line before bending the paper.
Matching Card Stock to Your Crafting Mediums
Different artistic techniques place unique physical demands on paper, making it essential to match your blank cards to the specific mediums you plan to use. Wet mediums, such as watercolors, gouache, and heavy liquid inks, introduce moisture that can easily compromise the structural integrity of standard paper. Dry mediums, including colored pencils, graphite, and alcohol-based markers, require specific surface characteristics to allow for smooth blending, precise lines, and optimal color payoff without excessive absorption.

When browsing for blank cards, you will often encounter performance claims on the packaging, such as “bleed-proof,” “feather-resistant,” or “watercolor-ready.” It is important to treat these descriptions as general indicators rather than absolute guarantees, as performance depends heavily on the specific formulation of your inks, paints, and adhesives. Always verify these claims by checking the detailed material specifications provided by the manufacturer on the product label or official specification sheets.
Before committing to a large-scale project or producing a batch of cards, conduct a small, controlled test on a spare card or an inconspicuous area, such as the inside back flap. Apply your chosen mediums exactly as you intend to use them in your final design, observing how the paper reacts during application and after drying completely. This simple verification step allows you to check for unexpected warping, ink bleeding, or surface pilling before investing significant time and effort into your finished artwork.
Paper Requirements for Wet Media and Heavy Embellishments
Working with wet media requires blank cards that can handle moisture without warping, buckling, or pilling. When water is applied to paper, the cellulose fibers expand; if the paper is too thin or lacks sufficient internal sizing, this expansion causes the surface to distort unevenly. To prevent this, look for heavy-duty blank cards with a weight of at least 300 GSM, or opt for cards specifically made from watercolor paper. These specialized cards are designed to absorb water evenly and dry flat, preserving the flat profile of your greeting card.
The texture of the paper also plays a functional role in wet-media applications. Cold-pressed watercolor cardstock features a textured, slightly pitted surface that helps to trap water and pigment, allowing for beautiful washes, soft gradients, and controlled pooling of color. If you prefer a smoother surface for detailed line work combined with light watercolor washes, hot-pressed watercolor paper offers a flatter finish while still maintaining the necessary water resistance and structural strength.
Heavy embellishments, such as 3D foam tape, wooden die-cuts, thick ribbons, or multiple layers of cardstock, also demand a high-strength foundation. Standard lightweight cards will sag or tear under the weight of these dimensional elements. Choosing a rigid, high-GSM blank card ensures that the base remains upright and stable, even when loaded with heavy decorative pieces, maintaining a professional presentation when displayed.
Ideal Surfaces for Dry Media, Markers, and Stamping
For projects utilizing alcohol-based markers, ultra-smooth or coated cardstock is highly recommended. Alcohol markers release a high volume of liquid solvent that can quickly spread, or “feather,” on porous, highly absorbent papers, ruining clean outlines. A smooth, dense surface limits this lateral ink spread, allowing for precise coloring and seamless blending. Additionally, smooth papers are gentler on delicate marker brush tips, preventing premature fraying and wear.
If your primary mediums are colored pencils, pastels, or charcoal, a cardstock with a slight texture or “tooth” is more appropriate. The microscopic ridges of a vellum or lightly textured paper scrape small amounts of pigment off the pencil core, allowing you to build up rich, vibrant layers of color. On an ultra-smooth surface, the pencil wax or lead has nothing to grip, which can result in a slick, uneven application and make blending multiple shades difficult.
Stamping projects require a surface that balances ink absorption with drying speed to prevent smudging. When stamping on highly coated, glossy papers, the ink may sit on top of the surface for an extended period, making it highly susceptible to smearing during handling. Conversely, very porous papers can absorb the stamping ink too quickly, causing the edges of your stamped sentiment or image to look fuzzy. A high-quality, uncoated smooth cardstock typically provides the optimal balance, delivering crisp, sharp stamped impressions that dry within seconds.
Sizing, Formats, and Pack Quantities
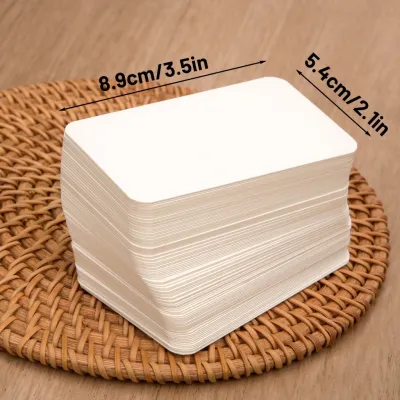
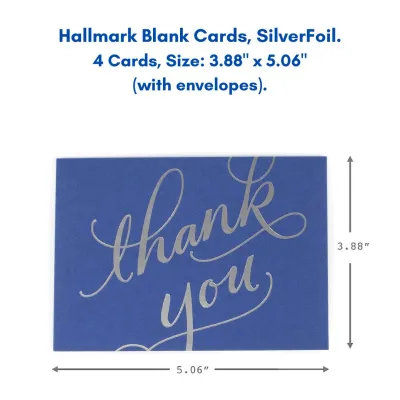
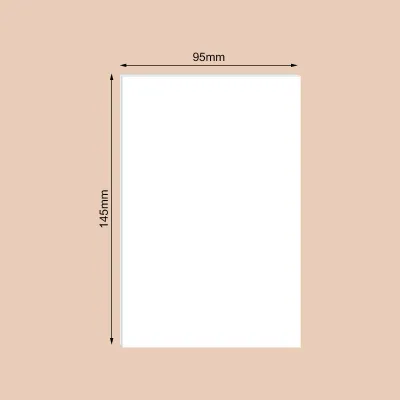
Blank cards are available in several standard dimensions, and choosing a common size ensures that you can easily find matching envelopes without paying for custom-made options. The most popular sizes for handmade cards include A2 (approximately 108mm x 140mm), A6 (approximately 114mm x 152mm), and A7 (approximately 127mm x 178mm). The A7 format is particularly favored for detailed designs, photographs, and invitations, as it offers a generous canvas for artistic expression while still fitting within standard postal guidelines.
When deciding on packaging quantities, consider the scale of your crafting activities and your storage capacity. For occasional crafters or those experimenting with new techniques, small variety packs containing 10 to 25 cards are ideal, as they allow you to test different colors and textures without a large upfront investment. For seasonal card-making, wedding invitations, or frequent crafting, bulk packs of 50 to 100 cards offer excellent value and ensure design consistency across your entire project.
To evaluate the cost-efficiency of different packaging options, calculate the per-card cost by dividing the total price in S$ by the number of cards in the pack. Bulk packs often reduce the unit cost of each card and envelope set, making them a highly economical choice for high-volume projects. However, be sure to verify whether the pack includes matching envelopes, as purchasing envelopes separately can quickly erase any savings gained from buying bulk cardstock.
Proper storage is essential for maintaining the quality of your blank cards, especially in tropical climates characterized by high humidity, such as Singapore. Excess moisture in the air can cause paper fibers to swell, leading to warped edges, curling, and a loss of paper stiffness. To protect your investment, store your blank cards and envelopes completely flat in airtight plastic storage containers or resealable archival bags. Placing a few packets of silica gel inside the storage container will help absorb residual moisture, keeping your cardstock crisp, dry, and ready for crafting.
Condition-Based Shortlist: Which Blank Card Fits Your Project?
To help you select the right materials for your next project, the following matrix maps common DIY greeting card techniques to their ideal paper specifications. Always check the product packaging or manufacturer specifications to verify these details before purchasing.
| Project Type | Recommended Paper Weight | Recommended Surface Texture | Key Packaging Labels to Verify | Recommended Format |
|---|---|---|---|---|
| Watercolor & Wet Media | 300 GSM or higher | Cold-pressed or textured | Watercolor paper, Acid-free | Pre-scored or flat |
| Alcohol Marker Illustration | 250 to 300 GSM | Ultra-smooth or coated | Bleed-proof, Smooth finish | Pre-scored |
| Stamping & Fine-Line Ink | 240 to 300 GSM | Smooth or vellum | Quick-dry compatible, Acid-free | Pre-scored |
| Colored Pencil & Pastel | 220 to 270 GSM | Vellum or light tooth | Textured, Lignin-free | Pre-scored or flat |
| Heavy 3D Embellishments | 300 GSM or higher | Rigid, smooth or textured | Heavyweight, High-stiffness | Pre-scored |
This matrix serves as a general guideline to streamline your selection process. Because paper formulations and ink chemistry vary widely across different brands, you should always cross-reference these recommendations with the specific instructions provided by your tool and medium manufacturers to ensure optimal compatibility.
Pre-Purchase Checks and Sourcing Tips
Before finalizing your purchase of blank cards, take a moment to perform a thorough review of the product specifications. Verify that the listing explicitly states the paper weight in GSM, the exact physical dimensions of both the cards and the accompanying envelopes, and the acid-free status of the paper. Confirming that envelopes are included in the pack is crucial, as finding matching envelopes separately can be challenging if your cards deviate even slightly from standard dimensions.
When sourcing blank cards, look for reputable stationery suppliers, local craft specialty shops, or established online marketplaces that specialize in paper crafts. Dedicated stationery suppliers are often the most reliable source for high-quality, acid-free cardstock, and they frequently provide detailed technical specifications that generic retailers omit. If you are purchasing from an online marketplace, prioritize listings that provide clear, close-up photos of the paper texture and detailed product descriptions.
Be cautious not to assume that all products labeled “cardstock” are ready to be folded into greeting cards. Many cardstock packs sold in craft stores consist of single flat sheets intended for scrapbooking or die-cutting; folding these without a pre-scored line or a professional scoring tool can result in messy, cracked edges. If you do not own a scoring board and bone folder, specifically look for products labeled as “pre-scored blank cards” or “folded cards” to ensure clean, professional results.
Finally, read recent user reviews on the product listing, paying close attention to feedback regarding paper thickness accuracy and envelope fit. Other crafters often share valuable real-world insights, such as whether the paper tends to feather with specific marker brands, if the envelopes are too tight to accommodate embellished cards, or if the packaging adequately protected the card corners during shipping. This collective feedback can help you avoid low-quality products and select a suitable foundation for your DIY greeting cards.
Frequently Asked Questions (FAQ)
Do I need to buy pre-scored blank cards for my projects?
Buying pre-scored blank cards is highly recommended if you want to save time and ensure straight, clean folds without investing in specialized tools. Pre-scored cards feature a machine-pressed crease that prevents the paper fibers from cracking when folded. However, if you already own a scoring board and a bone folder, purchasing flat cardstock sheets gives you greater flexibility to create custom card sizes and unique folding formats, such as gatefold or accordion designs.
How can I test if a blank card will bleed with my markers?
To test for ink bleeding, select a spare card from your pack or use the inside back flap where any marks will remain hidden. Draw a few solid lines and colored shapes using your markers, applying the ink with the same pressure and layering technique you plan to use on your final design. Allow the ink to dry completely for a few minutes, then inspect the edges of the lines for feathering (ink spreading outward) and check the reverse side of the paper to see if the ink has bled through to the back.
Community discussion
Share your experience or ask a question. Comments are reviewed before publication.