
Choosing your first embroidery needle and thread set is a foundational step in your needlework journey. The right tools act as a supportive partner, transforming what could be a frustrating trial of knotted threads and bent needles into a relaxing, creative outlet. For a beginner, the most practical set is not necessarily the largest or most expensive, but rather one that provides a balanced, forgiving selection of high-quality essentials. By starting with a curated set, you ensure that the needles, threads, and accessories are designed to work together harmoniously, allowing you to focus entirely on mastering your stitches.
To set yourself up for success, look for a kit that includes crewel needles with generous eyes, divisible cotton embroidery floss, and a few fundamental accessories like a sturdy hoop and a reliable needle threader. These components are specifically engineered to accommodate the unique physical demands of hand embroidery. Investing in a well-thought-out starter set saves you from the trial-and-error of sourcing mismatched components individually, giving you a clear, structured path toward completing your very first project with confidence.
Essential Features to Look for in a Beginner Embroidery Set
When evaluating starter sets, the needles included are your primary point of contact with the fabric. For hand embroidery, you want to look specifically for crewel needles, which are often labeled simply as embroidery needles. These needles feature a sharp point designed to pierce woven fabrics cleanly and an elongated eye that makes threading multiple strands of floss significantly easier. A good beginner set should offer a variety pack of crewel needles, typically ranging from size 3 to size 9. In needle sizing, a higher number indicates a finer, thinner needle. Having a range of sizes allows you to match your needle to the thickness of the thread you are using, preventing the needle from leaving large, unsightly holes in your fabric or, conversely, making it too difficult to pull the thread through.
Products mentioned in this guide
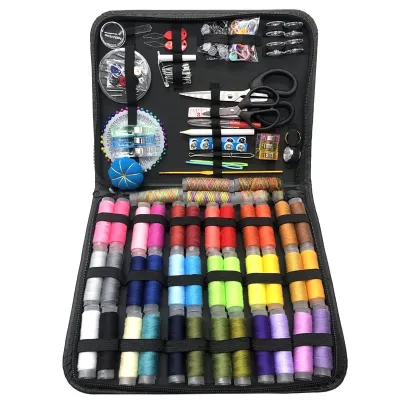
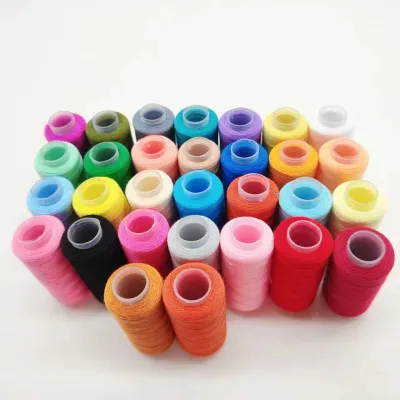
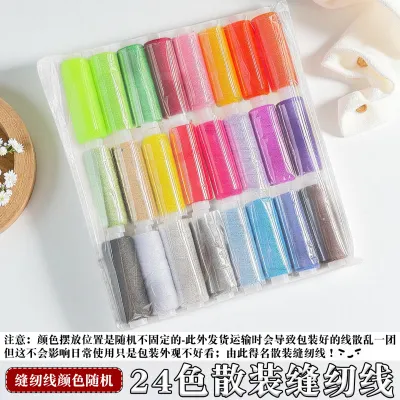
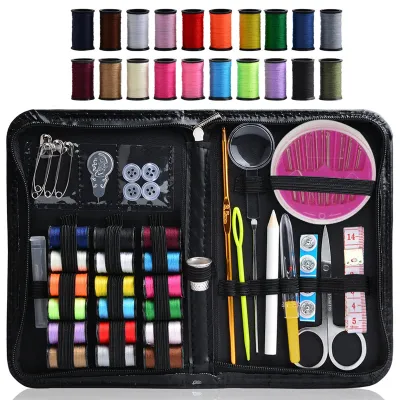
Prices are valid at publication and may change. Please refer to the product page for the latest price.
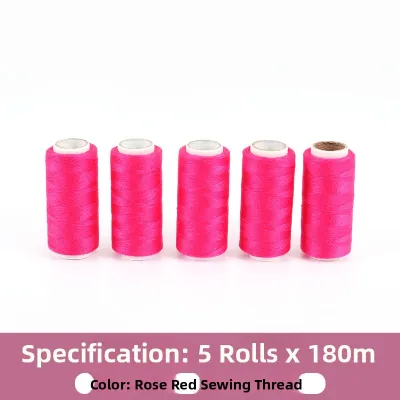
The thread, or embroidery floss, is the medium that brings your designs to life, and its material composition matters immensely. A widely recommended option for beginners is six-strand divisible cotton floss. This type of thread is composed of six individual strands lightly twisted together. The beauty of divisible floss is its versatility; you can easily separate the strands to customize the thickness of your stitches. For fine, delicate details, you might use a single strand, while bold outlines or textured fills might require three, four, or even all six strands. Look for sets that feature mercerized cotton floss. Mercerization is a treatment that increases the thread’s luster, improves its dye uptake for richer colors, and smooths the fibers to reduce friction as the thread passes through the fabric.
Beyond the core needles and threads, a truly beginner-friendly set must include a few essential accessories to minimize early frustration. A needle threader is a highly practical tool for anyone working with multi-strand floss, as it easily guides the thick thread through the needle’s eye without fraying the ends. An embroidery hoop is also vital; it holds your fabric taut like a drum, which is essential for maintaining even stitch tension and preventing the fabric from puckering. For beginners, a medium-sized hoop—around 5 to 7 inches in diameter—made of smooth, splinter-free wood or high-quality plastic with a secure tension screw is highly suitable. Finally, a pair of small, sharp embroidery scissors or thread snips is necessary for making clean, precise cuts close to the fabric, preventing messy tails on the back of your work.
How to Evaluate the Quality of a Needle and Thread Set
Not all embroidery sets are created equal, and learning how to spot high-quality components before you begin stitching will save you hours of frustration. Start by evaluating the quality of the embroidery floss. High-quality thread should feel smooth to the touch and exhibit a consistent, gentle sheen. If the thread looks fuzzy, uneven, or has noticeable lumps (known as slubs), it is likely to fray, pill, and knot frequently while you work. Another critical factor is colorfastness. To check this, you can dampen a small piece of the thread and press it against a white paper towel; if the dye bleeds onto the towel, the colors will likely run when you wash or block your finished embroidery, potentially ruining your hard work.

Next, turn your attention to the needles. The quality of a needle is determined by its manufacturing finish, particularly around the eye. In lower-quality sets, needles are often stamped out of metal sheets without proper polishing, leaving microscopic rough edges inside the eye. These rough edges act like tiny saws, shredding your embroidery floss as you pull it through. Run your fingernail gently over the eye of the needle to check for smoothness, and ensure the shaft is straight and rigid. A high-quality needle will have a polished, gold-plated or nickel-plated eye and a smooth shaft that glides effortlessly through fabric without catching or dragging.
The educational materials included in a set are another hallmark of quality. A great beginner set does not just hand you tools; it guides you on how to use them. Look for sets that include clear, printed instruction manuals or stitch guides with step-by-step illustrations. The diagrams should clearly show where the needle enters and exits the fabric for fundamental stitches like the backstitch, satin stitch, split stitch, and French knots. If a set only provides a link to a generic video or offers poorly translated, text-only instructions, it may make the learning curve unnecessarily steep.
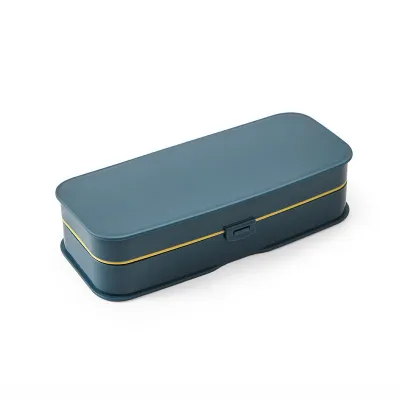
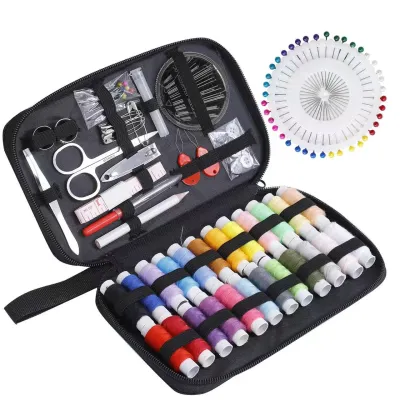
Finally, consider the packaging and storage solutions provided with the set. Embroidery involves many small, easily lost components, from tiny needles to loose thread ends. A quality set will come housed in a durable, reusable container, such as a sturdy tin, a zippered canvas pouch, or a dedicated plastic organizer with compartments. Having a designated home for your tools not only keeps your workspace tidy but also protects your threads from dust, tangles, and sunlight, which can fade the colors over time.
Choosing the Right Set Format for Your Learning Style
Embroidery sets come in several distinct formats, and choosing the right one depends heavily on how you prefer to learn and practice new skills. The first option is the basic tool-only set. These sets typically contain a wide assortment of thread colors, a pack of multi-sized needles, and basic accessories like hoops and threaders, but they do not include pre-printed fabrics or specific patterns. This format is well-suited for self-directed learners who want the freedom to experiment. If you prefer to practice stitches on scrap fabric, design your own patterns from the start, or follow along with online tutorials and books at your own pace, a tool-only set offers the greatest long-term utility and flexibility.
For those who prefer a highly structured, guided introduction to the craft, an all-inclusive project kit is a practical choice. These kits are designed around a single, specific project and include a piece of fabric pre-printed with a pattern, the exact colors and amounts of thread required, a needle, a hoop, and detailed instructions tailored to that specific design. The pre-printed lines are usually water-soluble, meaning they wash away easily once your stitching is complete. Project kits are incredibly satisfying because they eliminate the pressure of designing and color coordination, allowing you to focus entirely on the physical mechanics of stitching while working toward a beautiful, finished result.
Another factor to consider is the color palette and complexity of the set. Beginners are often drawn to massive sets featuring hundreds of thread colors, but this can lead to decision paralysis. For mastering the absolute basics, a monochrome or limited-color practice set can be highly beneficial. Working with a single color or a simple gradient forces you to focus on stitch structure, tension, and texture without the distraction of complex color choices. Once you feel comfortable with the physical movements of the needle, you can transition to multi-color sets to explore advanced techniques like color blending, shading, and long-and-short stitch painting.
Safety, Storage, and Fabric Compatibility Checks
As you begin your embroidery journey, establishing good habits around fabric selection, tool maintenance, and safety will ensure a smooth and enjoyable experience. If your chosen set does not include fabric, your first task is to verify fabric compatibility. Beginners should look for medium-weight, non-stretchy natural fabrics with an even, visible weave, such as cotton calico, linen, or linen-cotton blends. Avoid stretchy knit fabrics, extremely thin silks, or heavy canvas. Stretchy fabrics are incredibly difficult to keep taut in a hoop and will pucker once removed, while overly dense fabrics will make pulling the needle through a painful chore that strains your hands.
Proper storage is equally important for maintaining the integrity of your tools and keeping your household safe. Needles are small and easily lost in carpets or furniture cushions, posing a safety hazard. To prevent this, consider using a magnetic needle minder—a small, decorative magnet that clamps onto your embroidery fabric and holds your needle securely when you need to take a break. Alternatively, a dedicated felt needle book or a secure needle case should be used to store all sharps immediately after a stitching session. Threads should be wound onto plastic or cardboard bobbins and stored in a dry, dark container to prevent tangling, dust accumulation, and color fading from UV exposure. In Singapore’s warm and humid climate, storing threads in airtight plastic containers or adding a small silica gel packet is highly recommended to prevent mold growth and fiber degradation over time.
Finally, safety precautions must be taken if children are participating in the craft. Hand embroidery is a wonderful way to develop fine motor skills and patience in younger crafters, but it involves sharp tools. Ensure that children are supervised at all times when using embroidery needles and sharp scissors. Consider starting younger children with blunt tapestry needles and open-weave fabrics like Aida cloth or plastic canvas before transitioning to sharp crewel needles and tightly woven fabrics. Establish a strict routine of counting your needles before and after each session to ensure none have gone missing.
Frequently Asked Questions (FAQ)
Can I use regular sewing needles and thread for embroidery?
While it is technically possible to push any needle and thread through fabric, using standard sewing supplies for hand embroidery is highly discouraged because they are designed for entirely different tasks. Standard sewing needles, such as sharps, have very small, round eyes intended to accommodate thin, single-strand sewing thread. Attempting to thread thick, multi-strand embroidery floss through a standard sewing needle is incredibly difficult and will quickly shred the thread fibers. Furthermore, sewing needles have a different shaft-to-eye ratio, which can result in holes that are too small for the embroidery thread to pass through smoothly, causing excessive friction.
Similarly, standard sewing thread is not a suitable substitute for embroidery floss. Sewing thread is typically made of polyester or a cotton-polyester blend, designed to be thin, strong, and unobtrusive so that seams remain hidden. It lacks the rich luster, thickness, and divisible structure of embroidery floss. Embroidery floss is specifically designed to sit on top of the fabric, creating a raised, textured, and highly visible design. Using sewing thread for embroidery will result in flat, thin stitches that lack the depth, texture, and vibrant color definition characteristic of traditional hand embroidery.
How do I prevent embroidery thread from tangling or fraying?
Thread tangling and fraying are common sources of frustration for beginners, but they can be easily managed with proper handling techniques. The most effective preventative measure is to cut your thread to a manageable length. A good rule of thumb is to cut pieces no longer than 18 inches, which is roughly the distance from your fingertips to your elbow. While it may be tempting to cut longer pieces to avoid re-threading the needle frequently, longer threads experience significantly more friction as they are pulled through the fabric repeatedly. This friction weakens the fibers, leading to fraying, thinning, and eventual knotting.
Another crucial step is to separate your strands correctly. When using divisible cotton floss, do not simply pull the desired number of strands out of the cut length all at once, as this will cause the thread to bunch up and tangle instantly. Instead, tap the end of the thread to fan out the six strands, pinch a single strand, and pull it straight up and out while holding the remaining strands loosely in your other hand. The remaining strands will slide down smoothly without tangling. Repeat this process for each individual strand you need, and then recombine them before threading your needle. This relaxes the twist of the thread and drastically reduces its tendency to knot while you stitch.
Community discussion
Share your experience or ask a question. Comments are reviewed before publication.