
Choosing your first sewing box for embroidery requires focusing on three core features: customizable compartment layouts, snag-free interior surfaces, and physical dimensions that accommodate your embroidery hoops. Unlike general sewing, embroidery relies on delicate skeins of floss, sharp precision scissors, and circular hoops that can easily warp or bend if forced into tight spaces. A well-chosen organizer protects these specialized tools from damage and keeps your threads from tangling into unusable knots.
By selecting a box that matches your current project scale and travel habits, you can avoid the frustration of outgrowing your storage within a few months. The ideal beginner box balances immediate storage needs with room for a growing collection of colorful threads and essential notions.
Identifying Your Embroidery Storage Needs
Before browsing online marketplaces or visiting local craft shops in Singapore, you must take a clear inventory of your current needlework supplies. A basic beginner setup typically includes a few embroidery hoops, several skeins of stranded cotton floss, a pack of embroidery needles, a pair of fine-tipped embroidery scissors, and a fabric marking pen. Lay these items out on a flat surface to visualize the physical volume they occupy.
Products mentioned in this guide
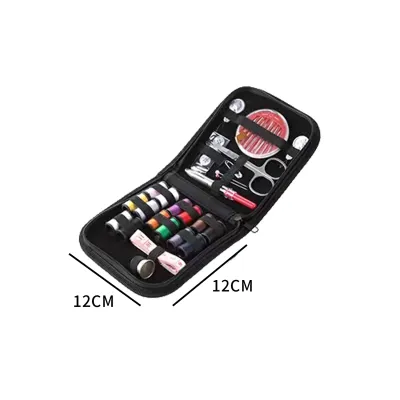
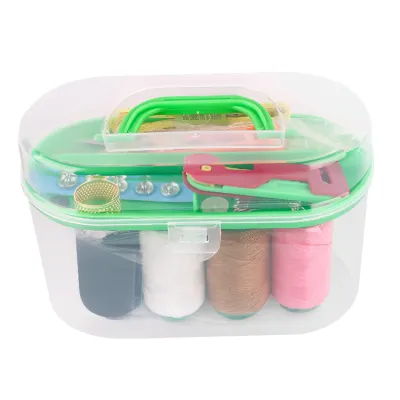
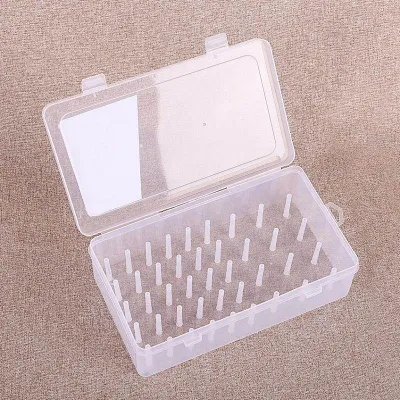
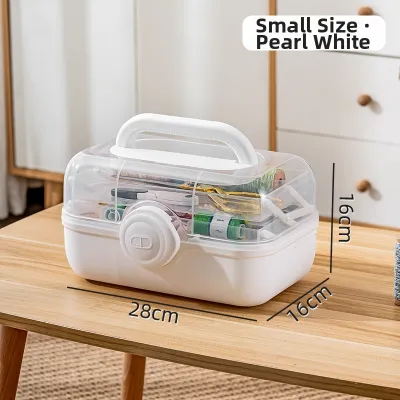
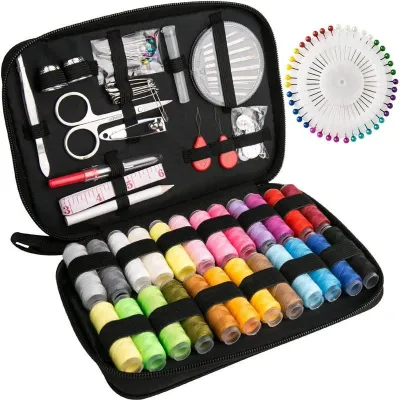
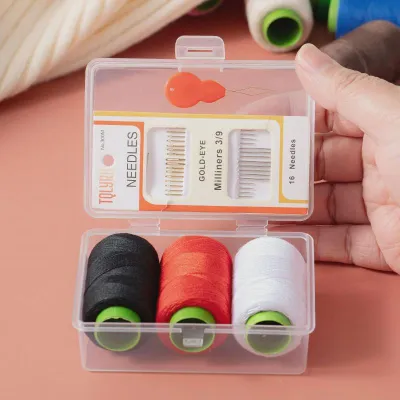
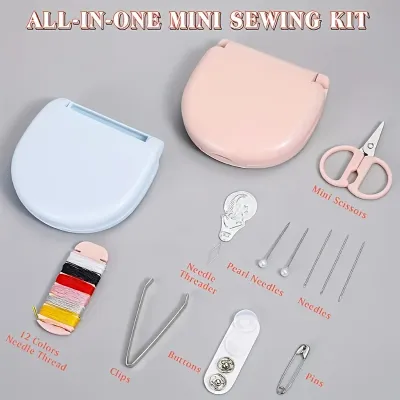
Prices are valid at publication and may change. Please refer to the product page for the latest price.
Your choice of storage depends heavily on where you plan to do your stitching. If you intend to keep your projects strictly at home on a dedicated desk or shelf, a larger, stationary wooden or heavy plastic cantilever box offers excellent stability and easy access. However, if you plan to take your embroidery to classes, social stitching groups, or on your daily commute, portability becomes your primary concern. A lightweight box with a secure carrying handle and a compact footprint is essential for transit.
Physical space constraints in your home also dictate the maximum dimensions of your sewing box. Measure the shelf, drawer, or cabinet space where you plan to store the box when it is not in use. Ensure you allow a few centimeters of clearance on all sides so you can easily retrieve the box without scraping the edges or knocking over other items.
Essential Compartments and Layout Features
The internal architecture of your sewing box determines how organized and stress-free your stitching sessions will be. Look for boxes that feature adjustable dividers rather than fixed compartments. Embroidery floss is stored in various formats, including paper bobbins, plastic bobbins, or original paper-wrapped skeins. Adjustable dividers allow you to customize the compartment widths to fit your preferred thread storage method without wasting valuable space.

Sharp tools require dedicated, secure placement to prevent accidental finger pricks and damage to other supplies. Seek out boxes that incorporate built-in pincushions, needle books, or magnetic strips. A magnetic strip is particularly useful for holding embroidery needles flat and secure, preventing them from sliding into the bottom corners of deep compartments where they are difficult to retrieve.
A multi-tiered tray design is highly beneficial for organizing a diverse collection of supplies. Cantilever trays that lift upward and outward when the box opens allow you to view your entire inventory at a single glance. Use the upper, shallower trays for small items like needles, thimbles, needle threaders, and scissors. Reserve the deep bottom compartment for larger, bulkier items such as fabric pieces, stabilizer sheets, and embroidery hoops.
Spill prevention is critical, especially when carrying your box outside the home. Evaluate the closure mechanism carefully to ensure it creates a tight seal. If you choose a multi-tiered box, verify that the individual trays have lids or fit snugly against the top cover when closed. This design prevents small items like beads, sequins, or needles from migrating between compartments if the box is tipped sideways or turned upside down during transport.
Evaluating Material Quality and Construction
To ensure your sewing box lasts for years, you must perform a few physical checks on its construction quality. Begin by inspecting the hinges and latches, as these are the most common points of failure. Metal hinges and latches generally offer greater durability than thin plastic living hinges, which can crack over time with frequent opening and closing. The latch should close with a distinct, positive snap, indicating a secure lock that will not accidentally pop open under the weight of your tools.
The interior surfaces of the box must be smooth to protect your embroidery threads. Run your fingers along all interior edges, molded plastic seams, and wooden dividers to check for rough spots, burrs, or splinters. Delicate embroidery floss, particularly silk or fine cotton, snags easily on rough surfaces, which can fray the fibers and ruin the thread before it ever reaches your fabric. If you choose a fabric-lined box, ensure the lining is tightly woven and free of loose threads or exposed glue.
When choosing between a hard-shell box and a soft fabric organizer, consider the level of protection your tools require. Hard-shell boxes made of wood, sturdy plastic, or metal offer greater crush resistance, protecting fragile items like wooden embroidery hoops and fine scissor tips from external pressure. Soft-sided fabric cases, while less crush-resistant, often feature flexible pockets and padded walls that conform to irregular shapes, making them easier to pack into a larger travel bag.
Deciding on Included Tools vs. Empty Boxes
Beginners often face the choice between buying a pre-filled sewing kit or purchasing an empty box to fill with self-selected tools. Pre-filled kits can seem convenient and cost-effective at first glance, but they often contain low-quality, generic tools. The scissors in these kits are frequently dull or too bulky for the precise snips required in embroidery, and the needles may have rough eyes that shred your embroidery floss.
If you are considering a pre-filled kit, carefully inspect the quality of the included items. Look for sharp, fine-pointed embroidery scissors and needles with smooth, gold-plated eyes that minimize friction as they pass through fabric. If the kit tools feel flimsy or lack specific branding, you are usually better off purchasing an empty box and sourcing your tools individually.
Sourcing your tools separately allows you to invest your budget in high-quality essentials that match your specific needlework interests. For example, you can choose specialized needles suited for your fabric weight, high-grade embroidery scissors that cut cleanly to the tip, and thread colors that match your first project. While this approach may require a slightly higher initial investment, it prevents the waste of paying for low-quality tools that you will eventually need to replace.
Step-by-Step Evaluation Checklist for Your First Purchase
When you are ready to make a purchase, use this practical checklist to evaluate your options, whether you are shopping in a physical store in Singapore or comparing product specifications online.
- Measure the internal dimensions: Confirm that the main compartment is wide and deep enough to hold your largest embroidery hoop flat. Forcing a hoop into a box at an angle can warp the wood or plastic, tensioning your fabric unevenly during stitching.
- Test the latch and hinge tension: Open and close the box multiple times. The movement should be smooth without binding, and the latch should hold the lid tightly closed without any play or wobbling.
- Verify compartment adjustability: Remove and reposition the internal dividers to ensure they slide easily into their slots and remain securely in place once set. Loose dividers can allow small items to slip underneath, causing clutter.
- Check the interior for snags: Run a clean microfiber cloth or your bare hand along all interior surfaces, corners, and edges to detect any rough spots that could catch on delicate embroidery floss.
- Review the return policy: If purchasing online, verify the seller's return policy. This allows you to return or exchange the box if the physical layout, material quality, or actual dimensions do not meet your workflow expectations once you handle it in person.
Frequently Asked Questions (FAQ)
Can I use a regular sewing box for embroidery?
Yes, you can use a regular sewing box, but you may run into spatial limitations. General sewing boxes are designed primarily for tall thread spools, hand-sewing needles, and bulky dressmaking shears. Embroidery requires flat storage for circular hoops, which often do not fit inside standard sewing box compartments. Additionally, embroidery floss is typically stored in flat skeins or on flat bobbins rather than tall spools, meaning you will need shallower, wider compartments to keep your colors visible and organized without stacking them deeply.
How do I keep embroidery threads from tangling in the box?
To prevent tangling, wind your embroidery floss onto plastic or cardboard bobbins and secure the loose ends in the designated slots. Alternatively, you can keep skeins intact by placing them in individual, small zip-top plastic bags labeled with the color code. Grouping your bobbins or bags by color family inside your box compartments minimizes the amount of handling and friction they experience. Avoid tossing loose, unwound skeins directly into a large compartment, as the friction from movement will quickly create knots and fray the delicate fibers.
Community discussion
Share your experience or ask a question. Comments are reviewed before publication.