
Starting embroidery can be a deeply satisfying, meditative craft, but your initial experience depends heavily on the tools you use. A poorly compiled starter set can lead to split threads, slipping fabric, and immense frustration, often causing beginners to abandon the hobby prematurely. Choosing the right DIY embroidery set requires looking beyond the appealing cover photo to evaluate the physical utility of the components inside.
An ideal beginner kit balances high-quality, high-tension hoops with split-resistant cotton floss and pre-treated fabric, allowing you to focus entirely on mastering basic stitches. By understanding what makes a kit functional, you can avoid common pitfalls like warping hoops, bleeding dyes, and illegible instructions. Evaluating these factors before purchasing ensures your first needlework project is a rewarding success.
Essential Components Every Beginner DIY Embroidery Set Must Have
Every complete starter kit must include a reliable embroidery hoop to keep your fabric taut while you work. For beginners, a hoop diameter of 15cm to 20cm is the practical sweet spot. This size is large enough to accommodate a variety of starter patterns without requiring you to reposition the fabric, yet small enough to hold comfortably in one hand for extended stitching sessions. The hoop must feature an adjustable tension screw on the outer ring, allowing you to tighten the grip as the fabric naturally stretches during work.
Products mentioned in this guide
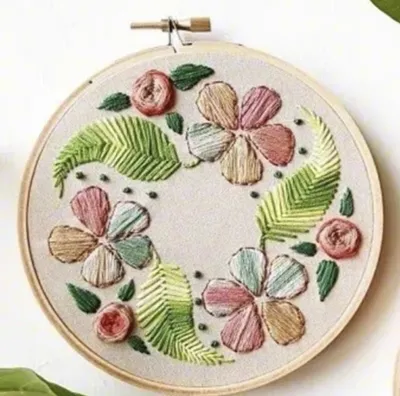
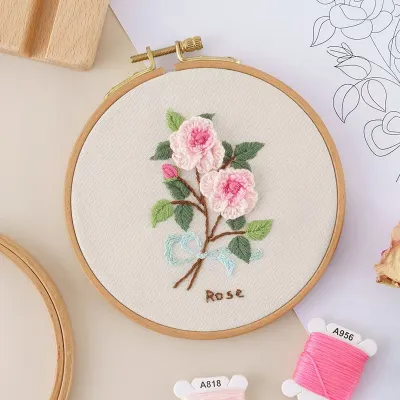
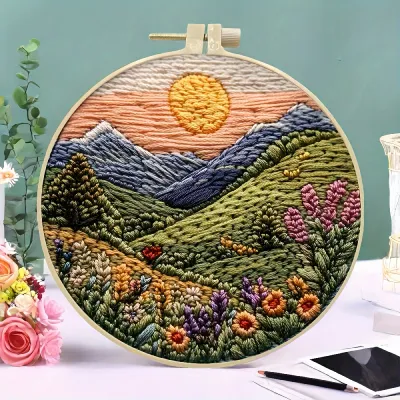
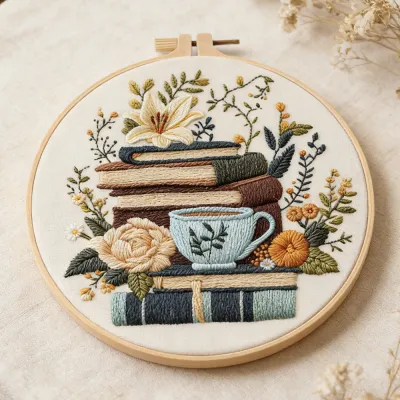
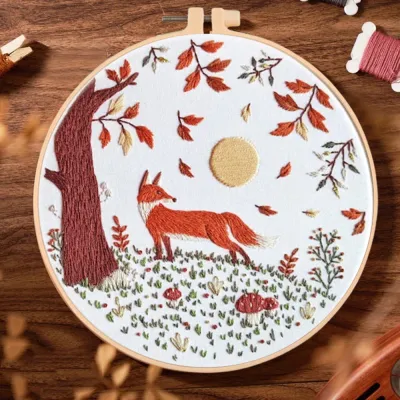
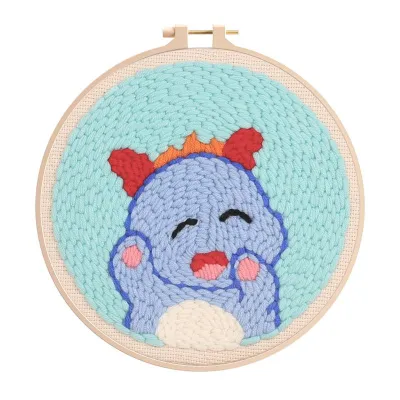
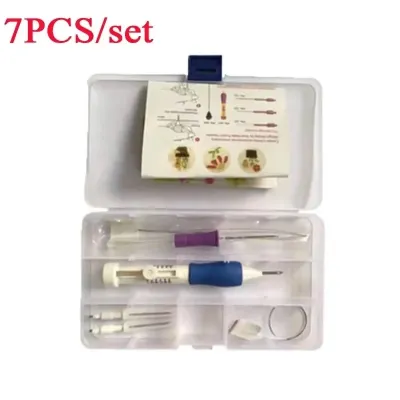
Prices are valid at publication and may change. Please refer to the product page for the latest price.
Needles are the next critical component, and a basic kit should provide an assortment of sizes rather than a single needle. Embroidery needles, often called crewel needles, feature sharp tips designed to pierce woven fabric cleanly, along with medium-to-large eyes. The eye must be wide enough to accommodate multiple strands of embroidery floss without causing the thread to fray or shred as you pull it through. A set containing sizes 5 through 9 offers the versatility needed to experiment with different line thicknesses.
The thread, or embroidery floss, should consist of six-strand cotton that can be easily separated into individual plies. Standard kits should provide pre-cut lengths or neatly wound skeins that resist tangling. Along with the thread, the kit must include a suitable base fabric, such as cotton canvas, calico, or a linen blend. The fabric weave needs to be tight enough to support dense stitches without puckering, but not so dense that pushing the needle through strains your fingers.
Auxiliary tools complete a functional starter set and save you from making immediate secondary purchases. A simple wire needle threader is indispensable for threading multi-strand floss through narrow needle eyes. Small, sharp snips or embroidery scissors are necessary for clean cuts close to the fabric surface, preventing messy thread tails. Finally, if the kit does not feature a pre-printed design, it must include a reliable transfer medium, such as water-soluble carbon paper, to help you trace the pattern onto your cloth.
Quality Indicators: How to Evaluate Materials When Shopping Online
When browsing online marketplaces, product descriptions can be vague, often using generic terms like “craft cloth” or “colorful thread.” To ensure you receive durable materials, look for listings that explicitly specify the fabric composition, prioritizing “100% cotton canvas” or “linen-cotton blends.” These materials offer a stable, non-stretch grid that holds its shape under tension, unlike cheap polyester synthetics that stretch unevenly and cause your finished design to sag.

Hoop hardware is another clear indicator of overall kit quality. Prioritize descriptions that mention polished bamboo, smooth hardwood, or heavy-duty molded plastic with brass or stainless steel adjustment screws. In warm, humid climates, cheap iron hardware can rust quickly, leaving permanent orange stains on your embroidery fabric. Avoid unbranded, highly flexible plastic hoops, as they warp under pressure and fail to maintain the drum-like tension required for neat, uniform stitches.
Thread quality can be assessed by looking for terms like “mercerised cotton” or “long-staple cotton” in the product specifications. Mercerisation is a treatment that increases luster, reduces lint, and strengthens the fibers, preventing the thread from splitting or fuzzing during tight satin stitches. Additionally, look for explicit “colorfast” claims; this ensures that when you wash the fabric to remove pattern lines, the vibrant thread dyes will not bleed into the surrounding white or cream background.
Instruction clarity is often overlooked but remains vital for a smooth learning curve. Scan user-submitted reviews and photos to verify that the included manual features clear, step-by-step stitch diagrams rather than low-resolution photocopies. A high-quality kit provides a color-coded key matching specific thread numbers to designated areas of the pattern, along with clear explanations of how many strands of floss to use for each section.
Types of DIY Embroidery Sets: Matching the Kit to Your Learning Goal
Pre-printed pattern kits are the most accessible option for absolute beginners. These sets feature the design printed directly onto the fabric, eliminating the tedious step of pattern transfer. When choosing this type, verify that the ink is explicitly described as water-soluble or heat-erasable. This allows you to wash or iron the fabric after stitching to make the guidelines disappear completely, leaving only your clean needlework behind.
Blank fabric and floss kits are designed for those who want to learn the craft from the ground up, including the design transfer process. These kits provide blank fabric, thread, hoops, and a sheet of paper patterns. They offer excellent practice for transferring designs using tracing paper or lightboxes. If you choose this route, check if the kit includes a water-soluble transfer pen, which typically costs around S$3 to S$6 when purchased separately.
Technique-specific kits focus on mastering a particular style of needlework, such as satin stitch shading, French knot textures, or goldwork. These kits are ideal if you want to move beyond basic line work and build specialized skills. Ensure the fabric weight and hoop tension provided in these kits match the technique; for instance, heavy, dense satin stitching requires a sturdy, non-stretch backing fabric to prevent the material from puckering under the weight of the thread.
Red Flags and Missing Items: What to Avoid in Starter Kits
One major red flag in cheap embroidery sets is vague needle sizing or the inclusion of incorrect needle types. Avoid kits that list “needles” without specifying the gauge or eye size. Some low-quality kits mistakenly include blunt tapestry needles, which are designed for open-weave cross-stitch fabric and will damage or tear the tightly woven threads of a standard embroidery canvas.
Inadequate finishing instructions and missing pattern-removal details are also common issues in budget sets. If a listing does not state how to remove the printed lines, or if user reviews complain that the ink did not wash out, avoid the kit. Permanent ink lines can ruin hours of careful stitching if your thread placement deviates even slightly from the printed guide.
Flimsy, poorly finished hoops are a constant source of frustration. Watch out for bamboo hoops with splintered edges, rough inner rings, or loose metal brackets. A rough inner hoop will snag your embroidery floss, causing it to fuzz and break, while a weak screw mechanism will require constant retightening. If you must constantly pull your fabric tight, your stitch tension will be uneven, resulting in a warped final piece.
Building Your Shortlist: A Step-by-Step Evaluation Checklist
To find the perfect DIY embroidery set on your preferred e-commerce platform, use this systematic checklist to compare your final candidates:
- Verify Fabric and Hoop Compatibility: Ensure the fabric piece is at least 3cm to 5cm larger than the hoop diameter on all sides. This extra margin is necessary to pull the fabric taut and secure it properly in the hoop, and it provides enough excess material for framing or finishing the back of the hoop.
- Assess Consumable Availability: Check if the kit uses standard color numbering systems. If you run out of a specific shade due to a mistake, being able to easily source a matching skein of floss at a local craft shop prevents your project from stalling indefinitely.
- Confirm Safety and Care Instructions: Look for kits that include protective needle caps or a dedicated storage case to keep sharp tools safely away from children and pets. In humid environments, store your unused floss and fabric in an airtight container with a silica gel pack to prevent mold and rust on metal components.
Frequently Asked Questions (FAQ)
Do I need to buy extra embroidery floss with a starter set?
Most reputable starter sets include 30% to 50% more embroidery floss than the pattern actually requires. This extra allowance accounts for beginner mistakes, knotting, and tension adjustments. However, if you plan to practice your stitches on scrap fabric before starting the main project, or if you prefer highly dense, padded satin stitches, purchasing a few extra skeins of basic utility colors like white, black, or green is a helpful precaution.
Can I use a standard DIY embroidery set for cross-stitch?
Standard surface embroidery sets are not suitable for cross-stitch projects. Surface embroidery relies on tightly woven fabrics like linen or canvas and sharp needles to pierce the cloth at any point to create fluid lines. Cross-stitch requires even-weave fabrics with pre-spaced, visible holes, such as Aida cloth, along with blunt tapestry needles that slide smoothly through those holes without splitting the fabric fibers.
Community discussion
Share your experience or ask a question. Comments are reviewed before publication.