
Creating a personalized gift that surprises and delights is straightforward when you craft a multi-layered explosion box. This interactive paper structure appears to be an ordinary gift box when closed, but once the lid is lifted, the sides cascade outward to reveal a beautiful array of photos, messages, and decorative pockets. By carefully planning your dimensions, selecting the right paper weights, and assembling the layers step-by-step, you can build a durable and stunning keepsake from scratch.
Planning Your Explosion Box Design and Dimensions
Before making your first cut, establishing a clear blueprint is essential for a successful build. An explosion box relies on nested layers that fold up together, meaning each inner layer must be slightly smaller than the one surrounding it to prevent binding. A standard three-layer box typically starts with a large square sheet of cardstock for the outermost layer, with subsequent layers scaled down systematically. For example, if your outer layer begins as a 30 cm by 30 cm square, your middle layer should be 27 cm by 27 cm, and your innermost layer 24 cm by 24 cm. This 3 cm reduction ensures that when the sides are folded upward, each layer has a 1.5 cm clearance on all sides, allowing them to nest comfortably without crowding.
The weight and texture of your paper dictate the structural integrity of the entire project. For the structural base layers, look for heavyweight cardstock ranging between 220 gsm and 300 gsm. This thickness provides the necessary rigidity to stand upright when the lid is on and ensures a crisp, satisfying cascading effect when the lid is removed. For decorative panels, photo mats, and interactive inserts, lighter patterned papers or medium-weight cardstock around 120 gsm to 180 gsm work well, as they add visual interest without adding excessive bulk.
Products mentioned in this guide
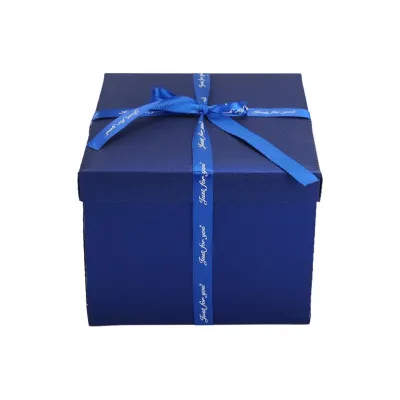
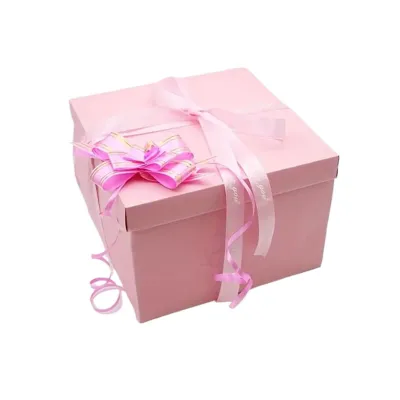
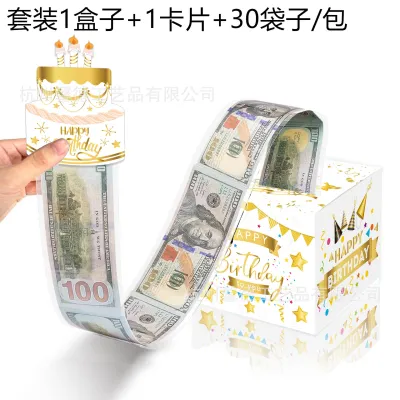
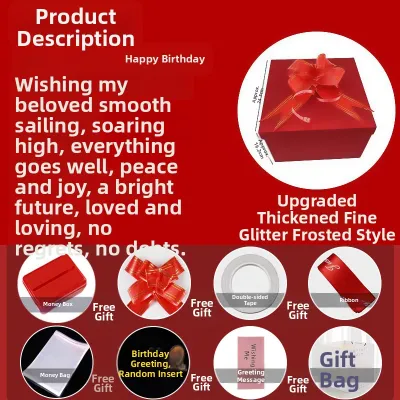
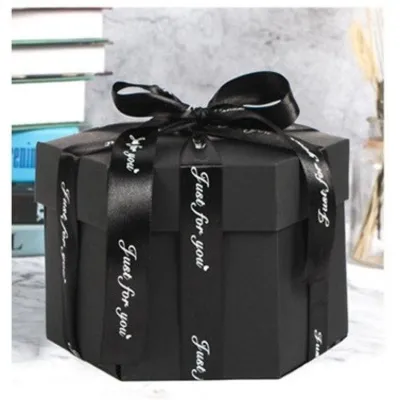
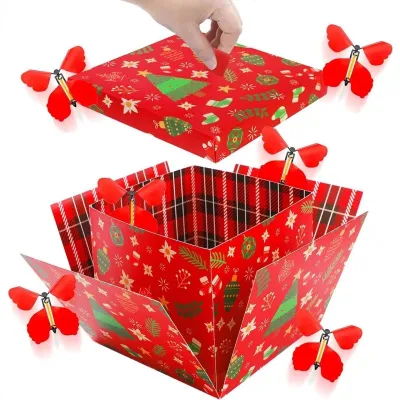
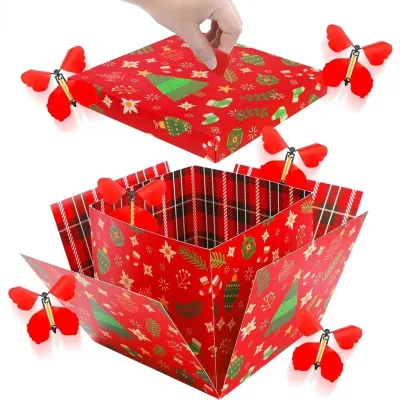
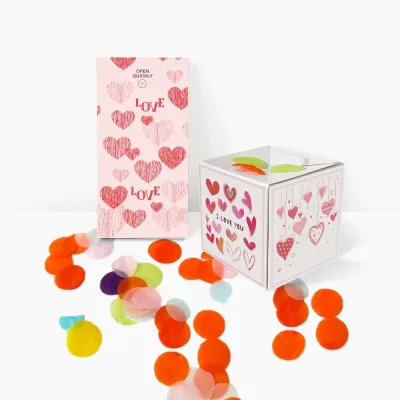
Prices are valid at publication and may change. Please refer to the product page for the latest price.
Coordinating your theme and color palette early in the planning phase helps create a cohesive visual experience. Select a primary color for the outer base, a complementary secondary color for the inner layers, and two or three accent patterns that tie the birthday theme together. Whether you choose a vibrant, festive palette or a minimalist, elegant scheme, keeping your colors consistent across all layers ensures the final presentation looks polished and intentional.
Gathering Tools and Materials
Having the right stationery and crafting tools on hand makes the assembly process smooth and precise. Your primary material is high-quality cardstock in your chosen color scheme, supplemented by patterned scrapbooking paper for decoration. For adhesives, double-sided tape is highly recommended for flat panels and photo mounting because it provides an instant, strong bond without warping the paper. For structural joints or heavier embellishments, a high-tack liquid craft glue can be used, though it requires a brief drying time and should be applied sparingly to prevent moisture from wrinkling the cardstock.

Precision tools are critical for clean edges and straight folds. A metal ruler is indispensable for both measuring and guiding your cuts, as plastic rulers can easily be nicked by blades. A sharp craft knife or a rotary paper trimmer ensures straight edges, while a scoring board and bone folder are essential for creating clean, uncracked creases. When working with sharp blades, always use a self-healing cutting mat to protect your work surface and maintain control over your cuts. Ensure your workspace is well-ventilated if you are using strong liquid adhesives, and keep sharp tools out of reach of children or pets.
Step-by-Step Assembly of the Box Layers
To begin construction, you will first create the outermost cross-shaped base. Take your largest square of heavyweight cardstock (for instance, the 30 cm by 30 cm sheet) and place it on your scoring board. Divide the sheet into a grid of nine equal squares by scoring lines at 10 cm and 20 cm along one side, then rotating the paper 90 degrees and repeating the process. This leaves you with a grid of nine 10 cm by 10 cm squares. Using your craft knife and metal ruler, carefully cut away the four corner squares of the grid, leaving a symmetrical cross shape. Repeat this scoring and cutting process for your middle layer (using a 27 cm sheet scored at 9 cm and 18 cm) and your inner layer (using a 24 cm sheet scored at 8 cm and 16 cm).
Once your cross shapes are cut, use a bone folder to crease along all the scored lines. Fold the outer flaps inward, pressing firmly with the flat edge of the bone folder to create sharp, clean folds. To prevent the cardstock from cracking along the fold lines, always score on the side of the paper that will face outward, and fold toward the ridge created by the score line. This stretches the paper fibers gradually and maintains a clean appearance on the exterior of your box.
With all three layers cut and folded, it is time to assemble the nested structure. Lay the largest outer cross flat on your work surface. Apply a strong double-sided tape or a thin layer of liquid craft glue to the center square of the middle cross. Carefully align the middle cross over the center of the outer cross, ensuring it is precisely centered and the flaps align symmetrically. Press down firmly to secure the bond. Repeat this step by applying adhesive to the center of the innermost cross and centering it onto the middle layer. Allow any liquid glue to dry completely before attempting to fold the sides upward to verify that the layers nest smoothly without catching on one another.
Adding Interactive Surprises and Personalization
The true magic of an explosion box lies in the interactive elements hidden within its layers. You can transform the flat flaps of the inner layers into engaging features like pull-out pockets, cascading photo waterfalls, and secret envelopes. To make a simple pocket, cut a piece of coordinating patterned paper slightly wider than the flap, fold the side and bottom edges backward to create gluing tabs, and adhere it to the flap, leaving the top open for a pull-out tag. For a photo waterfall, cut several small, identical cardstock rectangles, score a 1 cm tab on each, and adhere them in an overlapping sequence so that pulling a tab at the bottom flips the photos up one by one.
When attaching photos and handwritten notes, selecting the right adhesive is crucial to prevent warping and bubbling. Liquid glues contain water, which can easily distort thin photo paper or lightweight writing paper. Instead, use dry adhesives like double-sided tape runners or photo corners. If you prefer to write personal messages directly onto the panels, do so on separate pieces of paper first, then adhere them to the box; this prevents any mistakes from ruining the structural layers of your box.
As you add these decorative elements, you must constantly balance the overall thickness and weight of the box. It is tempting to add thick 3D embellishments, heavy wooden shapes, or bulky gems, but these will prevent the box from closing properly. Keep your decorations relatively flat, utilizing flat stickers, ribbon bows, washi tape, and thin cardstock die-cuts. Periodically fold the sides of the box upward as you work to check that the layers still collapse together easily and do not bulge outward.
Constructing the Outer Lid and Final Presentation
The lid is the final structural component that holds the collapsed layers of the explosion box together. To ensure a proper fit, the lid must be slightly larger than the folded dimensions of your outermost layer. If your outer box base is 10 cm by 10 cm, your lid’s center square should be approximately 10.3 cm by 10.3 cm to accommodate the thickness of the folded cardstock and internal decorations. To construct the lid, cut a square of heavyweight cardstock measuring 14.3 cm by 14.3 cm. Score a line 2 cm inward from all four edges, which will create a 10.3 cm center square surrounded by 2 cm border flaps.
To assemble the lid, locate the four small square corners created by the intersecting score lines. Use scissors to make a single cut along one side of each corner square to create a tab, allowing you to fold the border flaps downward. Apply a strong adhesive to these tabs, fold them inward, and press them against the adjacent side flaps to form the corners of the lid. Secure the corners with paper clips or mini clothes pegs while the adhesive cures to ensure a tight, square bond.
Once the lid is dry, decorate its exterior with a beautiful ribbon, a personalized birthday tag, or a flat paper flower. To present the gift, carefully fold all the layers of your explosion box upward, slide the lid over the top to hold them in place, and tie a decorative ribbon around the entire box for added security. When the recipient unties the ribbon and lifts the lid, the tension is released, and the layers will smoothly cascade outward to reveal your personalized birthday surprise.
Frequently Asked Questions (FAQ)
What paper weight is best for an explosion box?
For the structural base layers of an explosion box, a heavyweight cardstock between 220 gsm and 300 gsm is ideal because it provides the necessary stiffness to stand upright and snap open cleanly. For the decorative panels, inner pockets, and photo mats, a medium-weight cardstock or patterned paper between 120 gsm and 180 gsm is preferred to avoid adding unnecessary bulk. To prevent your heavyweight cardstock from cracking when folded, always use a scoring tool to crease the paper fibers before folding, and perform a test fold on a scrap piece of the same paper to check for smoothness.
How do I prevent the box from bulging when closed?
Preventing your explosion box from bulging requires careful planning of the gaps between your layers and the thickness of your decorations. Ensure that each inner layer is scaled down by at least 2 cm to 3 cm compared to the previous layer, which leaves a comfortable clearance gap when the sides are folded up. Additionally, avoid using thick 3D embellishments like foam tape, large buttons, or thick wooden pieces on the inner flaps. Opt for flat decorative elements such as washi tape, thin stickers, and flat ribbon, and use dry adhesives like double-sided tape runners to keep the layers as flat and compact as possible.
Community discussion
Share your experience or ask a question. Comments are reviewed before publication.