
Gifting mooncakes during the Mid-Autumn Festival is a time-honored tradition that brings families, friends, and business associates together. While the quality of the mooncakes inside is paramount, the presentation of the gift box speaks volumes about your respect and appreciation for the recipient. Taking the time to wrap and decorate a plain or standard mooncake box by hand transforms a simple gesture into a memorable, highly personalized experience.
To achieve a flawless, professional finish, you do not need professional training; instead, you need the right materials, precise measurements, and a systematic approach to folding and ribbon styling. In humid climates like Singapore’s, selecting the correct adhesives and paper weights is especially important to ensure your hard work does not warp, peel, or tear before the gift is received. This guide will walk you through the entire process, from selecting your tools to troubleshooting common wrapping mishaps.
Materials and Tools Needed for Gift Wrapping
The foundation of a beautifully wrapped gift lies in the quality and suitability of your wrapping materials. When selecting wrapping paper, aim for a medium weight, typically between 80 and 120 GSM (grams per square meter). Paper that is too thin, such as cheap newsprint or lightweight tissue, tears easily at the sharp corners of a rigid mooncake box. Conversely, paper that is too thick, like heavy cardstock, resists clean creasing and can spring open even when secured with strong adhesive.
Products mentioned in this guide
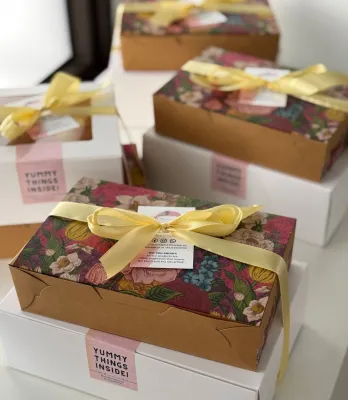
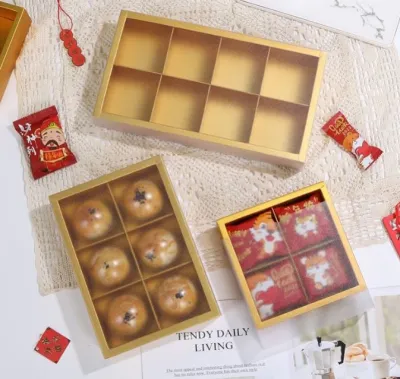
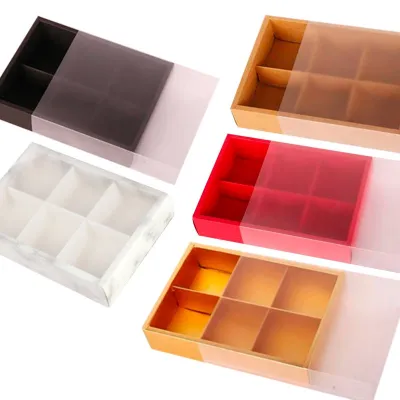
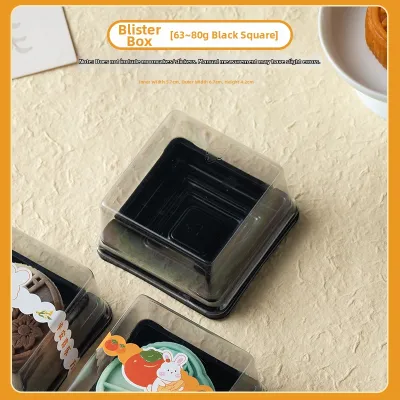
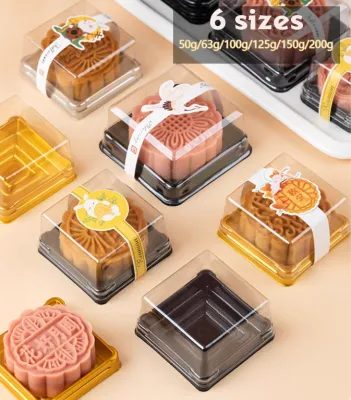
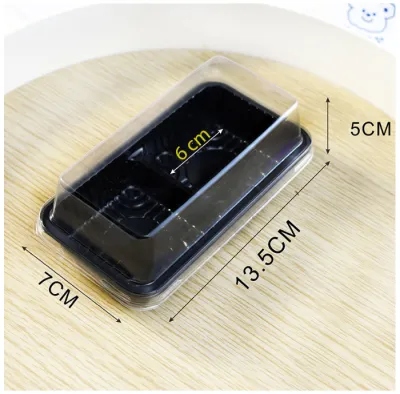
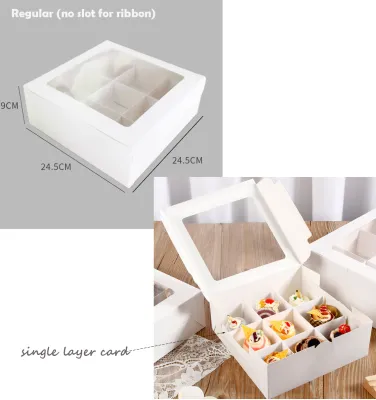
Prices are valid at publication and may change. Please refer to the product page for the latest price.
The pattern scale of the paper should complement the physical dimensions of your mooncake box. For large, multi-tier family boxes, bold geometric patterns or large floral motifs work exceptionally well. For smaller, individual two-piece boxes, opt for delicate, small-scale patterns or solid, rich colors to prevent the design from overwhelming the package. Matte finishes generally look more sophisticated and are easier to handle, while metallic or gloss finishes add a vibrant, festive energy.
Ribbons add texture and dimension to your presentation. Satin ribbons offer a classic, glossy sheen that contrasts beautifully with matte wrapping paper, while grosgrain ribbons provide a ribbed texture that holds knots securely. Organza ribbons offer a sheer, delicate look that works well when layered over wider, solid ribbons. Choose a ribbon width that matches the scale of your box; a 1.5-centimeter ribbon is ideal for small boxes, while a 2.5-centimeter to 3.8-centimeter ribbon suits larger, deeper boxes.
Adhesives are critical for a clean, invisible finish. Double-sided tape is the preferred choice for gift wrapping because it remains hidden between the paper layers and provides an instant, dry bond. Avoid standard liquid craft glues, as their water content can cause the wrapping paper to buckle, wrinkle, or warp, particularly in humid environments. For heavy decorative elements or thick ribbons, clear glue dots or a high-tack double-sided tape offer the necessary holding power without the mess.
Finally, gather your essential tools before you begin. A pair of sharp, long-blade scissors is necessary for making clean, continuous cuts without jagged edges. A metal ruler helps you measure accurately and serves as a straight edge for cutting. A bone folder—a flat, dull-edged tool used in bookbinding—is highly recommended for pressing down folds to create crisp, sharp creases that give your box a professional, tailored appearance. Always work on a clean, flat surface and handle sharp cutting tools with care.
Measuring and Cutting the Wrapping Paper
Accurate measurement is the secret to avoiding bulky, uneven seams and wasted paper. Before making any cuts, place your wrapping paper on a clean, flat work surface with the reverse side facing up. If your paper has a directional pattern, ensure it is oriented correctly relative to how the box will be opened and viewed.

To calculate the required length of the paper, place the mooncake box on the paper and wrap the sheet completely around the box’s perimeter. The paper must cover all four sides of the box and overlap by approximately 3 to 5 centimeters. This overlap ensures you have enough material to fold under a clean edge and secure the seam firmly without exposing the box underneath.
To determine the required width of the paper, measure the depth of the box’s short ends. The paper extending past each end of the box should be slightly more than half of the box’s depth. For example, if your mooncake box is 8 centimeters deep, the paper should extend about 5 to 6 centimeters past the box on both the left and right sides. If the paper is too long, it will create bulky, messy folds; if it is too short, it will not cover the sides completely.
Once you have calculated these dimensions, use your metal ruler and a pencil to mark light guidelines on the back of the paper. When cutting, keep your scissors open and slide them smoothly through the paper in a continuous motion rather than making short, choppy snips. This technique produces a perfectly straight, clean edge that makes folding much easier and more precise.
Step-by-Step Guide to Wrapping the Mooncake Box
With your paper cut to the correct size, you are ready to begin the wrapping process. Place the mooncake box face down in the exact center of your cut paper. This ensures that any seams will be located on the bottom or back of the box, leaving the top presentation surface completely smooth and uninterrupted.
Pull one long side of the paper tightly over the bottom of the box and secure it temporarily with a small piece of double-sided tape. Next, pull the opposite side of the paper over the box so it overlaps the first edge. To create a professional, seamless finish, fold the raw edge of this top layer inward by about 1 centimeter to create a clean, straight hem. Apply a strip of double-sided tape along the inside of this hem, pull the paper taut, and press it down firmly over the first layer.
Now, turn your attention to the open ends of the box. Start on one side by pushing the top flap of paper straight down against the side of the box. This action will naturally create two neat, triangular wings of paper on the left and right sides. Use your fingers or a bone folder to crease the top edge tightly against the top rim of the box.
Next, fold the left and right triangular wings inward, pressing them flat against the side of the box. As you fold each wing, run your bone folder along the diagonal edges to create sharp, clean creases. The tighter and flatter these side flaps are pressed, the neater the final envelope fold will look.
You will now have a single triangular or trapezoidal flap remaining at the bottom. Before folding this flap upward, fold its raw top edge inward by about 1 centimeter to create a clean, finished hem, just as you did with the main seam. Apply double-sided tape to the inside of this hem, pull the flap tightly upward against the side of the box, and press it firmly to secure it. Repeat this entire folding and taping process on the opposite end of the box.
Once both ends are sealed, inspect the corners of the box. Use your thumb and forefinger to gently pinch the wrapped edges, running your bone folder along them to sharpen the creases. Sharp, well-defined corners are the hallmark of high-quality, professional gift wrapping.
Tying and Styling Ribbons for a Festive Look
Adding a ribbon is the final step that elevates your wrapped mooncake box into a festive, presentation-ready gift. For square or rectangular boxes, a classic cross wrap is both secure and visually balanced. This method wraps the ribbon around all four sides of the box, ensuring the lid remains firmly closed during transport.
To execute a classic cross wrap, cut a length of ribbon that is approximately five times the length of your box. Place the center of the ribbon on the top face of the box. Bring both ends of the ribbon down the sides, cross them over each other at a 90-degree angle on the bottom of the box, and pull them back up along the remaining two sides to the top.
Once both ends of the ribbon meet on the top of the box, thread one end under the central ribbon loop and tie a tight, single knot. This knot maintains the tension of the ribbon around the box. To prevent the ribbon from sliding off smooth or glossy wrapping paper, place a small piece of double-sided tape or a clear glue dot on the paper directly beneath the knot before tightening it.
Now, form a classic bow. Create two equal-sized loops with the ribbon ends, cross them, and pull one loop through the central space to tie them together. Adjust the size of the loops and the length of the tails until the bow is symmetrical and proportional to the size of the box. Gently pull the loops taut to secure the bow in place.
To finish the look, trim the ribbon tails. For a clean, modern look, cut the ends at a sharp 45-degree angle. For a more traditional, decorative finish, fold the ribbon tail in half lengthwise and cut diagonally from the folded edge to the outer edge to create a classic V-shape swallowtail. If you are using synthetic ribbons like satin or polyester, you can carefully pass the cut edges near a small flame for a split second to melt and seal the fibers, preventing any future fraying.
Troubleshooting Common Wrapping Mistakes
Even with careful planning, mistakes can happen during the wrapping process. If your wrapping paper accidentally tears at a sharp corner, there is no need to start over. You can easily conceal the tear by placing a decorative gift tag, a paper belly band, or a wide strip of contrasting ribbon directly over the damaged area, making the fix look like an intentional design choice.
If your paper was cut slightly too long, resulting in bulky, overlapping seams at the ends of the box, use your scissors to carefully trim away the excess paper from the inner flaps before taping them down. If the bulky seam is already sealed, you can hide the unevenness by running a wide band of ribbon or a decorative paper strip directly over the seam to smooth out the profile of the box.
Loose ribbons can ruin the presentation and risk slipping off during transport. If your ribbon feels loose after tying, do not untie the entire bow. Instead, slide a small piece of double-sided tape under the ribbon on the sides or bottom of the box, pull the ribbon taut against the tape, and press down firmly to anchor it in place.
Flimsy or oddly shaped mooncake boxes present unique challenges, as they can buckle or collapse under the tension of tight wrapping. To prevent this, wrap the lid and the base of the box separately. This technique allows the recipient to open the gift without destroying your beautiful wrapping work, and it preserves the structural integrity of more delicate cardboard packaging.
Frequently Asked Questions (FAQ)
Can I use regular printer paper if I do not have wrapping paper?
Yes, you can use standard printer paper, but it has distinct limitations. Printer paper is typically stiffer and less pliable than dedicated wrapping paper, which makes it prone to cracking and showing white stress lines along folded edges. It also tears easily at sharp corners. If you must use it, reinforce the inner corners of the box with clear tape first, and use your bone folder very gently to avoid slicing through the paper fibers.
How do I keep the ribbon from slipping off a smooth box?
The most effective way to secure a ribbon on a glossy or smooth surface is to use a small anchor. Place a small piece of double-sided tape or a clear glue dot directly onto the wrapping paper where the ribbon will rest, particularly at the corners or the center crossing point. Press the ribbon firmly onto the adhesive as you wrap and tie it, ensuring it stays locked in place during handling.
What is the best way to wrap a mooncake box with a built-in handle?
To wrap a box with a built-in handle, wrap the paper around the box as you normally would, pulling it taut over the top surface where the handle is located. Carefully mark the exact positions where the handle connects to the box, then use a utility knife to cut clean, precise slits in the paper. Slide the handle through these slits, and reinforce the underside of the cut edges with clear tape to prevent the paper from tearing further when the box is carried.
Community discussion
Share your experience or ask a question. Comments are reviewed before publication.