
Wrapping a candy box beautifully relies on precise measurements, crisp creases, invisible adhesives, and a well-proportioned ribbon. By selecting the right paper weight, securing seams with double-sided tape, and executing clean folds, you can transform a standard candy box into an elegant, professional-looking gift. Whether you are preparing favors for a wedding, celebrating local festive occasions like Lunar New Year, Hari Raya, or Deepavali, or simply gifting a box of artisanal chocolates to a friend, mastering these wrapping techniques ensures your presentation matches the quality of the treats inside.
To achieve a flawless finish, you must focus on the mechanics of folding and the compatibility of your materials. Standard wrapping paper can easily tear or bunch up if the dimensions are off, while the wrong adhesive can ruin the clean lines of your box. This guide walks you through the essential tools, precise sizing calculations, step-by-step folding methods, and ribbon styling techniques needed to create a premium presentation.
Essential Materials and Tools for a Clean Finish
Selecting the right stationery supplies is the foundation of a neat, professional-looking gift presentation. Using low-quality or incompatible materials often leads to torn corners, visible tape lines, and bulky edges that detract from the overall aesthetic.
Products mentioned in this guide
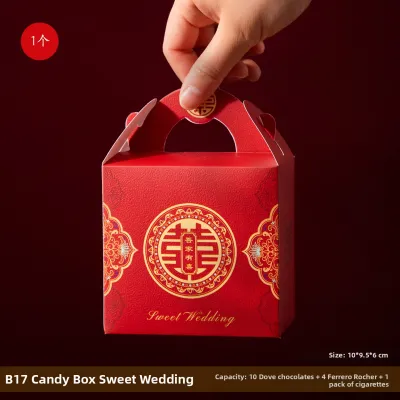
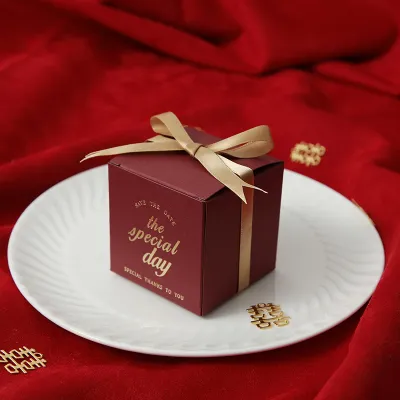
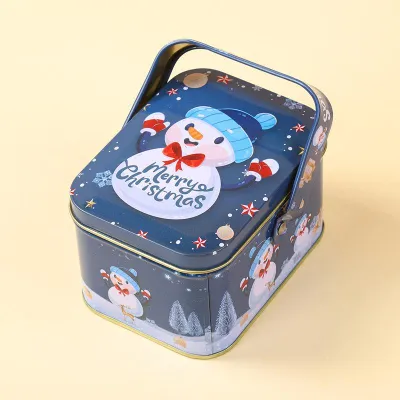
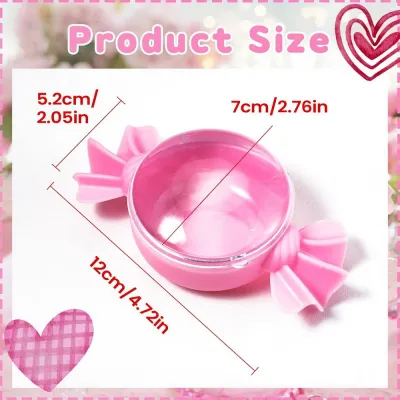
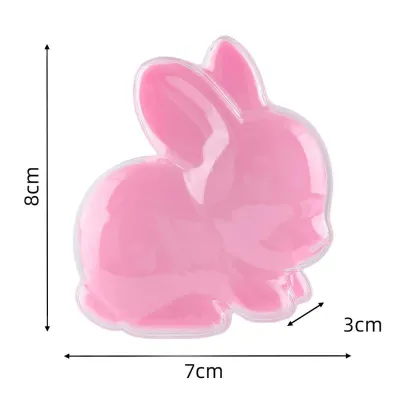

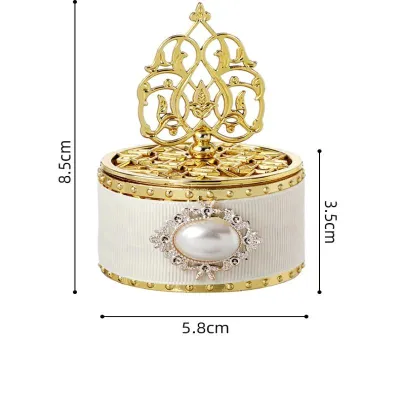
Prices are valid at publication and may change. Please refer to the product page for the latest price.
Wrapping Paper Selection The weight and texture of your wrapping paper dictate how easily it folds and how well it holds a crease. For wrapping candy boxes, paper with a weight between 70 and 90 GSM (grams per square meter) is highly recommended. Paper in this weight range is thick enough to prevent the cardboard box design from showing through, yet flexible enough to form sharp, clean folds without cracking. Extremely heavy paper (over 120 GSM) resists folding and creates bulky, awkward corners, while very thin paper (under 60 GSM) punctures easily on sharp box edges. If your paper features a directional or repeating pattern, inspect the alignment before cutting to ensure the design runs parallel to the box edges.
Ribbon Choice The texture and width of your ribbon affect both knot security and bow volume. Satin ribbon offers a smooth, high-sheen finish that looks luxurious, but its slippery texture requires a tight, secure knot to prevent it from unraveling. Grosgrain ribbon features a ribbed texture that provides excellent grip, making it highly stable and ideal for structured, voluminous bows that hold their shape. Cotton or linen ribbons offer a matte, organic texture that is easy to tie and works well for minimalist presentations. Choose a ribbon width that matches the scale of your candy box; a 1.5-centimeter ribbon suits small boxes, while a 2.5-centimeter or wider ribbon is better for larger boxes.
Adhesives Standard clear plastic tape often yellows over time, reflects light awkwardly, and can peel off glossy or textured papers. For a clean finish, use high-quality, acid-free double-sided tape to secure your seams invisibly. Double-sided tape sits flat between the paper layers, keeping the focus entirely on your decorative paper. For attaching heavy embellishments, wax seals, or thick ribbons, use strong glue dots, which provide immediate adhesion without the drying time or moisture warping associated with liquid glues.
Cutting and Creasing Tools Clean cuts and sharp creases are what separate amateur wrapping from professional presentation. Use a pair of sharp crafting scissors dedicated to paper to avoid jagged, frayed edges. A heavy metal ruler is essential for drawing straight lines and acts as a sturdy guide if you prefer cutting with a utility knife on a self-healing mat. Finally, a bone folder—or a clean, smooth-edged plastic card—is the ultimate tool for flattening seams and sharpening creases without scuffing or tearing the paper fibers.
Safety Note When using utility knives or sharp craft scissors, always cut away from your body on a stable, flat surface. If children are assisting with the wrapping process, ensure they use blunt-nosed safety scissors and non-toxic, water-based adhesives.
Measuring and Cutting the Paper to the Perfect Size
Accurate measurement is the most critical step in avoiding excess bulk or exposed box edges. Taking the time to calculate the exact dimensions of your paper before cutting prevents waste and ensures your folds lie perfectly flat.

Positioning the Box Always place your candy box upside down on the unrolled wrapping paper. This simple step ensures that the main seam where the paper overlaps is positioned on the bottom face of the box, leaving the top and sides completely smooth and seamless. If the box has a lid that opens from the top, wrapping it upside down also keeps the opening mechanism secure and hidden until the recipient unwraps it.
Calculating Dimensions To find the perfect paper width, wrap the paper completely around the perimeter of the candy box. The paper should overlap by exactly 1 inch (approximately 2.5 centimeters). This overlap provides enough space to apply a strip of double-sided tape securely without creating a thick, raised ridge. To determine the length of the side flaps, measure the paper extending past each open end of the box; this paper should extend roughly two-thirds of the box’s height. If the side paper is longer than this, it will bunch up and overlap awkwardly when folded; if it is shorter, it will fail to cover the sides of the box completely.
Cutting Techniques Align your metal ruler with your calculated measurement marks on the back of the wrapping paper. Hold the ruler down firmly with one hand, keeping your fingers away from the edge, and run a sharp craft knife along the ruler to create a perfectly straight, clean cut. If you are using scissors, lightly crease the paper along the ruler first, then cut carefully along the creased line. Straight cuts are essential because any slant in the paper edge will cause the side flaps to fold unevenly, resulting in exposed corners or crooked seams.
Pattern Matching If you are using paper with a bold, repeating pattern or a directional print, check how the design aligns on the top face of the candy box before making your final cuts. Center a prominent part of the pattern on the top surface of the box to make the finished gift look balanced and intentional. If you are wrapping multiple identical candy boxes, aligning the patterns consistently across all of them creates a highly professional, cohesive display.
Step-by-Step Instructions for Wrapping the Candy Box
Once your paper is cut to size, the folding process requires a steady hand and deliberate creasing. Follow these sequential steps to achieve a tight, wrinkle-free wrap around your candy box.
Securing the Main Body Pull the wrapping paper tightly around the sides of the candy box. The paper must sit flush against the cardboard to prevent sagging or shifting. Fold one of the long edges of the paper over by a quarter of an inch to create a clean, finished hem. Apply a strip of double-sided tape along this folded hem. Pull the opposite side of the paper taut over the box, then press the taped hem firmly down onto it. This creates a completely invisible, clean seam on the bottom of the box.
Folding the Side Flaps Turn the box so one of the open ends faces you. Push the top flap of paper straight down against the side of the box, creating two neat, triangular wings of paper on the left and right sides. Use your bone folder or fingernail to crease the top fold sharply along the top edge of the box. Next, fold the left and right triangular wings inward, pressing them flat against the side of the box. Crease these side folds firmly; they should form crisp, clean angles that align perfectly with the vertical corners of the box.
Taping the Flaps You will now have a single triangular flap pointing upward from the bottom. Fold the tip of this bottom flap inward by about a quarter of an inch to hide any raw cut edges, then apply a small piece of double-sided tape to the inside of this fold. Pull the flap upward tightly against the side of the box and press it to secure. Repeat this exact process on the opposite side of the candy box, ensuring both ends look symmetrical and flat.
Smoothing and Adjusting Once both ends are sealed, run the flat edge of your bone folder gently along all twelve edges of the wrapped candy box. This sharpens the corners and forces out any trapped air pockets, ensuring the paper clings perfectly to the contours of the box. Avoid applying too much pressure on textured or metallic papers, as this can scuff the decorative surface.
Warning/Tip If you notice the wrapping paper feels loose or shifts when you handle the box, do not attempt to fix it by pulling harder or adding more tape over the top. Loose paper will inevitably wrinkle and look unprofessional. It is always best to peel the tape back carefully (or cut a new sheet of paper) and start over, ensuring you pull the paper taut from the very first step.
Styling and Tying the Decorative Ribbon
The ribbon is the focal point of your gift presentation. Proper placement and a well-tied bow elevate the visual appeal of the wrapped candy box, adding texture and contrast.
Ribbon Placement Options Choose a ribbon layout that complements the shape of your candy box. For a long, rectangular box, a single horizontal band wrapped around the length looks modern and clean. For a square box, a classic four-way cross pattern adds traditional elegance. If you want a playful, contemporary style, try a diagonal wrap across two opposite corners.
Securing the Ribbon To prevent the ribbon from slipping or twisting while you tie the bow, place a small piece of double-sided tape on the bottom of the candy box where the ribbon wraps around. If you are using a cross pattern, place a small dot of tape at the intersection point on the top of the box. This holds the ribbon firmly in place, allowing you to pull it tight and tie a neat knot without needing an extra pair of hands.
Tying the Bow Loop the ribbon around the box, cross the ends, and tie a basic, flat knot. To tie a symmetrical classic bow, create two equal loops (bunny ears), cross them, and pull one loop through the center opening. Adjust the size of the loops and the length of the tails slowly, holding the center knot tight. If your ribbon is thick or stiff, a simple, flat square knot can look much cleaner than a bulky bow.
Finishing the Tails Never leave the ends of your ribbon raw or frayed. Fold the end of the ribbon in half vertically, then cut upward at a 45-degree angle starting from the folded edge to create a perfect V-notch (swallowtail). Alternatively, cut the ribbon at a sharp, single 45-degree angle. If you are using synthetic satin or polyester ribbon, you can very carefully pass the cut edges near a flame for a fraction of a second to melt and seal the fibers, preventing any future fraying.
Final Touches and Troubleshooting Common Wrapping Issues
Small details can make a significant difference in the final presentation. Adding subtle embellishments and performing a quick quality check ensures your candy box looks professionally styled.
Adding Embellishments Elevate your presentation by tucking a small sprig of dried lavender, eucalyptus, or a fresh rosemary stem under the ribbon knot. You can also slide a handwritten gift tag onto the ribbon before tying the bow. For a vintage, luxurious look, pour a small pool of melted sealing wax over the ribbon intersection and stamp it with a personalized wax seal. If you plan to write or stamp on the gift tag, test your ink or marker on a scrap piece first to ensure it dries quickly and does not bleed into the paper fibers.
Quality Check Hold the wrapped candy box up to the light. Inspect all sides to ensure there are no visible tape lines, loose paper flaps, or crushed corners. If a corner has a minor dent, you can sometimes gently reshape it from the outside using the flat end of a bone folder.
Troubleshooting Odd Shapes If your candy box is hexagonal, cylindrical, or has an irregular shape, standard wrapping folds will bunch up awkwardly. For cylinders, use the pleating method, folding small, overlapping triangular pleats inward toward the center at both ends. For highly complex shapes, do not force flat wrapping paper; instead, place the candy box inside a high-quality decorative paper bag or wrap it in flexible tissue paper tied at the top like a cracker.
Frequently Asked Questions (FAQ)
How do I prevent the wrapping paper from tearing at the corners?
Tearing typically occurs when the wrapping paper is too thin or pulled too tightly over sharp cardboard corners. To prevent this, use a medium-weight paper (70 to 90 GSM) which offers the ideal balance of flexibility and strength. Before wrapping, you can also apply a tiny piece of clear tape directly over the sharp corners of the candy box to act as a protective buffer, smoothing out the sharp edge so it does not puncture the outer wrapping paper.
What is the best tape to use for invisible seams?
High-quality, acid-free double-sided tape is the best choice for securing seams and flaps invisibly because it remains completely hidden between the layers of paper. Standard clear tape is often visible, especially on glossy or dark-colored papers, and can peel off over time. If you are attaching heavy 3D embellishments like wax seals, wooden tags, or thick ribbons, use strong glue dots or a low-temperature glue gun to ensure a permanent hold without leaving a messy residue.

Community discussion
Share your experience or ask a question. Comments are reviewed before publication.