
An explosion gift box is a highly personalized, interactive paper craft that collapses into a nested, multi-layered box when closed and “explodes” outward when the lid is lifted. Creating one involves cutting and scoring nested cardstock layers, decorating the interior flaps with photos and pockets, and wrapping the exterior with high-quality paper and ribbons. By following a systematic assembly process, you can ensure the layers drop smoothly and the final presentation looks polished and professional.
Whether you are celebrating a birthday, anniversary, or milestone, this handmade gift offers a dynamic way to share memories. The key to a successful build lies in precise measurements, clean folds, and choosing the right materials to support the structural movement.
Tools and Materials You Will Need
Before beginning the assembly, gathering all essential supplies ensures a smooth and uninterrupted crafting process. Having the right tools on hand prevents paper tearing and ensures clean, professional creases.
Products mentioned in this guide
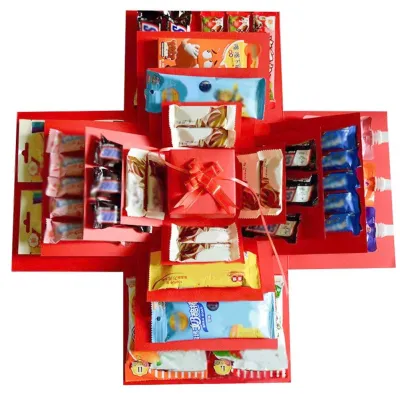

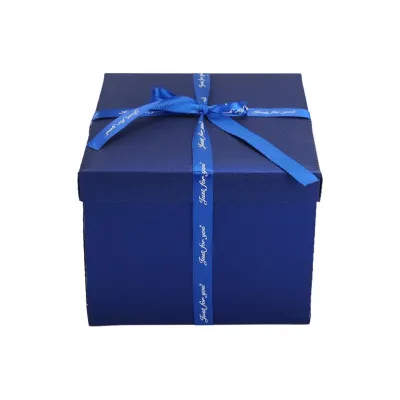
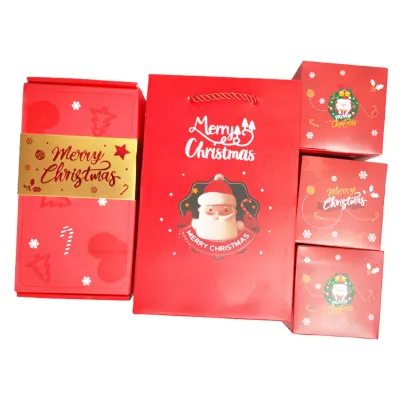
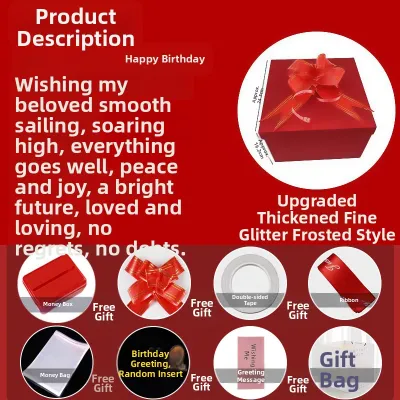
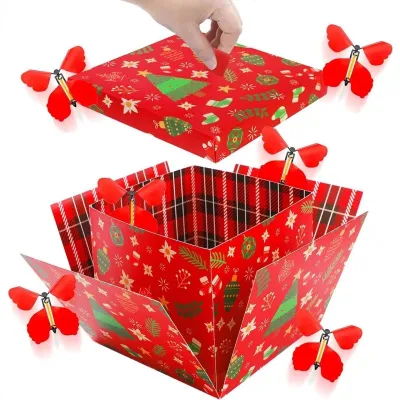
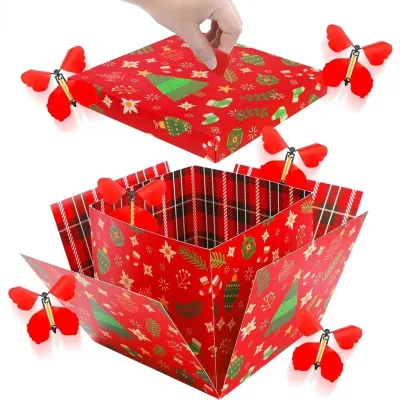
Prices are valid at publication and may change. Please refer to the product page for the latest price.
For the structural base, you will need heavyweight cardstock. Pre-cut cardstock kits are available for quick assembly, but you can also use custom-measured heavy paper sheets if you prefer to build the box from scratch.
Adhesives are critical for securing the layers and decorations. High-tack double-sided tape is ideal for flat panels, while glue dots work well for heavier embellishments. Quick-drying liquid craft glue is useful for tight corners, but it should be used sparingly to prevent paper warping.
Decorating supplies allow you to personalize the interior. Prepare patterned paper, printed photos, satin or grosgrain ribbons, and lightweight embellishments such as flat stickers or thin die-cuts.
Precision tools are necessary for clean cuts and folds. Ensure you have sharp scissors, a utility craft knife, a metal ruler, and a bone folder. When using a craft knife, always cut on a self-healing cutting mat and keep your fingers behind the metal ruler’s edge for safety.
Step-by-Step Assembly of the Box Base
Constructing the structural foundation of the explosion box requires precision so that the nested tiers collapse and expand correctly without catching on one another.

If you are crafting the base from scratch, start with three square sheets of heavyweight cardstock. Each sheet should be progressively smaller to allow for nesting. For example, prepare squares measuring 30 centimeters, 27 centimeters, and 24 centimeters.
Divide each cardstock square into a three-by-three grid. For the 30-centimeter square, this results in nine equal 10-centimeter squares. Use a metal ruler and a bone folder to score along these grid lines. Scoring compresses the paper fibers, allowing for a clean fold without cracking the cardstock.
Cut away the four outer corner squares of the grid on each sheet, leaving a perfect cross shape. Repeat this process for all three sheets of cardstock.
Fold all the remaining flaps inward toward the center square. Use the bone folder to press firmly along each crease, ensuring the folds are sharp and highly responsive.
To assemble the nested structure, apply strong double-sided tape to the underside of the center square of the medium layer. Align it precisely over the center square of the largest layer and press down. Repeat this step for the smallest layer, centering it within the medium layer.
Construct the lid by cutting a square of cardstock that is slightly larger than the center square of your largest base layer. Add about 2 to 3 millimeters of clearance so the lid slides on and off easily. Add a 2-centimeter border around this square for the lid flaps.
Score the border lines of the lid, cut a single slit at each corner to create tabs, fold the tabs inward, and secure them to the adjacent sides using quick-drying liquid glue or double-sided tape. Use paper clips to hold the corners in place while the adhesive cures.
Check the nesting mechanism by placing the lid over the folded layers. When you lift the lid, the nested walls should immediately fall flat outward under their own weight. If they catch, verify that the base sits flat and the walls stand at exact right angles.
Decorating the Inner Layers and Flaps
Personalizing the interior surfaces with photos, messages, and interactive elements must be done carefully before closing the box to ensure the folding mechanism remains unobstructed.
Begin by applying background paper to the inner walls and base panels. Cut panels of patterned paper that are 5 millimeters smaller than the cardstock flaps. This creates a neat border and prevents the decorative paper from interfering with the folds.
Adhere these background panels to the inner faces of the flaps using double-sided tape. Avoid liquid glue for thin decorative papers, as it can cause the paper to ripple or warp.
Attach your photos, hidden pockets, or pull-out tabs to the panels. When printing photos, measure the flaps carefully and crop the images to leave a comfortable margin around the edges. Ensure all pull-out tabs and sliding mechanisms operate smoothly and do not extend past the edges of the flaps when closed.
Leave adequate clearance around the edges of each flap. If decorations extend too close to the fold lines, the layers will snag or tear when the box is folded shut.
Use lightweight embellishments to prevent the box from becoming too heavy to expand properly. Flat stickers, thin washi tape, and lightweight die-cuts are ideal. Bulky decorations like thick wooden shapes or heavy metal charms can prevent the box from folding flat.
Designate the very center of the box for a focal point. This could be a small 3D paper sculpture, a miniature gift box holding a small item, or a rolled-up message tied with a string. Ensure this central object is securely glued down and fits comfortably within the innermost layer when the box is closed.
Adding Wrapping Paper and Ribbons for a Polished Finish
Wrapping the exterior and adding ribbon accents elevates the presentation and secures the closed box during transport.
Measure the outer panels of the largest layer to apply wrapping paper cleanly. Cut pieces of high-quality wrapping paper or textured cardstock to fit these panels, leaving a tiny border just like you did on the inside.
Apply double-sided tape evenly across the back of the wrapping paper panels, paying close attention to the corners. Press them firmly onto the outer walls of the box base, smoothing out any air bubbles with your hand or a clean cloth.
For the lid, wrap the top and sides with matching wrapping paper. Cut a piece of paper large enough to cover the top and fold over the sides. Secure the paper on the inside of the lid flaps to hide the raw edges, creating a clean, professional finish with sharp corner folds.
Select a ribbon material that complements the interior theme while providing a functional closure. Satin, grosgrain, or organza ribbons are excellent choices that add a premium feel.
To tie the ribbon, place the center of a long ribbon strand under the base of the box. Bring the ends up the sides, cross them over the top of the lid, wrap them around the perpendicular sides, and tie a neat bow on top. Ensure the ribbon is snug but not so tight that it crushes the lid or warps the cardstock.
If you prefer a cleaner look, you can attach a decorative bow directly to the center of the lid using a glue dot, and use a hidden magnetic closure or a simple paper band to keep the box closed.
Final Checks and Presentation Tips
Verifying the structural integrity and visual appeal of the finished gift box ensures a flawless reveal when handed to the recipient.
Test the “explosion” effect by placing the fully decorated box on a flat surface, putting the lid on, and then lifting the lid straight up. All layers should drop outward simultaneously to reveal the decorated interior.
Inspect the entire box for any loose adhesive, stray glue strings, or misaligned edges. Use a clean adhesive eraser to remove excess tape residue, and trim any overlapping paper with sharp detail scissors.
Consider the local climate when storing your finished box. In humid environments like Singapore, high humidity can soften cardstock and cause decorative papers to warp or lose their crispness. Store the assembled box in a cool, dry place, preferably in an airtight container or an air-conditioned room, until you are ready to present it. You can also place a small silica gel packet inside the storage container to absorb excess moisture.
Plan the reveal moment and provide gentle handling instructions to the recipient. Instruct them to place the box on a flat table before lifting the lid so the layers expand beautifully and all interactive elements are displayed safely.
Frequently Asked Questions (FAQ)
What type of paper is best for making an explosion box from scratch?
For the structural base and nested layers, heavyweight cardstock between 200 gsm and 300 gsm is highly recommended. This weight provides the necessary stiffness to stand upright when closed and the durability to withstand repeated folding and unfolding. Standard printer paper is too flimsy and will sag, while extremely thick chipboard is too rigid to fold cleanly. For the decorative layers and background panels, lighter patterned paper around 120 gsm to 160 gsm works best as it adds color without adding excessive bulk.
How do I prevent photos and decorations from falling out when the box expands?
To ensure your photos, pockets, and interactive elements remain securely attached during the dynamic movement of the box, use high-tack, permanent double-sided tape or specialized paper-crafting glue dots. Avoid standard school glue sticks, as their bond can dry out and fail over time, causing decorations to peel off when the flaps drop. When using liquid craft glue, apply it sparingly to prevent paper warping, and allow it to cure completely under a flat weight before folding the box.

Community discussion
Share your experience or ask a question. Comments are reviewed before publication.