
Assembling a poster stand correctly requires a systematic, bottom-up approach: verifying all components, building a stable foundation, carefully mounting the graphic medium, and performing a final stability check. Whether you are setting up a retail display, an exhibition banner, or an informational sign, rushing the process can lead to misaligned frames, stripped threads, or damaged posters. By following a structured assembly sequence, you ensure the display remains secure, professional, and safe for high-traffic environments.
Pre-Assembly Preparation and Component Verification
Before beginning the physical assembly, clear a spacious work area on a flat floor. Laying down a soft blanket, clean cardboard, or a utility mat protects the metal or plastic finish of the stand from scratches during handling. Carefully open the packaging without using deep utility knife cuts, which can slice through internal components, protective overlays, or the poster itself.
Group similar parts together systematically to make inventory verification straightforward. You should typically find a heavy base plate or folding feet, vertical support poles (which may be telescopic or multi-section), the main display frame or horizontal crossbars, and a hardware pack containing screws, washers, Allen keys, or locking knobs. Check these items against the manufacturer’s parts list to ensure no essential fasteners are missing before you proceed.
Products mentioned in this guide
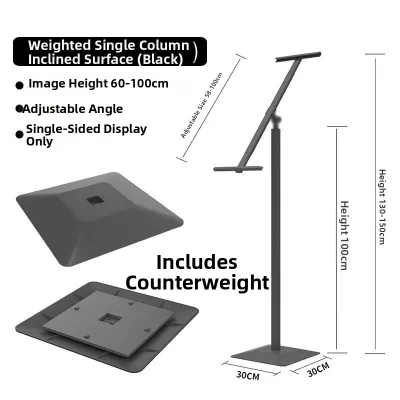

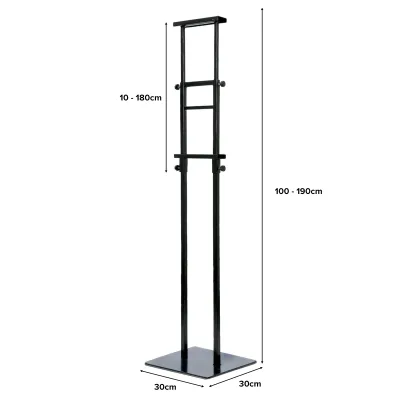
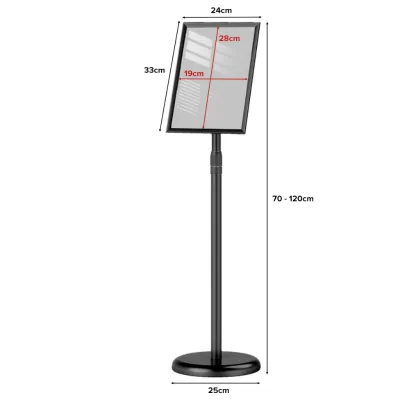


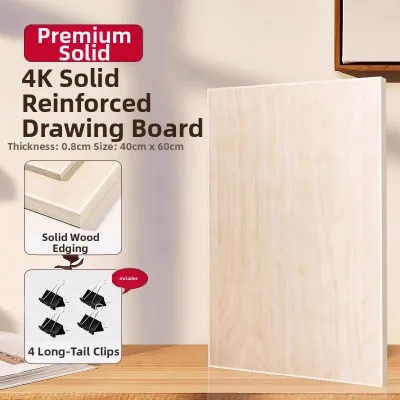
3 Lazada user ratings
The wooden stand is just the right height, and the welcome sign sits on top really securely. The wood is smooth and well-finished, and I'm q…Read full reviewShow less
The wooden stand is just the right height, and the welcome sign sits on top really securely. The wood is smooth and well-finished, and I'm quite happy with the quality.
The solid wood material is really sturdy and doesn't wobble in the wind. The natural wood color looks nice, and it’s perfect for placing thi…Read full reviewShow less
The solid wood material is really sturdy and doesn't wobble in the wind. The natural wood color looks nice, and it’s perfect for placing things on it! 👍👍👍
The height is just right; guests can see it from far away. Assembly was super easy, got it set up in just a few minutes 😊😊
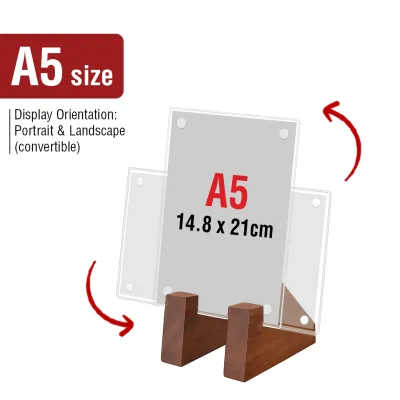
Prices are valid at publication and may change. Please refer to the product page for the latest price.
Identify the specific mechanism of your poster stand to understand how the parts interact. Snap frames feature spring-loaded edges that flip open, while telescopic poles use twist-lock collars or spring-loaded buttons. Tension fabric stands rely on push-button snap joints, whereas magnetic or slide-in frames require slotting the graphic into dedicated tracks. Recognizing these design features prevents you from applying force in the wrong direction and damaging the components.
Verify that your printed poster matches the stand’s physical specifications. Check the dimensions, thickness, and material of the poster to ensure a proper fit. Rigid boards, such as foam board or acrylic, require specific slot widths, while thin paper posters need backing boards and protective overlays to prevent sagging or tearing. If you are using a freshly printed poster, verify that the ink is completely dry to prevent smudging during the mounting process.
Step-by-Step Base and Frame Construction
Always begin the assembly process from the ground up to establish a low center of gravity. Position the base plate or folding feet on your flat work surface. If your stand uses a heavy cast-iron base, ensure the recessed side for the screw head faces downward so the assembled stand sits completely flush on the floor. Align the bottom of the vertical support pole with the base mounting point.

Insert the primary mounting bolt or screw through the underside of the base into the vertical pole. Use the provided hex key or wrench to tighten the connection securely. Ensure any washers are placed in the correct order, usually with the flat washer sitting against the frame and the lock washer sitting directly under the bolt head, to prevent the screw from loosening over time due to floor vibrations.
If your stand uses multi-section or telescopic poles, assemble them next. For telescopic poles, loosen the locking collar by turning it counterclockwise, extend the pole to the desired height, and turn the collar clockwise to lock it. For snap-button poles, slide the smaller tube into the larger one until the metal button clicks securely into the designated hole, ensuring the pole is locked at a uniform height.
Mount the main display frame or horizontal crossbars to the top of the vertical support. Many stands use a slide-on bracket, a threaded knob, or a dual-screw mounting plate. Align the mounting bracket carefully to avoid cross-threading the metal fasteners. If the frame feels top-heavy, support it with one hand while tightening the fasteners with the other to maintain balance.
Tighten all knobs, screws, and collars until they are snug, but do not over-tighten. Over-torquing can strip metal threads or crack plastic joints, rendering the stand unusable. If a component does not slide or thread together easily, stop immediately. Forcing parts indicates misalignment or incorrect orientation; back the piece out, check the manufacturer’s diagram, and try again.
Mounting the Poster and Securing the Display
Prepare the display frame to receive the poster. For snap-open frames, flip up all four spring-loaded edges using your fingers; avoid using screwdrivers or sharp tools that can scratch the anodized aluminum. For slide-in frames, identify the open slot, usually located at the top or side, and ensure the path is clear of debris.
If your stand uses a protective transparent overlay, clean it with a dry microfiber cloth to remove dust or static. Place your printed poster flat against the backing board. Align the edges of the poster precisely with the margins of the backing board to ensure the graphic does not sit crookedly inside the frame.
Lay the transparent protective sheet over the poster to shield it from dust and glare. Carefully close the snap frame edges one side at a time, starting with the top and bottom to hold the poster in place, then closing the sides. For slide-in models, gently guide the poster and overlay sandwich down the side channels, ensuring the paper does not bunch up or tear along the track.
If your stand uses tension clips or magnetic strips, attach the top edge of the graphic first. Let the poster hang naturally under its own weight to eliminate wrinkles before securing the bottom and sides. Smooth out any minor air bubbles or unevenness by gently pressing from the center of the display outward toward the edges.
Step back several paces to inspect the completed display. Verify that the graphic is perfectly level, centered, and that no critical text or logos are cut off by the frame borders. Ensure the protective cover is seated flat without bowing, which can cause distracting reflections under overhead lighting.
Final Stability Verification and Adjustment
Place the fully assembled poster stand in its intended location. Gently nudge the vertical pole to test for wobbling or instability. If the stand rocks, check if the floor is uneven. Many professional stands feature adjustable leveling feet or rubber pads underneath the base; screw these in or out to compensate for uneven flooring.
Perform a quick physical sweep of all connection points. Ensure telescopic collars are tight, snap buttons are fully popped out, and the base bolt remains secure. A loose connection at the base can cause the entire structure to lean over time, creating a safety hazard in public spaces.
Evaluate the surrounding environment before leaving the stand unattended. Lightweight poster stands are ideal for indoor use but can easily tip over in high-wind corridors, near active air conditioning vents, or in high-traffic pathways where people might bump into them. If placing the stand in a busy area, consider adding a base weight or positioning it against a solid wall.
If the stand remains unstable, leans excessively, or has loose joints despite following all assembly steps, do not attempt unsafe DIY modifications like gluing or taping structural parts. Stop using the stand and contact the manufacturer or supplier to request replacement parts or a compatibility check.
Frequently Asked Questions (FAQ)
Can one person assemble a large poster stand safely?
Yes, most standard poster stands can be assembled by a single person if you plan the steps carefully. For oversized units or heavy cast-iron bases, it is safest to assemble the frame horizontally on a clean, carpeted floor first, and then lift the completed structure upright. If the frame is exceptionally tall or top-heavy, leaning the vertical pole against a stable wall while you secure the top display frame can prevent the unit from tipping over during assembly.
What should I do if the frame joints feel loose after assembly?
If the joints feel loose, systematically check each connection point starting from the base upward. Verify that all locking pins are fully engaged in their slots and that screws are threaded straight. If a screw spins without tightening, the threads may be stripped; inspect the hardware for damage. Avoid using makeshift adhesives to secure loose joints, as this prevents future disassembly; instead, contact the supplier for replacement hardware.
How do I disassemble the stand for storage without damaging the parts?
To disassemble the stand safely, reverse the assembly steps exactly, starting from the top. Carefully remove the poster and its protective overlay first, storing them flat or rolled in a protective tube to prevent creasing. Loosen the frame connectors gently to avoid bending the aluminum edges, and collapse any telescopic poles. Store all small screws, knobs, and washers in a labeled sealable bag, and place the larger frame components back into their original protective sleeves or a padded carry bag to prevent scratches.

Community discussion
Share your experience or ask a question. Comments are reviewed before publication.