
Achieving a professional, store-quality gift presentation relies on building a structured, layered foundation with your gift box filler rather than simply dumping it into the box. By fluffing the material to create a springy base, centering the item securely, and framing it with a neat top layer, you transform standard packaging into an elegant showcase. This systematic approach ensures your gift remains stable during transit while offering an appealing unboxing experience.
In Singapore’s humid climate, choosing and handling these materials correctly also prevents them from losing their loft or absorbing moisture, keeping the presentation crisp from the moment it is wrapped until it is opened.
Choosing the Right Gift Box Filler for Your Item
Selecting the ideal gift box filler depends on the weight, fragility, and dimensions of your gift, as well as the overall aesthetic you want to achieve. Different materials offer varying levels of structural support and visual appeal, making it essential to match the filler to the specific item.
Products mentioned in this guide
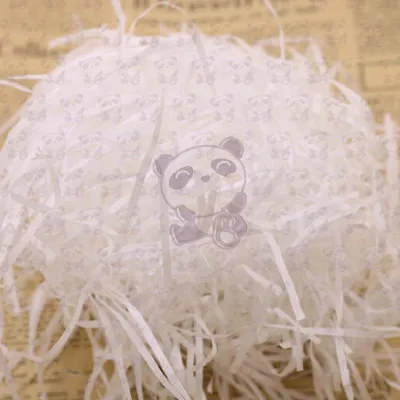
![🇸🇬[Hommly SG Instock] 100g Raffia shredded paper Gift decoration packaging paper | DIY Birthday gift box filling](https://img.lazcdn.com/g/p/088c5b578358df6d770303fdf2a6b6e5.jpg_400x400q80.jpg_.webp)
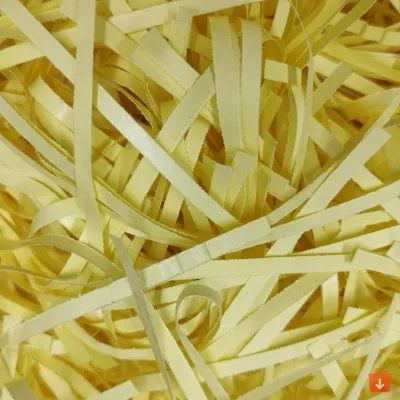
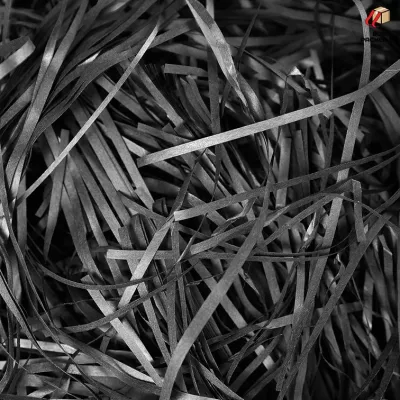
![[Cozy Nest] Premium Shredded Paper Decorative Filler for Gift Boxes Packaging and Decoration Available in 20g Packs Shiny Shredded Paper and Glowing Shredded Paper](https://img.lazcdn.com/g/p/e9cdf0b42c12a8a5a92ec456691f29b5.png_400x400q80.png_.webp)
![[Cozy Nest] Assorted 20g Vibrant Shredded Paper Packs Ideal Filler for Gift Boxes Packaging and Decor Lightweight Packaging Solution Eco-Friendly Gift Box Filler Decorative Packaging Material](https://img.lazcdn.com/g/p/762bfc196742000ba38b69c8e90b812f.png_400x400q80.png_.webp)
![[SG]🎁 🎉Raffia 10g Gift Box Filler Pack Gift Wrapping Material Colorful Shredded Paper Shiny Color Party Birthday Wedding](https://img.lazcdn.com/g/p/69cdc91494805ebd5e610337e29e0d3a.jpg_400x400q80.jpg_.webp)
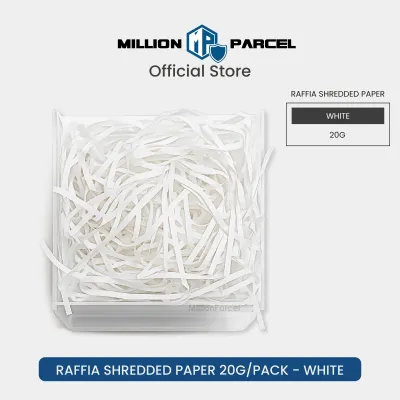
Prices are valid at publication and may change. Please refer to the product page for the latest price.
Crinkle cut paper is one of the most versatile options available, featuring interlocking accordion folds that provide excellent spring and cushioning. It works exceptionally well for medium-weight items like skincare sets, ceramic mugs, or gourmet jars, as the interlocking strands resist compression. For lighter, more delicate items such as jewelry or silk scarves, soft tissue paper can be shredded, crumpled, or folded to create a gentle, cloud-like bed that looks luxurious without overpowering the gift.
If you are packaging heavier or more rustic items, such as artisanal bottles, wooden homeware, or heavy stationery sets, wood wool or shredded cardboard offers superior structural integrity. Wood wool, made of fine wood shavings, provides a natural, textured look and robust support that prevents heavy objects from sinking to the bottom of the box. Shredded cardboard, often recycled, is highly durable and ideal for industrial or eco-friendly presentations, though it may require a softer top layer if you want a more refined finish.
Color coordination is another critical factor in achieving a professional look. You can choose a filler color that matches the box for a minimalist, monochromatic appearance, or select a contrasting shade that makes the gift itself pop. When planning your purchase, evaluate the empty space inside the box; a deep box containing a flat item will require a significantly higher volume of filler to elevate the product to an eye-catching level.
Essential Tools and Materials for Gift Box Wrapping
Before you begin arranging your presentation, gathering the correct tools and materials will ensure a smooth, uninterrupted workflow. Having everything within arm’s reach allows you to focus on the precise placement and styling of the filler.

Your primary materials will be the gift box itself and your chosen gift box filler. Ensure the box is sturdy enough to support the weight of the contents without bowing at the bottom or sides.
For securing items that might slide or tip over, keep discreet adhesives on hand, such as double-sided tape or removable glue dots. These anchors can be placed on the underside of the item to bond it gently to the base layer of the box or a cardstock insert.
A sharp pair of scissors or a paper cutter is essential for trimming stray strands of filler, cutting tissue paper to size, or preparing decorative ribbons.
Finally, consider optional decorative elements to complete the presentation. Satin or grosgrain ribbons, personalized gift tags, and custom printed inserts can be layered over or alongside the filler to add a personalized touch that elevates the unboxing experience.
Step-by-Step Guide to Arranging Gift Box Filler
Creating a professional presentation requires a systematic, bottom-up approach rather than placing the gift first and stuffing filler around it. By building the arrangement in distinct layers, you establish a stable foundation that supports the item and keeps it beautifully framed.
Creating a Stable Base Layer
The base layer is the most critical structural component of your gift box arrangement, acting as a shock absorber and elevating the item so it sits level with the box opening. Begin by taking a generous handful of your chosen filler and gently pulling it apart to fluff it, which introduces air and increases its volume.
Spread this fluffed filler evenly across the bottom of the box, ensuring there are no sparse patches or dense clumps. Press down lightly with the palm of your hand to test the springiness; the base should feel firm yet yielding, like a mattress.
Adjust the thickness of this layer based on the height of your gift. For flat or shallow items, you will need a thicker base to bring the product closer to the top edge of the box, while taller items require a thinner foundation.
Finish the base by tucking the loose outer edges of the filler neatly against the inner walls of the box. This creates a clean, tailored border and prevents loose strands from spilling out when the lid is lifted.
Positioning and Securing the Gift
Once your base layer is established, you can position your gift to create a balanced, visually appealing focal point. Place the item gently in the center of the box, or arrange multiple items so their weights and shapes balance each other harmoniously.
Gently press the item into the base layer so it nestles into the filler rather than sitting loosely on top. Take small pinches of additional filler and tuck them firmly around the sides of the item to eliminate empty gaps and lock it in place.
For heavier or top-heavy items that may shift during transit, the filler alone might not provide enough friction. In these cases, apply a small piece of double-sided tape or a glue dot to the bottom of the item, securing it directly to a hidden piece of heavy cardstock placed beneath the base layer.
Verify the stability of the arrangement by gently tilting the box from side to side; the gift should remain firmly in place without sliding or leaning.
Adding the Top Layer and Finishing Touches
The final layer of filler serves a purely decorative purpose, framing the gift and adding a sense of luxury and anticipation to the unboxing process. Select a lighter, pristine portion of filler to drape delicately around the edges of the item.
Avoid covering the gift entirely unless you are intentionally designing a surprise reveal where the recipient must dig through the filler to find the item. Instead, let the filler frame the product, leaving the main face or label of the gift fully visible and clean.
Inspect the arrangement for any stray, crumpled, or messy strands that might look untidy. Use your scissors to trim any excessively long pieces of paper or wood wool that disrupt the clean lines of the box.
Before closing the lid, gently press down on the top layer to ensure no material will be pinched in the box seams, maintaining a pristine, store-quality presentation when opened.
Pro Tips for Achieving a Store-Quality Finish
To elevate your gift wrapping from neat to truly professional, you can employ several advanced styling techniques used by high-end boutiques. These subtle adjustments add depth, texture, and a refined touch to the final presentation.
One highly effective method is mixing two complementary colors or textures of filler. For example, blending a neutral kraft paper filler with a metallic gold or silver crinkle cut paper adds a sophisticated shimmer and visual depth. Alternatively, you can layer a soft sheet of tissue paper over a supportive bed of wood wool, combining structural strength with a delicate, premium surface texture.
When working with rectangular or square boxes, you can use a ruler or a stiff piece of cardstock to press the filler lines parallel to the box walls. This creates sharp, clean borders that look incredibly precise and intentional.
Always adjust the density of your filler based on the fragility of the item. Fragile glassware or ceramics require a denser, more tightly packed base to absorb shocks, whereas lightweight stationery or textiles benefit from a loose, airy arrangement that emphasizes softness.
If you are wrapping multiple small items in a single box, use small cardboard dividers or folded cardstock to create individual compartments before adding the filler. This keeps the items separated and prevents them from colliding and causing damage during handling.
Common Mistakes to Avoid When Using Gift Box Filler
Even with high-quality materials, certain common errors can make a gift presentation look messy or unprofessional. Recognizing these pitfalls allows you to correct them before presenting your gift.
Overstuffing the box is a frequent mistake that occurs when too much filler is packed into the container. This makes it difficult to close the lid without forcing it, which can crush the filler, crease the box, or even damage the gift inside.
Conversely, using too little filler is equally problematic. If the box is under-filled, the gift will slide around during transport, potentially leading to damage and resulting in an unappealing, sunken presentation when the box is opened.
Another common error is clumping the filler into tight, dense balls instead of spreading it evenly. Clumped filler lacks the springiness needed to support the gift and creates an uneven surface that makes the item sit crookedly.
Finally, avoid using damp or dusty filler materials. In Singapore’s humid environment, paper-based fillers can absorb moisture if left exposed, leading to a limp appearance; always store your wrapping supplies in airtight containers to preserve their crisp texture.
Frequently Asked Questions (FAQ)
How much gift box filler do I need for a standard shoebox-sized container?
Estimating the correct amount of gift box filler depends on the volume of the empty space remaining once your gift is placed inside. For a standard shoebox-sized container, a helpful guideline is to prepare approximately 100 to 150 grams of crinkle cut paper or wood wool. If your gift is small and flat, you will need more filler to elevate it, whereas a larger gift will displace more volume, requiring less material. Because different fillers expand at different rates when fluffed, it is always best to purchase slightly more than your estimate to ensure you have enough to build a supportive base and frame the item beautifully.
Can I reuse gift box filler for future wrapping projects?
Yes, many types of gift box filler can be reused, provided they have maintained their structural integrity and cleanliness. High-quality crinkle cut paper and wood wool hold up exceptionally well to reuse because their natural springiness can be restored with a gentle fluffing. Before reusing any filler, inspect it carefully for tears, stains, flattened sections, or any lingering odors. To preserve the texture and loft of reclaimed or unused filler, store it in a dry, sealed plastic container away from direct sunlight and humidity, ensuring it remains crisp and ready for your next wrapping project.
Community discussion
Share your experience or ask a question. Comments are reviewed before publication.