
To apply puzzle glue correctly without damaging the pieces, you must prepare a flat, protected workspace, choose a compatible non-toxic adhesive, and apply a thin, even layer starting from the center and working outward. This technique prevents moisture from warping the cardboard, keeps the pieces from shifting, and ensures a crystal-clear finish suitable for school displays. Taking your time during the preparation and application stages guarantees that your hard work remains preserved and visually striking.
Preparing Your Puzzle and Workspace
Before opening any adhesive, you must ensure your completed puzzle is fully prepared for the gluing process. Start by verifying that all puzzle pieces are completely interlocked and lying perfectly flat on your working surface. If any pieces are slightly raised or uneven, they can catch on your applicator, causing them to lift or tear. You can gently run a clean rolling pin or a flat plastic ruler over the surface to press down any slightly raised edges, ensuring a uniform level across the entire design.
Next, place a protective barrier directly underneath the puzzle to prevent it from sticking to your table or desk. Wax paper or parchment paper works exceptionally well for this purpose because most puzzle glues do not adhere to their slick surfaces, allowing you to peel the preserved puzzle away easily once dry. Avoid using newspaper or thin scrap paper, as the wet adhesive can cause the ink to transfer or the paper to fuse permanently to the back of your project. Ensure this barrier extends several centimeters beyond the edges of the puzzle to catch any accidental drips or runs.
Products mentioned in this guide
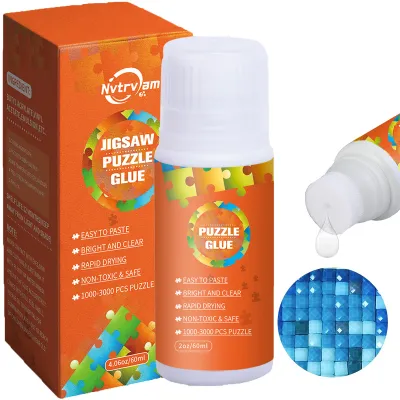
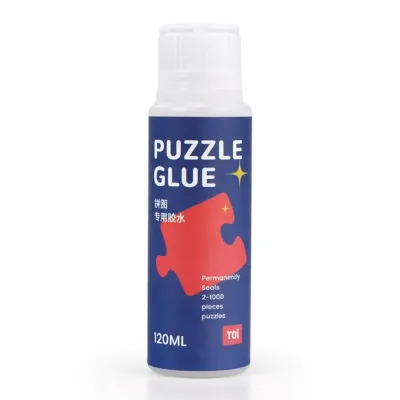
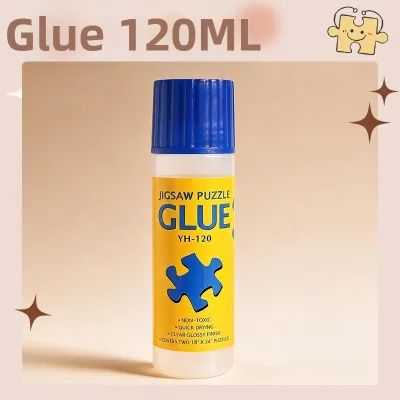
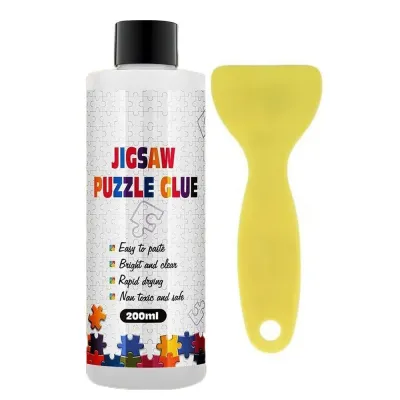
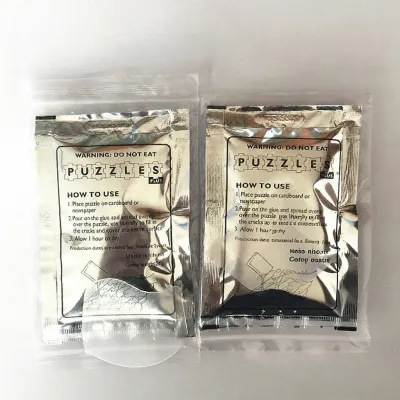
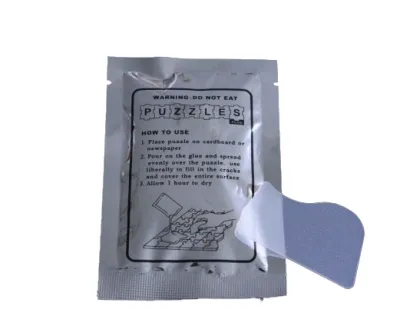
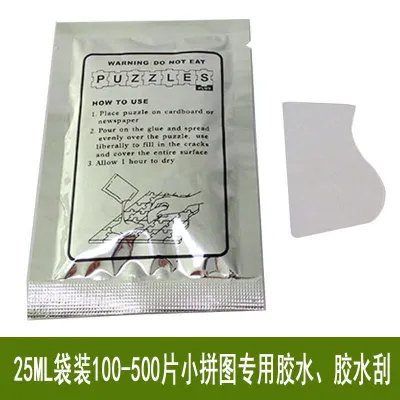
Prices are valid at publication and may change. Please refer to the product page for the latest price.
Finally, clear the puzzle surface of any dust, lint, or stray debris that may have accumulated during assembly. Even tiny particles can become permanently trapped under the clear glue layer, creating unsightly bumps on your finished display. Use a soft, dry brush—such as a clean makeup brush or a soft-bristled paint brush—to sweep the surface gently from the center toward the outer edges. Avoid using damp cloths for cleaning at this stage, as introducing moisture before gluing can weaken the cardboard fibers.
Choosing the Right Puzzle Glue for Your Project
Selecting the correct adhesive is crucial for achieving a professional finish and ensuring the safety of students during school projects. Liquid puzzle glue is the most common choice, often featuring an integrated plastic or sponge applicator. This type of glue flows into the seams between the pieces, creating a strong structural bond, though it requires careful application to avoid over-saturating the cardboard. Liquid glues are available in various finishes, such as high-gloss, satin, or matte, allowing you to choose the look that best complements your project design.

Spray adhesives offer a fast alternative that dries quickly, making them highly convenient for school projects on tight deadlines. However, they must be applied in a well-ventilated outdoor area to avoid inhaling fumes, and achieving an even coat requires a steady hand. For younger students or classroom environments where liquid mess must be minimized, double-sided adhesive sheets are an excellent option. These sheets are applied directly to the back of the puzzle, eliminating drying times and moisture-related warping risks entirely.
Before purchasing, always check the product label to verify compatibility with your specific puzzle material. While most standard puzzles are made of cardboard, some modern designs use wood or non-porous plastics, which require specialized adhesive formulations to bond correctly. Performing a small spot test on a spare piece or on the back of the puzzle is highly recommended to verify how the adhesive interacts with the material.
For school environments and long-term preservation, look for non-toxic and acid-free indicators on the packaging. Acid-free adhesives prevent the puzzle paper from yellowing, fading, or degrading over time, keeping the colors vibrant for future displays. Non-toxic formulas ensure that the project is safe for children to handle throughout the application and drying process.
Step-by-Step Guide to Applying Puzzle Glue
When you are ready to apply liquid puzzle glue, start by pouring a small pool of adhesive directly onto the center of the puzzle. Using a wide, flat plastic applicator, a squeegee, or a damp sponge brush, gently spread the glue outward toward the edges. Working from the center prevents the liquid from pooling at the outer borders and sliding underneath the puzzle, which can cause it to stick to your protective barrier. Use smooth, sweeping strokes and avoid scrubbing the surface, which can damage the paper image.
If you are using a spray adhesive, shake the can thoroughly before use to ensure an even mixture. Hold the can at the exact distance specified on the product label—typically between 20 and 30 centimeters away from the puzzle surface. Apply the spray in steady, sweeping horizontal motions across the puzzle, overlapping each pass slightly to ensure complete, uniform coverage without leaving dry spots. Always perform this step outdoors or in a highly ventilated area to ensure safety.
Regardless of the adhesive type you choose, maintaining a thin, even coat is the most critical factor in preventing damage. Applying too much glue traps excessive moisture against the cardboard, leading to severe warping, paper bubbling, or piece displacement. The wet glue should look like a thin, milky film that fills the crevices between the pieces without forming deep puddles or obscuring the puzzle design.
Depending on the size of your puzzle and the manufacturer’s instructions, a secondary coat may be required to provide sufficient structural stability for hanging. Always wait until the first coat is completely dry before attempting to apply a second layer. When applying the secondary coat, work in a direction perpendicular to your first application to ensure a balanced, secure seal across all joints.
Drying, Curing, and Preparing for Display
Patience is essential during the drying and curing phase, as rushing this step can ruin the entire project. Rather than relying solely on the estimated drying times printed on the bottle, look for specific visual and tactile cues. The glue is fully dry when it transitions from a milky, semi-opaque appearance to a completely clear, uniform finish. Touch the surface gently with a clean, dry finger; it should feel hard, smooth, and entirely non-tacky.
In humid climates, such as in Singapore, moisture evaporates more slowly, which can significantly extend the required drying time. Keep the puzzle completely flat and undisturbed in a dry, well-ventilated room during the entire curing process. Avoid the temptation to move the puzzle, tilt it, or use artificial heat sources like hair dryers, as uneven temperature changes can cause the cardboard to warp or curl at the corners.
Once the adhesive has fully cured and the surface is completely dry, gently lift the puzzle and peel away the protective wax paper from the back. If you notice any minor curling at the edges after drying, you can place a clean, heavy book on top of the puzzle for a few hours to flatten it back out. To prepare the puzzle for a school display or framing, you can mount it onto a sturdy backing board, such as foam board or heavy mounting card. Apply a thin layer of craft adhesive or double-sided tape to the backing board, press the puzzle firmly in place, and slide it into a suitable frame for a polished, professional presentation.
Troubleshooting Common Gluing Mistakes
Understanding how to address minor issues during the gluing process can save your school project from permanent damage. Piece displacement typically occurs when too much physical pressure is applied with the spreader, or when excessive liquid glue lubricates the joints, causing the pieces to slide apart. To prevent this, use a light, gliding motion with your applicator and avoid pushing down hard on the seams.
If you notice minor surface bubbles or wrinkles forming while the glue is still wet, you can gently smooth them out toward the nearest edge using the flat side of your applicator or a clean sponge. Do not attempt to pop, scrape, or smooth these areas once the glue has begun to set or dry. Doing so can tear the delicate paper surface of the puzzle, leaving permanent scars on the image.
A cloudy or white finish after drying is usually the result of applying the glue too thickly, which traps moisture beneath the surface, or applying it in an environment with excessively high humidity. To avoid this issue in future projects, always apply thin, even coats and verify that the product specifications match your working environment. If a cloudy spot appears, allowing the puzzle to cure in a dry, air-conditioned room for an extra day can sometimes help the remaining moisture escape, clearing up the finish.
Frequently Asked Questions (FAQ)
Can I use regular school glue instead of specialized puzzle glue?
Standard white school glue or craft glue contains a significantly higher water content than specialized puzzle adhesives. This high moisture level easily penetrates cardboard puzzle pieces, causing them to swell, warp, or peel at the edges. Furthermore, standard school glue often dries with a slightly cloudy, uneven, or rubbery finish, whereas dedicated puzzle glues are formulated to dry crystal clear with a self-leveling finish that preserves the vibrant colors of your project.
How do I remove puzzle glue if I make a mistake?
If you make a mistake while the glue is still wet, you can gently wipe away the excess adhesive using a slightly damp, lint-free microfiber cloth. Work carefully to avoid soaking the cardboard or displacing the interlocked pieces. Once the glue has begun to set or has fully cured, it is generally permanent; attempting to scrape it off or use harsh chemical solvents will dissolve the puzzle’s ink and ruin the paper surface. Always consult the manufacturer’s instructions on the packaging for specific cleanup and safety guidelines.
Community discussion
Share your experience or ask a question. Comments are reviewed before publication.