
Applying a knit patch is an effective way to repair a damaged garment or add a personalized decorative touch. Depending on the patch backing and the fabric type, you can attach these patches using heat-activated adhesives or traditional hand-sewing. This guide walks you through assessing your materials, preparing your workspace, and executing the most appropriate application method to ensure a durable finish without damaging your clothing.
To achieve a clean, professional result, you must first understand how the patch material interacts with your garment. Knit fabrics possess unique characteristics, such as stretch and texture, that require careful handling during the application process. Choosing an unsuitable method can lead to scorched fibers, puckered seams, or a patch that peels off after a single wash cycle. By taking a systematic approach, you can preserve the drape of your favorite clothing while giving it a fresh, customized look.
Assess Your Garment and Knit Patch Compatibility
Before reaching for an iron or a needle, you must evaluate the compatibility between your garment and the knit patch. Start by locating the care label inside your clothing to identify the exact fiber content and heat tolerance. Delicate materials like silk, fine wool, and heat-sensitive synthetics such as nylon or polyester can easily melt or scorch under direct heat. If your garment’s care label warns against high temperatures or ironing, you must avoid heat-activated methods entirely and opt for hand-sewing.
Products mentioned in this guide
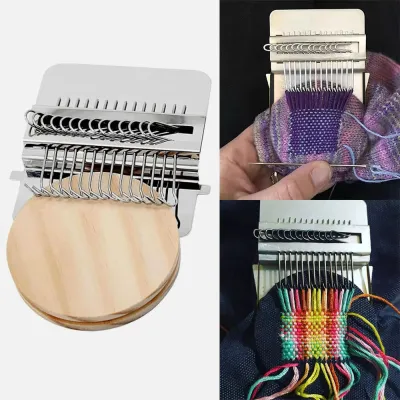
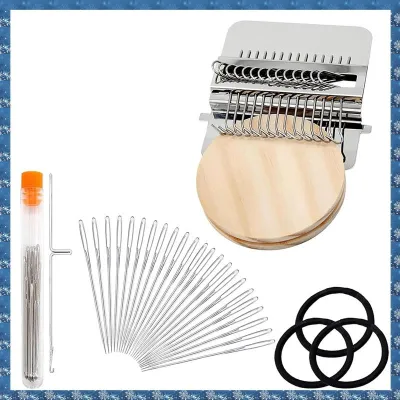
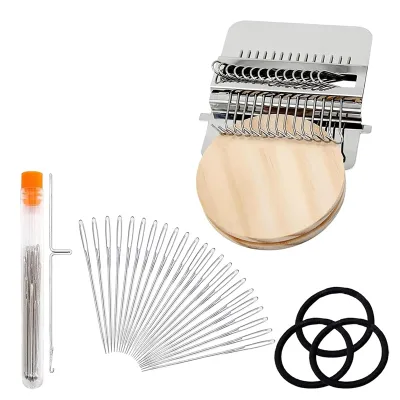
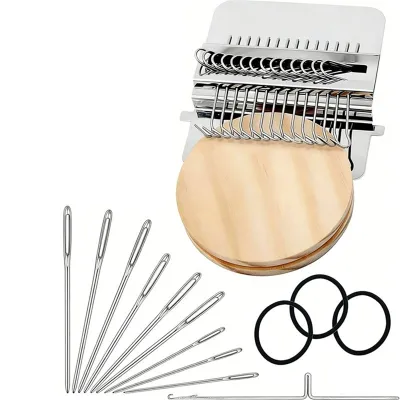
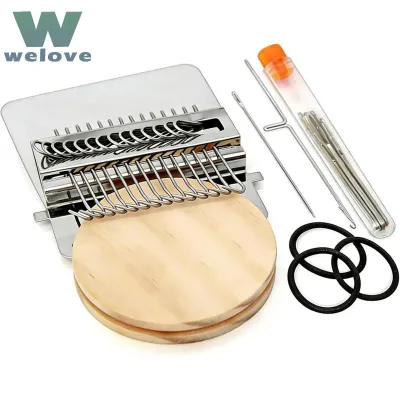
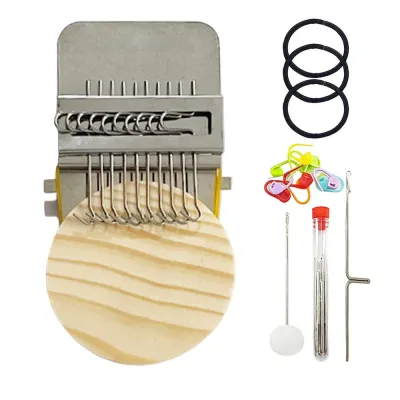
Prices are valid at publication and may change. Please refer to the product page for the latest price.
Next, inspect the backing of your knit patch to determine its design and attachment mechanism. A patch with a smooth, shiny, or slightly rubbery reverse side typically features a heat-activated adhesive layer, making it suitable for iron-on application. Conversely, a patch with a plain fabric or exposed yarn backing is strictly a sew-on design that requires manual stitching. If you are working with a heat-activated patch but your garment is heat-sensitive, you can still sew the patch on instead of ironing it.
Finally, consider the physical characteristics of the garment, including its stretch, thickness, and overall drape. Stretchy garments like knit sweaters, t-shirts, or activewear require an attachment method that moves with the fabric. Applying a rigid, heavily glued patch to a highly elastic fabric can cause the surrounding material to pucker, distort, or tear under tension. For these flexible garments, hand-sewing with a loose, accommodating stitch is almost always a reliable choice to maintain the clothing’s natural movement.
Gather the Essential Tools and Materials
Having the correct tools prepared beforehand ensures a smooth, uninterrupted application process and minimizes the risk of accidental fabric damage. For hand-sewing, you will need a selection of hand-sewing needles, choosing a size that matches the thickness of your patch and garment without leaving large holes. Select a durable thread, such as a polyester or cotton-polyester blend, in a color that either matches the patch border or provides a deliberate contrast. You will also need fabric chalk or a water-soluble marking pen to outline your placement, along with straight pins or safety pins to hold the patch secure.

If you plan to use the iron-on method, gather a standard household iron and set up a hard, flat ironing surface. A wooden table protected by a heavy towel or a sturdy ironing board works well, as soft, padded surfaces can prevent you from applying the necessary pressure. You must also prepare a clean pressing cloth, such as a thin cotton tea towel or a sheet of parchment paper. This protective barrier is essential for shielding the delicate knit texture of the patch and the garment from direct contact with the hot iron plate.
Lastly, keep a pair of sharp fabric scissors nearby to trim loose threads, clean up frayed edges on the garment, or cut your sewing thread. Using dull household scissors can chew through fabric fibers, leading to messy edges that are difficult to secure. Having these tools organized on a clean, well-lit workspace allows you to focus on precision and safety throughout the project.
Method 1: Ironing On Knit Patches (For Heat-Safe Fabrics)
The iron-on method is a quick and efficient way to secure patches with heat-activated backing, provided your garment can safely withstand the heat. To begin, set your household iron to the dry heat setting recommended for your garment’s fabric type, ensuring the steam function is completely turned off. Moisture from steam can interfere with the chemical bonding process of the adhesive, leading to a weak hold that lifts prematurely. Allow the iron to heat up fully before proceeding to the next step.
Lay your garment flat on your ironing surface and preheat the target area by pressing it with the iron for a few seconds to remove wrinkles and moisture. Position your knit patch exactly where you want it, ensuring it covers any holes or worn spots completely. Carefully place your pressing cloth or parchment paper directly over the patch, taking care not to shift its position. This protective layer prevents the iron from flattening the raised knit stitches or scorching the fibers.
Place the heated iron directly onto the pressing cloth over the patch, applying firm, downward pressure with your hands. Hold the iron stationary for the duration specified by the patch manufacturer, which is typically between fifteen and thirty seconds. Avoid sliding the iron back and forth, as this motion can shift the patch out of alignment. Once the time is up, carefully lift the iron and allow the patch to cool completely to room temperature without moving the garment.
After the area has cooled, gently test the edges of the patch with your fingernail to check the bond. If any edges or corners lift, place the pressing cloth back over the patch and re-apply heat and pressure for another ten seconds. If you notice any signs of heat stress on the base fabric, such as discoloration, a shiny texture, or a slight singe, stop immediately and allow the fabric to cool. In such cases, you should switch to hand-sewing to secure any remaining loose edges safely.
Method 2: Hand-Sewing Knit Patches (For All Fabrics)
Hand-sewing is a highly versatile and reliable method for attaching knit patches, offering a secure hold that is safe for delicate, stretchy, or heat-sensitive garments. To start, position your patch on the garment and secure it in place using straight pins or safety pins. If you are working with a highly curved or stretchy area, such as an elbow or a knee, consider using a temporary basting stitch. Basting involves sewing long, loose temporary stitches around the patch to keep it flat and aligned while you perform the final sewing.
Next, select a stitch style that matches your functional and aesthetic goals. A blanket stitch is a practical choice for a decorative border, as it wraps around the outer edge of the patch, locking the knit loops in place and helping to prevent fraying. If you prefer a more discreet, nearly invisible finish, a whipstitch is highly effective. Thread your needle with a single or double strand of thread, depending on the thickness of the patch, and tie a small knot at the long end.
As you begin stitching, maintain consistent tension on your thread to avoid puckering the base fabric or distorting the knit patch structure. Pulling the thread too tight will cause the garment to gather and wrinkle, while leaving it too loose can result in snagging and a weak attachment. Work your way slowly around the entire perimeter of the patch, spacing your stitches evenly to ensure a uniform appearance and a secure hold.
Once you have sewn around the entire border, pass your needle through to the inside of the garment to finish the stitch. Secure the thread with a hidden knot on the reverse side of the fabric, pulling it snug against the inside surface before trimming the excess thread. This technique keeps the exterior of your garment looking clean and professional while preventing the knot from rubbing uncomfortably against your skin.
Reinforce Iron-On Patches with Stitching
While heat-activated adhesives provide a convenient initial bond, they are rarely a permanent solution on their own. Over time, the adhesive layer can degrade due to constant friction, fabric stretching, and repeated cycles through the washing machine. To prevent the edges of your iron-on patch from peeling or lifting after a few weeks of wear, you should reinforce the patch with manual stitching. This hybrid approach combines the quick positioning of an iron-on with the long-term durability of hand-sewing.
To reinforce your patch, wait until the adhesive has cooled completely and set for at least a few hours. Thread your needle and sew a simple running stitch or a whipstitch around the outer border of the patch. Because the adhesive already holds the patch firmly in place, you do not need to worry about pinning or shifting, making the sewing process much faster and easier.
When reinforcing, pay special attention to high-stress areas of the garment, such as elbows, knees, or pockets, where the fabric bends and stretches frequently. Adding extra stitches or a double knot at the corners and curves of the patch provides critical mechanical security. This small investment of time helps ensure that your patch remains securely attached to your clothing, even through rugged daily use and frequent laundering.
Aftercare and Washing Instructions
Proper aftercare is essential to preserve the bond of your knit patch and protect the surrounding garment from damage during cleaning. If you used an iron-on method, wait at least twenty-four to forty-eight hours before washing the garment for the first time. This curing period allows the heat-activated adhesive to cool, harden, and bond fully with the fabric fibers, ensuring it does not dissolve or loosen when exposed to water.
When it is time to clean the garment, always turn it inside out before placing it in the washing machine. This simple step shields the face of the knit patch from direct friction against other garments, zippers, or the washing machine drum, reducing the risk of pilling or snagging. Use a gentle or delicate wash cycle with cold water and a mild detergent to minimize stress on both the adhesive and the stitches.
After washing, avoid using a high-heat clothes dryer, as excessive heat can reactivate and weaken the patch adhesive, causing it to peel. Instead, reshape the garment and lay it flat to air-dry, or hang it up away from direct sunlight. By following these gentle care practices, you can maintain the structural integrity of the knit patch and keep your repaired clothing looking fresh for a long time.
Frequently Asked Questions (FAQ)
Can I apply a knit patch to stretchy fabrics like activewear?
Yes, you can apply a knit patch to stretchy fabrics, but you must use a method that accommodates the material’s elasticity. Avoid using heavy iron-on adhesives alone, as they create a rigid barrier that will crack, peel, or cause the surrounding activewear to pucker when stretched. Instead, secure the patch by hand-sewing with a flexible stitch, such as a catch stitch or a loose whipstitch, which allows the fabric to expand and contract naturally. This ensures the patch moves with your body without distorting the garment’s fit or damaging the synthetic fibers.
What should I do if the edges of my knit patch start to fray?
If the edges of your knit patch begin to fray, you should address the issue quickly to prevent the knit loops from unraveling completely. First, trim any loose, dangling threads carefully with a pair of sharp fabric scissors, taking care not to cut into the main body of the patch. Next, you can apply a tiny amount of clear fabric sealant along the raw edges to bind the loose fibers together, ensuring the product is safe for your specific fabric type. Finally, sew a tight blanket stitch or buttonhole stitch around the entire perimeter of the patch to physically lock the edges down and prevent further fraying.
Community discussion
Share your experience or ask a question. Comments are reviewed before publication.