
Applying a large iron-on patch successfully requires a systematic approach to heat, pressure, and timing. Unlike smaller patches that bond quickly, a large patch covers a wide surface area, making it prone to uneven heating, trapped air bubbles, and lifting edges. To achieve a permanent, professional-grade bond, you must prepare the fabric surface thoroughly, distribute heat evenly across the entire design, and allow the adhesive to cool completely before moving the garment.
Understanding how the heat-activated adhesive backing works is key to a successful application. The backing consists of a dry, solid thermal adhesive layer that melts under high heat and flows into the fibers of the base fabric. As it cools, this adhesive solidifies again, locking the patch and the fabric together. When dealing with a large patch, the challenge is ensuring that every square centimeter of this adhesive layer reaches the correct melting temperature simultaneously without scorching the surrounding fabric.
Preparing the Fabric and the Large Patch
Before applying heat, verify that your base fabric is compatible with the patch adhesive. Check the fabric care label to confirm it can withstand high heat. Natural fibers like cotton, denim, and linen tolerate high temperatures well, whereas synthetic fabrics like polyester or nylon can melt or scorch easily. If the care label warns against ironing, you should sew the patch on instead.
Products mentioned in this guide
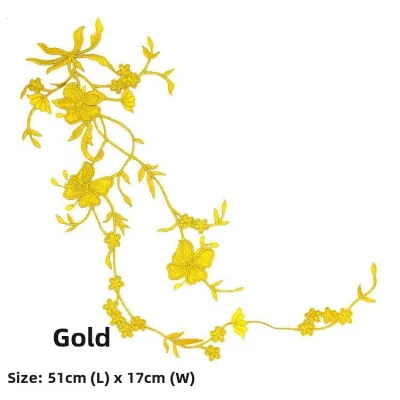
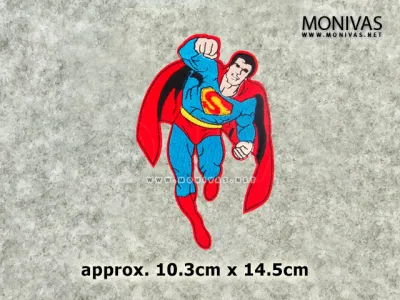
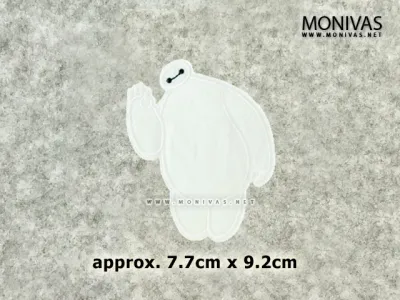
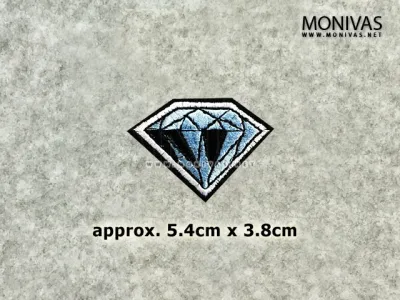
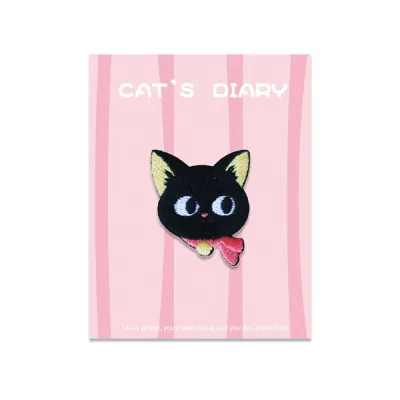
![[S] Iron On Patch/ Applique Country Flag Asia & Oceania](https://img.lazcdn.com/g/ff/kf/S40bc5976cf364af4b79b66f0b3f01fe2g.jpg_400x400q80.jpg_.webp)
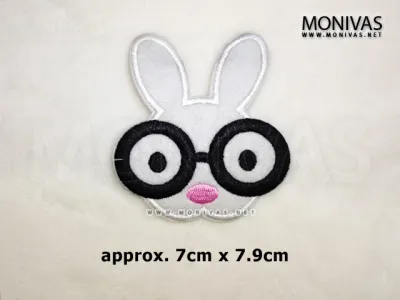
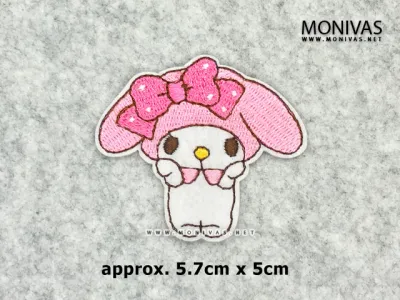
Prices are valid at publication and may change. Please refer to the product page for the latest price.
Pre-wash the garment without fabric softener to remove sizing, starches, or manufacturing oils that block adhesion. Once dry, iron the application area completely flat. Any wrinkles or creases trapped beneath a large patch will cause permanent air bubbles and uneven bonding.
Position the patch precisely on your flat garment. Because large patches can shift when you place the iron on top, secure the outer edges using heat-resistant tape or pins placed outside the active ironing zone. Double-check the alignment from a distance before proceeding.
Essential Tools for Applying Large Patches
Select a standard household iron with a clean, flat soleplate and adjustable temperature settings. Turn off the steam function completely and empty any water from the reservoir, as dry heat is essential for thermal adhesives.

Avoid soft, heavily padded ironing boards, which absorb too much downward pressure. Instead, use a firm, flat, heat-resistant surface like a sturdy table protected by a thin cotton cover. This firm backing ensures that your downward pressure is directed straight into the patch.
Never place a hot iron directly onto the embroidered surface of a large patch, as the intense heat can melt synthetic threads or leave scorch marks. Use a thin pressing cloth or a sheet of parchment paper as a protective barrier between the iron and the patch surface.
Step-by-Step Application Process
Begin by setting your iron to the temperature recommended on the patch packaging. If no instructions are provided, a medium-high setting (usually the cotton or linen setting, around 180°C to 200°C) is generally appropriate for sturdy fabrics like denim or heavy cotton canvas. Allow the iron to heat up completely for several minutes so the temperature stabilizes across the entire soleplate before you start.
Place your protective pressing cloth or parchment paper directly over the positioned patch, ensuring it covers the entire design and the surrounding fabric. Position the hot iron in the center of the patch and apply firm, downward pressure. Rather than sliding the iron rapidly back and forth as you would when removing wrinkles, move the iron slowly in small, controlled circular motions. This technique ensures that heat is distributed evenly across the wide surface area without shifting the patch or folding the fabric underneath.
Work your way outward from the center of the patch toward the edges. Spend extra time pressing along the entire perimeter, as the edges and corners are the most vulnerable to lifting. Apply continuous heat and pressure for approximately 30 to 45 seconds per section, depending on the thickness of the patch and the manufacturer’s guidelines. Avoid leaving the iron completely stationary in one spot for too long, as this can scorch the pressing cloth or damage the underlying fabric.
To ensure a deep, permanent bond, you must heat the adhesive from both sides. Once you have finished ironing the front, carefully flip the garment inside out or turn it over so you can access the backside of the fabric directly behind the patch. Place the pressing cloth over this area and iron firmly for another 20 to 30 seconds. This draws the melted adhesive deeper into the weave of the base fabric, creating a much stronger mechanical lock between the two materials.
After completing the heating process, resist the temptation to move, bend, or test the edges of the patch immediately. The thermal adhesive is still in a liquid state while hot, and any movement can disrupt the bond or cause the edges to lift. Lay the garment completely flat and allow it to cool undisturbed to room temperature. This cooling phase is when the adhesive solidifies and cures, securing the patch permanently to the fabric fibers.
Preventing Common Mistakes: Bubbling and Peeling Edges
Air bubbles are a common issue when applying large patches, often caused by trapped air or uneven pressure. To prevent this, always work from the center of the patch outward to push any trapped air toward the edges. Ensure your base fabric is pulled taut and flat before you begin. If you notice a bubble forming during the process, reapply the pressing cloth and use the edge of the iron to gently push the bubble outward toward the nearest border while applying firm pressure.
Peeling edges usually occur when the perimeter of the patch does not receive enough heat or pressure. Because the edges of a large patch are often thicker due to border stitching, they require more concentrated heat to melt the adhesive underneath. When ironing, make sure the center of the iron’s soleplate—which holds the most heat—passes directly over the outer borders of the patch. Do not rely on the cooler tip or edges of the iron to seal the perimeter.
Moisture is the enemy of thermal adhesives. Using the steam setting on your iron introduces water vapor into the fabric fibers, which prevents the dry adhesive from bonding correctly. The steam can also cause the adhesive to become watery and seep through the fabric, leaving unsightly stains. Always ensure your iron’s water tank is empty and the steam setting is completely switched off before you begin the application process.
If you notice any signs of fabric discoloration, scorching, or a slight melting smell, stop immediately. Different fabrics have varying heat tolerances, and exceeding these limits can ruin your garment. If the fabric is too delicate for the heat required to melt the adhesive, do not force the process. Instead, lower the iron temperature slightly and increase the pressing time, or transition to securing the patch with a needle and thread to avoid damaging the material.
Post-Application Care and Washing Guidelines
Allow the adhesive to fully cure by waiting at least 24 to 48 hours before wearing or washing the garment. Moving or washing the item too soon can disrupt the chemical bond before it has fully stabilized.
When cleaning the garment, turn it inside out to protect the patch face from friction. Wash in cold or warm water on a gentle cycle, avoiding harsh detergents, bleach, or fabric softeners that can break down the adhesive backing over time.
Air drying is the safest method. If you must use a clothes dryer, select a low-heat setting, as high temperatures can reactivate the thermal adhesive and cause the patch to shift or peel.
Regularly inspect the edges of your large patch. If you notice any minor lifting, place a pressing cloth over the area and apply a hot, dry iron with firm pressure for 15 to 20 seconds to reseal the edge.
When to Reinforce with Stitching
Large patches add significant stiffness and weight to a garment. When the base fabric bends, stretches, or moves, the stiff patch does not flex at the same rate, creating leverage that can gradually pull the adhesive away from the fabric.
For garments subjected to frequent washing, stretching, or heavy wear—such as denim jackets or backpacks—plan to sew a perimeter stitch by hand or machine. A simple running stitch or whipstitch around the outer border provides essential reinforcement.
Using the iron-on method primarily as a temporary positioning tool before sewing is an excellent strategy. The adhesive holds the patch flat and secure, eliminating the need for pins while you sew a permanent, high-stress bond.
Frequently Asked Questions (FAQ)
Can I use a hair straightener or heat press for large patches?
A hair straightener is not suitable for applying large patches because its heating plates are too small and narrow. Attempting to use one will result in uneven heat distribution, leaving cold spots where the adhesive fails to melt. A professional heat press, on the other hand, is excellent for large patches because it applies uniform heat and high, consistent pressure across the entire design simultaneously. However, for most home DIY projects, a standard household iron used with a pressing cloth and firm manual pressure is highly effective and much more accessible.
Why did my patch peel off after the first wash?
If a patch peels off during the first wash, it is usually due to insufficient heat or pressure during the initial application, which prevented the adhesive from fully melting and penetrating the fabric fibers. Other common causes include washing the garment before the adhesive had cured for at least 24 hours, using hot water or high dryer heat, or applying the patch to water-resistant, synthetic, or heavily textured fabrics that do not allow the adhesive to grip properly.
Is it safe to iron directly on the patch design?
No, you should never iron directly on the face of an embroidered or printed patch. The direct heat from the iron’s soleplate can melt synthetic polyester or rayon embroidery threads, flatten the textured details, or leave permanent scorch marks on the design. Always place a thin pressing cloth, a clean cotton towel, or a sheet of parchment paper over the patch to act as a protective barrier while allowing the heat to transfer safely.
Community discussion
Share your experience or ask a question. Comments are reviewed before publication.