
Cotton cloth fabric is a versatile staple for sewing projects, but its performance on a sewing machine changes significantly depending on its weight and thickness. Using the same machine settings for delicate cotton voile and heavy cotton canvas often leads to puckered seams, skipped stitches, or broken needles. To achieve clean, durable seams, you must match your needle, tension, and stitch settings to the specific weight of your cotton fabric.
Categorizing Cotton Fabric Weights and Common Sewing Challenges
Cotton cloth fabric is generally grouped into three main weight categories based on drape and opacity. Lightweight cottons, such as voile and lawn, are sheer or semi-sheer with a fluid drape. Medium-weight cottons, including standard quilting cotton and poplin, offer a balance of structure and pliability. Heavyweight cottons, such as canvas and denim-weight cotton, are thick, stiff, and completely opaque.
Each weight category presents distinct challenges on the sewing machine. Lightweight fabrics are highly susceptible to puckering, where the seam gathers tightly, and they can easily be sucked down into the needle plate hole or marked by aggressive feed dogs. Heavyweight cottons resist needle penetration, which can cause needle deflection, skipped stitches, or needle breakage when sewing through multiple layers. Beyond weight, factors like a tight weave, stiff fabric finishes, and thread choices also interact to alter how smoothly the fabric feeds and stitches.
Products mentioned in this guide
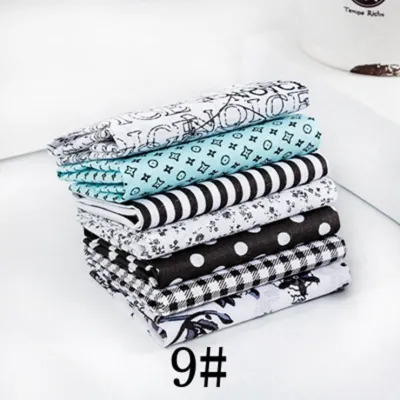
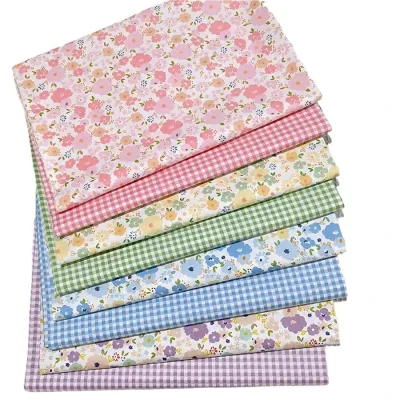

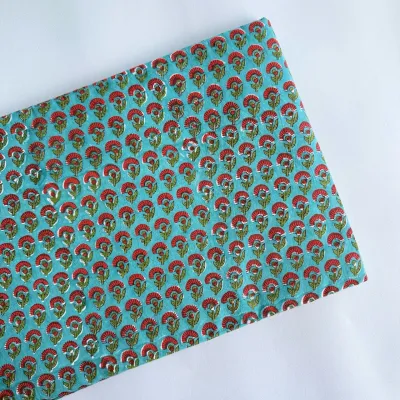
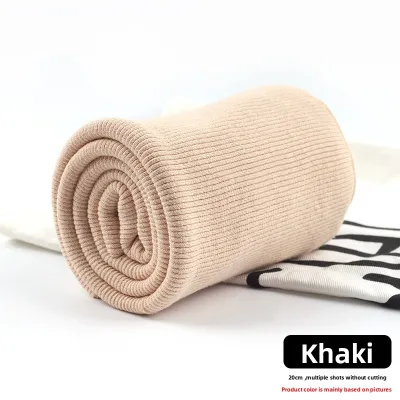

Prices are valid at publication and may change. Please refer to the product page for the latest price.
Matching Sewing Machine Needles to Cotton Fabric Weight
Selecting the correct sewing machine needle size and point type is critical to preventing fabric damage and ensuring smooth stitching. For lightweight cottons like voile or lawn, a slim 70/10 needle is appropriate because it creates tiny punctures that do not distort the delicate weave. Medium-weight cottons like quilting cotton or poplin perform reliably with an 80/12 needle, which offers a balance of strength and precision. Heavyweight cottons require a robust 90/14 or 100/16 needle to pierce the dense fibers without bending.

The needle point type also matters. While a universal needle works well for most medium-weight cottons, tightly woven cotton fabrics benefit from a sharp or microtex needle. These needles have a slim, acute point that cleanly cuts through dense threads rather than pushing them aside, resulting in straight, clean stitches. Regardless of the fabric weight, always replace your needle after approximately eight hours of sewing or immediately after sewing through thick seam intersections, as a dull or slightly bent needle is a primary cause of skipped stitches.
Adjusting Thread Tension Across Different Cotton Weights
Most sewing machines feature an upper thread tension dial ranging from 0 to 9, with 4 or 5 typically serving as the baseline setting. A balanced stitch occurs when the upper thread and the bobbin thread interlock precisely in the middle of the fabric layers, leaving flat, identical-looking stitches on both the top and bottom surfaces. If the upper thread is pulled to the underside, the upper tension is too loose; if the bobbin thread is pulled to the top, the upper tension is too tight.
When working with lightweight cottons, you will often need to slightly lower the upper tension to prevent the delicate fabric from puckering along the seam line. Conversely, heavyweight cottons often require a slight increase in upper tension to pull the thread securely through the thick layers and lock the stitches properly. Always make adjustments incrementally, moving the dial by half-steps or single numbers at a time. Before making major adjustments, verify that your machine is threaded correctly, clean out any lint buildup from the bobbin case, and ensure you are using high-quality thread.
Choosing Stitch Length and Feed Settings for Cotton
Stitch length directly impacts both seam strength and fabric behavior. For lightweight cottons, a shorter stitch length of 1.5 mm to 2.0 mm is recommended. Shorter stitches provide more grip on fine threads, preventing the seam from slipping or pulling apart. For medium-weight cottons, a standard stitch length of 2.0 mm to 2.5 mm is ideal. Heavyweight cottons require a longer stitch length of 2.5 mm to 3.5 mm; short stitches on thick fabric can act like a perforation line, weakening the material and causing it to tear easily.
While a standard straight stitch and a regular presser foot work well for most cotton projects, bulky layers can cause the fabric layers to shift. When sewing thick cotton canvas or assembling multiple layers of quilting cotton, using a walking foot or an even-feed foot helps feed the top and bottom layers through the machine at the exact same rate. Additionally, if you plan to sew dense decorative or satin stitches, even stable woven cottons may require a tear-away or wash-away stabilizer underneath to prevent the fabric from tunneling or bunching.
Testing and Fine-Tuning Settings on Cotton Scrap Fabric
Before sewing your actual project pieces, always perform a test run on scrap fabric. Cut a few small pieces of the exact cotton cloth fabric and use the same thread you plan to use for the final project. Fold the scraps to match the exact number of layers and seam allowances you will encounter, especially at bulky intersections or hemmed edges.
Once you sew a test seam, perform a thorough visual and physical inspection. Examine the top and bottom of the seam for any loose loops, skipped stitches, or puckering. Gently pull the fabric layers apart to check if the seam is strong and secure, and inspect the underside of the fabric for any physical damage or dark marks left by the feed dogs. If the test seam is unbalanced or distorted, follow a logical troubleshooting sequence: first, completely re-thread both the upper machine and the bobbin; second, replace the needle with a fresh one of the correct size; and third, adjust the upper tension dial incrementally until the stitches lock securely in the center of the fabric.
Frequently Asked Questions (FAQ)
Do I need to adjust the presser foot pressure for cotton?
Standard presser foot pressure works well for most medium-weight cottons, but adjusting it can improve results on other weights. For lightweight cottons, reducing the presser foot pressure prevents the feed dogs from stretching or marking the delicate fabric as it moves. For heavyweight cottons or thick layers, increasing the pressure slightly can help the feed dogs grip and move the bulky material consistently, preventing the fabric from slipping or stalling.
Why is my sewing machine skipping stitches on thick cotton seams?
Skipped stitches on thick cotton seams are usually caused by needle deflection, which occurs when a needle is too thin or dull to pierce the heavy layers cleanly, causing it to bend slightly and miss the bobbin hook. This issue often happens when crossing bulky seam intersections. To prevent this, ensure you are using a sharp, heavy-duty needle (size 90/14 or 100/16) and use a hump jumper or clearance plate to keep the presser foot level as it rides over the thick seam.

Community discussion
Share your experience or ask a question. Comments are reviewed before publication.