
Threading a sewing machine needle is historically one of the most frustrating steps for anyone learning to sew. For beginners, squinting at a microscopic needle eye while trying to push a limp thread end through it can quickly turn an exciting creative project into an exercise in patience. This is where the automatic needle threader comes in. Far from being a luxury, this mechanical feature is a practical necessity that simplifies machine setup, reduces physical strain, and ensures the machine is threaded correctly to prevent stitch errors.
At its core, an automatic needle threader is a built-in mechanical assembly designed to catch the sewing thread and pull it through the needle’s eye. While the name suggests a fully automated electronic process, on most domestic machines, it is a clever, hand-operated mechanical system. Understanding how this small mechanism operates, how to use it correctly, and how to troubleshoot it can save you hours of setup time and protect your machine from accidental damage.
The Mechanism: How an Auto Needle Threader Works
To understand how an automatic needle threader works, you must first look at the tiny components that make up the assembly. The system consists of a spring-loaded side lever, a metal shaft that slides down parallel to the needle bar, a small positioning guide, and a microscopic wire hook. This wire hook is the most critical part of the mechanism; it is incredibly thin, designed specifically to pass directly through the eye of a standard sewing needle without touching the sides.
Products mentioned in this guide
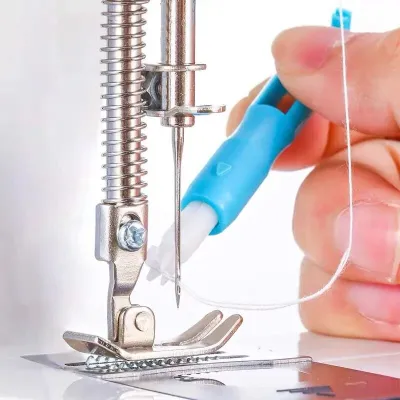
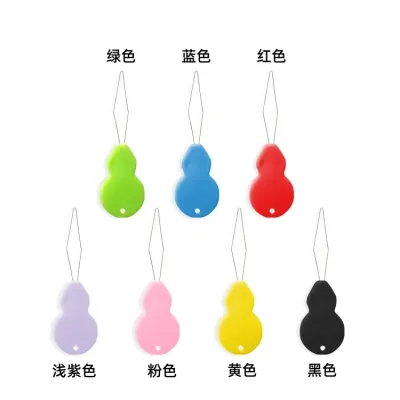
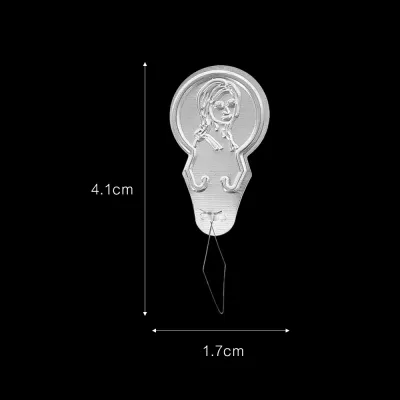
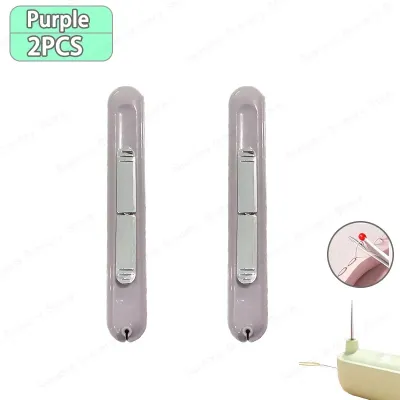
Prices are valid at publication and may change. Please refer to the product page for the latest price.
When you push the threader lever down, the mechanical linkage translates this vertical motion into a rotational movement at the bottom of the stroke. As the assembly reaches the needle eye, the mechanism rotates, pushing the tiny wire hook forward so that it passes directly through the needle eye from back to front. Once the hook is protruding through the eye, you drape the sewing thread across it. Releasing the lever activates the spring mechanism, which gently pulls the hook backward through the eye, bringing a loop of the thread along with it.
For this delicate mechanical sequence to succeed, the needle must be positioned at its absolute highest point. This positioning is non-negotiable because the threading hook is fixed to a track that aligns with only one exact coordinate in space. If the needle is even a fraction of a millimeter too low or too high, the tiny wire hook will strike the solid steel shaft of the needle instead of passing through the eye. This impact will instantly bend or break the delicate hook, rendering the automatic threader useless.
Additionally, the mechanism is bound by strict compatibility limits determined by manufacturer specifications. The tiny wire hook is engineered to fit standard needle sizes, typically ranging from size 70/10 to 100/16. If you use a needle smaller than size 70/10, the eye is too narrow for the hook to enter, which will damage the mechanism. Conversely, the hook is designed for standard sewing threads, such as 40-weight or 50-weight polyester and cotton. Extremely thick threads, like topstitching thread or buttonhole twist, are too bulky to fit alongside the hook inside the needle eye and will cause the mechanism to jam.
Why an Auto Needle Threader Matters for New Sewers
The primary benefit of an automatic needle threader for beginners is the immediate reduction of eye strain and physical fatigue. Sewing requires a high level of visual focus, from cutting patterns to guiding fabric under the needle. In many home environments, ambient lighting is insufficient, and the small built-in LED light of a sewing machine can cast shadows around the needle area. Bypassing the need to manually align thread with a tiny needle eye prevents headaches and keeps your eyes fresh for the actual construction of your project.

An automatic threader also significantly speeds up your workflow, particularly when working on projects that require frequent thread color changes. If you are sewing a colorful quilt, embroidering a design, or constructing a garment that uses different thread colors for construction and topstitching, you may need to thread your machine dozens of times. What would otherwise be a tedious, multi-minute struggle of trimming, wetting, and aiming the thread becomes a reliable five-second task.
For many aspiring crafters, the perceived complexity of setting up a sewing machine is a major barrier to entry. Beginners often feel overwhelmed by the multi-step threading paths, bobbin winding, and tension settings. Having a reliable tool that automates the final, most delicate step of the process lowers this barrier. It allows new sewers to build confidence quickly, shifting their mental focus from the mechanical frustration of setup to the core skills of fabric handling, speed control, and seam alignment.
Finally, using the automatic threader promotes correct threading habits that prevent downstream tension issues and skipped stitches. Beginners often struggle with thread paths and may accidentally thread the needle from the wrong side (back to front instead of front to back, or vice versa depending on the machine’s design). Threading a needle incorrectly disrupts the way the upper thread loops around the bobbin hook, leading to immediate thread breakage or massive tangles under the throat plate. Because the automatic threader can only pull the thread through in the correct direction, it serves as a built-in safety check for proper setup.
Step-by-Step Guide to Using an Auto Needle Threader
Operating an automatic needle threader requires a gentle touch and strict adherence to a sequence of steps. Before beginning, always turn off the sewing machine’s power switch to prevent accidental stitching while your fingers are near the needle bar.
Step 1: Raise the Needle to the Highest Position
Turn the handwheel on the right side of the machine toward you (never turn it away from you, as this can disrupt the timing of the hook) until the needle is at its absolute highest point. If your machine features an electronic needle up/down button, press it twice to automatically and perfectly position the needle bar.
Step 2: Route the Thread Through the Machine
Follow the numbered threading path on your machine’s casing. Ensure the thread passes securely through the upper tension discs, which is easiest to do when the presser foot is raised, as this opens the discs to receive the thread. Continue routing through the take-up lever and the final thread guide located directly above the needle clamp.
Step 3: Lower the Threader Lever
With your left hand, pull the automatic needle threader lever down slowly and fully. You will feel a slight resistance as the spring engages. As you reach the bottom of the stroke, push the lever slightly backward or allow it to rotate forward, depending on your machine’s specific design, to ensure the tiny hook has fully penetrated the needle eye.
Step 4: Guide the Thread Around the Hooks
Hold the thread tail gently with your right hand. Guide the thread under the plastic or metal guide hook on the left side of the threader assembly. Next, pull the thread horizontally across the front of the needle, placing it directly underneath the tiny wire hook that is protruding through the needle eye. Keep the thread slightly loose; pulling it too tight will prevent the hook from catching it.
Step 5: Release the Lever and Pull the Loop
Slowly and smoothly release the threader lever, letting it rise back to its resting position. As the lever rises, the wire hook will pull a loop of thread through the needle eye toward the back of the machine. Once the loop appears behind the needle, let go of the thread tail in your right hand. Use your fingers or a pair of tweezers to grab the loop and pull the thread tail completely through the eye. Pass the tail under the presser foot and pull it toward the back-left of the machine, leaving a tail of roughly 10 to 15 centimeters.
Common Mistakes and Troubleshooting
Even with a built-in helper, errors can occur if the mechanism is misused. Understanding these common pitfalls will help you protect the delicate components of your machine.
- Incorrect Needle Height: If you attempt to lower the threader lever and feel stiff resistance, stop immediately. This resistance indicates that the needle is not at its highest point, and the threading hook is hitting the needle's solid metal shaft. Forcing the lever down will bend the hook. Release the lever, turn the handwheel to raise the needle fully, and try again.
- Incompatible or Bent Needles: The automatic threader is designed for straight, standard single needles. If you are using a bent needle, the eye will be out of alignment, causing the hook to miss. If you suspect your needle is bent, replace it immediately with a fresh, high-quality needle. Never use the automatic threader with specialty needles like twin needles or wing needles, as this will destroy the hook.
- Thread Fraying and Prep Issues: If the thread is frayed, split, or fuzzy at the end, the tiny hook may only catch a few fibers, resulting in a partial thread or a jam. Always use sharp embroidery or fabric scissors to cut your thread at a clean 45-degree angle before threading. Avoid using cheap, low-grade threads that shed excessive lint, as this lint can accumulate inside the needle eye and block the hook from passing through.
- Stop Conditions and Manual Override: If you notice that the automatic threader lever does not retract smoothly, if the wire hook is visibly bent to one side, or if the mechanism fails to pull a loop even when the needle is perfectly positioned, stop using the feature. Continuing to force a damaged threader can scratch the needle bar or misalign the needle clamp. Switch to manual threading or use a handheld threader until you can have the machine inspected or the threader assembly replaced by an authorized technician.
What to Verify Before Choosing a Machine with This Feature
When shopping for a new sewing machine in Singapore, it is important to evaluate how the needle threader fits into your overall workflow and the build quality of the machine.
First, assess your personal sewing habits. If you plan to sew occasionally for basic mending, a simple manual threader might suffice. However, if you anticipate sewing garments, quilting, or working on crafts that require frequent thread changes, a built-in threader should be a high-priority feature. Additionally, if you have visual impairments, joint stiffness, or hand tremors, this feature is essential for maintaining your independence at the sewing table.
Next, check the machine’s specifications and user manual. Ensure the built-in threader is rated for the needle sizes you plan to use most often. Most standard home machines support sizes from 70/10 to 100/16. Be aware of the distinction between a semi-automatic threader, which requires you to manually pull down a lever and guide the thread through the hooks, and a fully automatic threader, found on high-end electronic machines, which threads the needle at the touch of a button.
Pay close attention to the build quality of the threader assembly. Inspect the lever and the housing surrounding the needle bar. Metal linkages and guide components offer significantly better long-term durability and alignment stability than all-plastic assemblies, which can warp or flex over time. A sturdy metal mechanism is much less likely to go out of alignment during regular use.
If you are operating on a tight budget and find a machine that fits your price point but lacks a built-in threader, remember that alternative solutions exist. You can purchase standalone manual wire-loop threaders, desk-style needle threaders, or clip-on magnifying glass attachments. These sewing accessories are highly affordable, typically costing between S$5 and S$15 at local craft stores in Singapore, and can easily bridge the gap for basic machines.
Frequently Asked Questions (FAQ)
Can I use an auto needle threader with a twin needle or specialty needles?
No, you should never use an automatic needle threader with a twin needle or specialty needles. The built-in threading mechanism is engineered exclusively for standard, single needles. A twin needle features two separate needles mounted on a single shank, meaning the eyes are offset from the center line where the machine’s threading hook is calibrated to land. Attempting to lower the threader lever with a twin needle installed will cause the delicate wire hook to strike the solid metal of the double needle structure, instantly bending or snapping the hook.
Similarly, specialty needles such as wing needles (used for heirloom hemstitching) have wide, flared sides that block the threader hook from accessing the eye. Heavy-duty leather needles or topstitching needles may also have unique eye shapes or positions that do not align with the standard threader track. To protect your machine’s built-in components from permanent damage, always disengage the automatic threader and thread these specialty needles manually.
Community discussion
Share your experience or ask a question. Comments are reviewed before publication.