
The choice between fusible (iron-on) and sew-in shortening tape depends entirely on your fabric’s heat tolerance, your sewing skill level, and how long you need the hem to last. Choose fusible tape for quick, no-sew adjustments on heat-tolerant fabrics where an iron can be safely applied. Choose sew-in tape for delicate, heat-sensitive materials, heavy-duty garments, or when you prefer a traditional stitched finish without cutting the original fabric. Because performance varies by brand and material, always verify the specific product’s packaging and your garment’s care label before starting.
Key Factors for Matching Tape to Your Fabric
Before selecting a shortening tape, you must evaluate the physical characteristics of your garment. The most critical factor is the fabric’s heat tolerance, which determines whether you can safely use an adhesive-based tape. You can verify this by locating the care label inside your garment and checking the iron symbol. If the symbol shows a crossed-out iron or indicates a low-temperature setting, using a fusible tape that requires high heat can scorch, melt, or glaze the fibers.
Fabric weight and texture also play a major role in how the tape performs. Heavyweight fabrics like denim, canvas, or thick wool require a robust bond that can withstand the natural drag and weight of the hem. A lightweight fusible tape may quickly peel away under this tension, whereas a thick sew-in tape might add unwanted bulk to delicate, flowing materials like chiffon or silk. For sheer or loosely woven fabrics, fusible adhesive can seep through the weave during pressing, leaving visible, shiny residue on the exterior of the garment.
Products mentioned in this guide
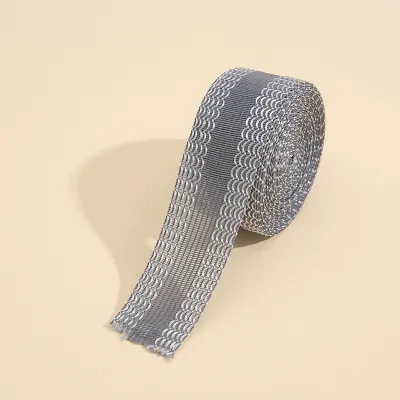
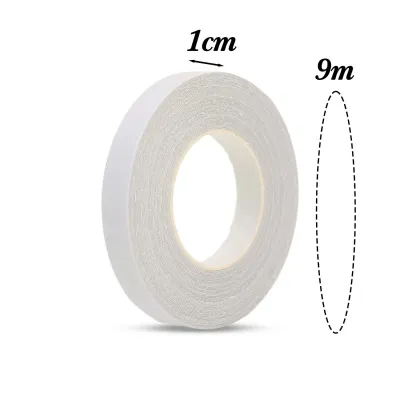
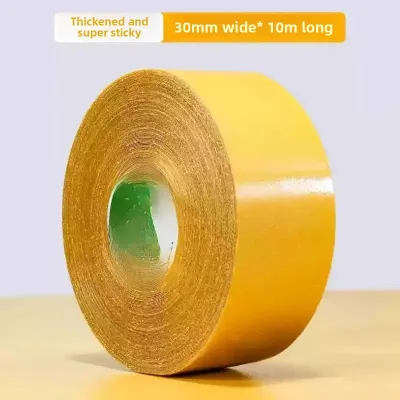
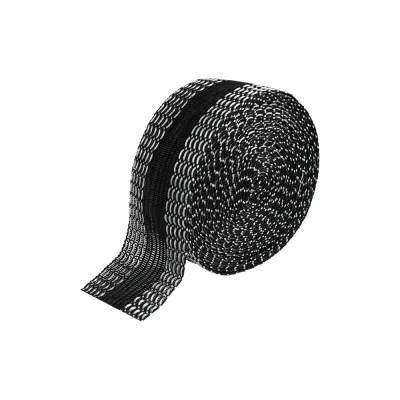
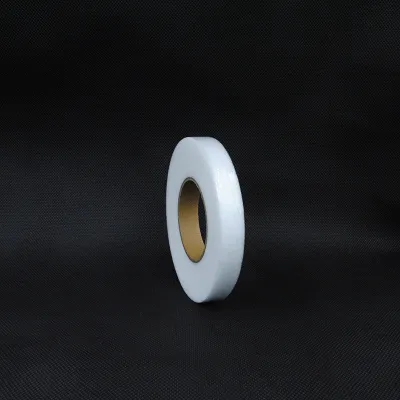
Prices are valid at publication and may change. Please refer to the product page for the latest price.
You must also consider the intended lifespan of the alteration. If you are adjusting a child’s school uniform that needs to be let down next season, or altering a costume for a single event, a temporary solution is ideal. A light sew-in tape or a temporary basting stitch can be easily removed without leaving a trace. For everyday garments subjected to frequent laundering, a permanent sew-in tape or a high-durability fusible tape is necessary to ensure the hem remains secure over time.
When to Choose Fusible (Iron-On) Shortening Tape
Fusible shortening tape is the go-to option when speed and convenience are your primary goals. This method requires no sewing machine or hand-stitching experience, making it highly accessible for beginners. To complete the project, you will need a household iron, a flat ironing board, and a clean pressing cloth to protect your garment from direct heat.

The application process relies on thermoplastic adhesive webs that melt under heat and solidify as they cool to create a bond. You must carefully read the manufacturer’s instructions to determine the correct heat setting, pressing time, and cooling period. Typically, you place the tape between the folded layers of the hem, cover the area with a damp pressing cloth, and press firmly with the iron without sliding it. Allowing the fabric to cool completely before moving or wearing the garment is essential, as disturbing the warm adhesive can ruin the bond.
However, fusible tape has distinct limitations that serve as stop conditions. You should avoid using it on highly textured fabrics such as velvet, corduroy, or heavily embroidered materials, as the pressure required to fuse the tape can permanently crush the fabric’s pile. If you observe any puckering, stiffness, or adhesive bleeding through to the right side during a test, stop the application immediately. Additionally, unless the tape packaging explicitly states it is dry-clean safe, avoid using it on garments that require professional dry cleaning, as the solvents used can dissolve the adhesive.
When to Choose Sew-In Shortening Tape
Sew-in shortening tape is the preferred choice when durability, fabric preservation, and a professional finish are your main priorities. This method requires basic hand-sewing skills, such as a blind hem stitch, or access to a sewing machine. You will also need standard sewing notions, including hand-sewing needles, pins or fabric clips, and a spool of thread that matches the color of your garment’s exterior.
The application involves folding the tape over the raw edge of the fabric or aligning it along the hemline to prevent fraying and provide structural support. You pin the tape securely in place and stitch along the designated lines to secure the hem. Because this method does not rely on chemical adhesives, you can shorten your garments without cutting away the excess fabric. The extra material remains neatly folded inside the hem, allowing you to easily let the garment down in the future by simply snipping the stitches.
Despite its benefits, sew-in tape may not be suitable if you face tight time constraints or lack basic sewing tools. Some tightly woven synthetic fabrics or coated outdoor materials can also be permanently damaged by needle punctures. If a test stitch on a hidden scrap leaves visible, non-healing holes in the fabric, you should reconsider using a sew-in tape. Furthermore, highly frayable fabrics may require additional edge-finishing steps before the tape can be stitched down securely.
Final Decision Checklist and Application Verification
To ensure a successful alteration, compare the requirements of both tape types against your specific project needs. The following table outlines the key verification points to guide your choice.
| Verification Point | Fusible (Iron-On) Tape | Sew-In Tape |
|---|---|---|
| Required Tools | Iron, ironing board, pressing cloth, scissors | Needle, matching thread, pins, scissors, sewing machine (optional) |
| Fabric Heat Limits | Medium to high heat tolerance required | No heat required (safe for heat-sensitive fabrics) |
| Wash Care Limits | Check packaging; adhesive may degrade in high heat or dry cleaning | Matches the garment's wash limits; no adhesive to degrade |
| Skill Level | Beginner-friendly; no sewing required | Basic hand-sewing or machine-sewing skills needed |
| Reversibility | Difficult to reverse; may leave permanent adhesive residue | Highly reversible; simply snip and remove the stitches |
Before purchasing your shortening tape, complete this pre-purchase checklist:
- Measure the hem allowance to ensure you have enough folded fabric to cover the width of the tape.
- Check the tape width compatibility; standard tapes range from 10mm to 25mm, and you should select a width that matches your garment's hem depth.
- Read the specific product's washing instructions to verify it matches your planned laundering routine.
Always perform a trial run before applying the tape to your entire garment. For fusible tape, conduct a hidden patch test on an inside seam allowance or a fabric scrap. Apply a small piece of tape using your iron and pressing cloth, let it cool completely, and check for fabric discoloration, stiffness, or adhesive bleeding. For sew-in tape, use a temporary basting stitch with long, loose hand stitches to test the drape and length of the hem. Wear the basted garment, walk around, and sit down to ensure the hem hangs naturally before committing to final stitches.
Frequently Asked Questions (FAQ)
How do I check if shortening tape is machine washable?
To verify if your shortening tape can withstand machine washing, always examine the product’s original packaging for specific care symbols and temperature limits. Some adhesives are formulated only for cold washes, while others can tolerate warm or hot cycles. Once you have confirmed the tape’s limits, cross-reference them with the care label on your garment. The final washing method must comply with the lower limit of the two; for example, if your garment is delicate-wash only but the tape is heavy-duty, you must still use the delicate cycle to protect the fabric.
What should I do if fusible tape leaves a residue on my iron?
If adhesive accidentally transfers to your iron’s soleplate, first consult your iron’s manufacturer manual for approved cleaning procedures to avoid damaging any non-stick coatings. For general, low-risk maintenance, allow the iron to cool completely before attempting to clean it. Once cool, wipe the soleplate gently with a soft, damp microfiber cloth. If the residue remains stubborn, avoid using abrasive scrubbing pads or metal scrapers, as these can permanently scratch the soleplate. If the adhesive has baked onto the surface and cannot be removed with a damp cloth, look for a specialized, non-abrasive iron cleaning paste recommended by the manufacturer.
Community discussion
Share your experience or ask a question. Comments are reviewed before publication.