
To find the strongest magnetic tape for holding desk accessories, you must look beyond generic heavy-duty labels and evaluate the dual-force system: the magnetic pull force on one side and the adhesive shear strength on the other. A magnetic tape is only as strong as its weakest interface. Whether you are mounting a heavy steel pen cup, a plastic cable organizer, or a power track, matching the tape’s physical properties to your specific desk materials and accessory weights is essential to prevent sudden drops.
Understanding Magnetic Strength and Adhesive Limits
When setting up a magnetic mounting system, it is common to focus entirely on the magnet’s strength. However, the physical reality of a desk setup involves two distinct forces acting in different directions. The magnetic pull force measures the resistance of the magnet when pulled directly away from a ferromagnetic surface at a ninety-degree angle. In contrast, the adhesive backing must withstand shear force, which is the downward sliding force exerted by gravity on your mounted accessories.
If you apply a tape with an incredibly strong magnetic field but a weak adhesive backing, the tape will remain firmly attached to the metal accessory while the adhesive slides off the desk surface, resulting in a failed mount. Conversely, if the adhesive is industrial-grade but the magnet is weak, the accessory will slide down the magnetic face. Evaluating both components is the only way to ensure a reliable hold.
Products mentioned in this guide
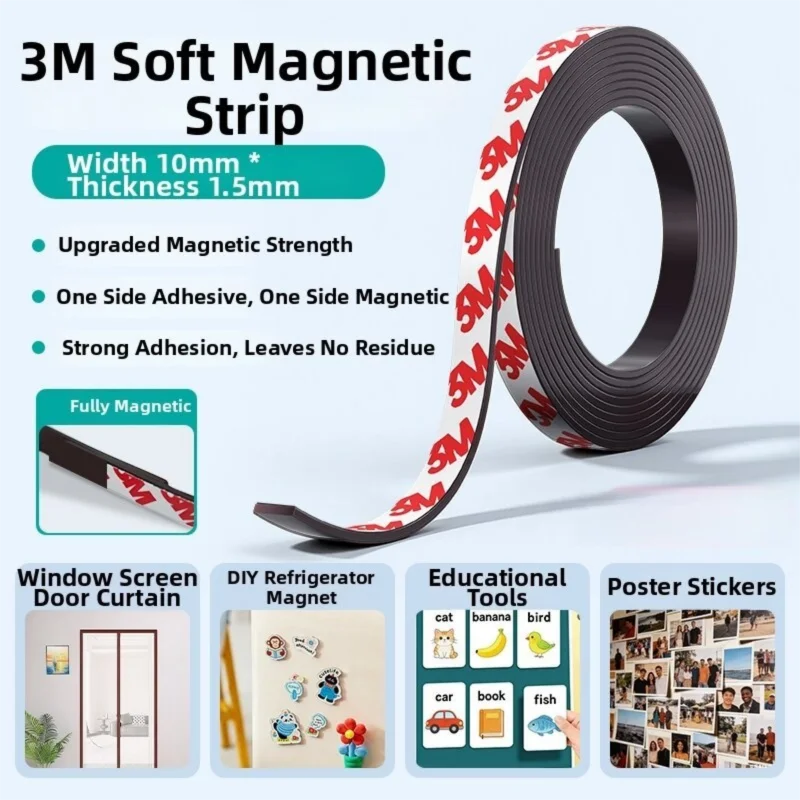
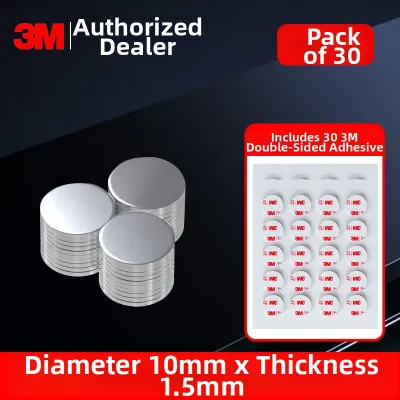
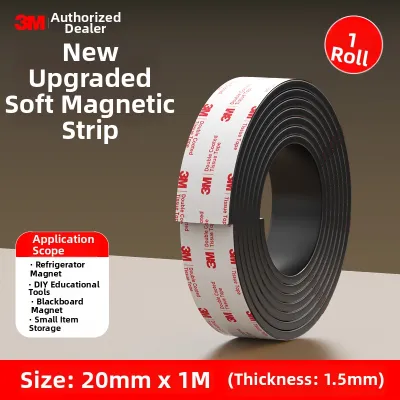
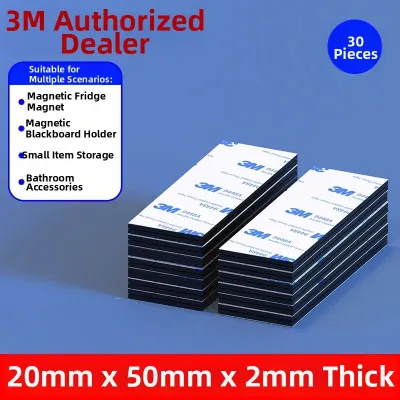
Prices are valid at publication and may change. Please refer to the product page for the latest price.
Understanding the orientation of your setup is the first step in choosing the right tape. If your desk has a steel frame or a built-in magnetic board, you only need to apply the adhesive side of the tape to the accessory itself, allowing the magnetic face to cling directly to the desk’s metal surface. This minimizes the profile of the mount and reduces the number of failure points.
However, if you are working with a wooden, glass, or laminated desk, you will need a two-part system. This involves sticking the adhesive side of one tape strip to the desk and the adhesive side of another strip to the accessory, allowing the two magnetic faces to meet. In this scenario, you must ensure that the magnetic poles are aligned correctly so they attract rather than repel each other.
The overall holding power of your setup is strictly limited by the weakest link in this multi-layered chain. This chain consists of the bond between the desk and the first adhesive layer, the cohesive strength of the tape itself, the magnetic attraction between the two magnetic faces, and the bond between the second adhesive layer and the accessory. If any of these interfaces fail, your accessory will fall.
Matching Tape Specifications to Desk Accessories
Selecting the right tape requires analyzing the physical shape and weight distribution of the accessories you plan to mount. Different items exert different types of stress on the mounting tape. For example, a low-profile cable organizer sits flat against a surface, distributing its weight evenly and exerting almost pure shear force.

A tall, front-heavy pen holder or a tablet mount, however, projects outward from the mounting surface. This outward projection creates leverage, turning the downward gravitational pull into a rotational force, or torque, that attempts to peel the top of the tape away from the wall or desk side. Because adhesives are significantly weaker against peel forces than shear forces, front-heavy items require wider tape or a larger vertical contact area to counteract this leverage.
You must also choose between flexible magnetic rolls and rigid magnetic strips. Flexible magnetic tape is typically made by mixing strontium ferrite magnetic powder with a synthetic rubber binder. This composition allows the tape to be easily cut with standard scissors and to conform to slightly curved surfaces. However, because the magnetic material is dispersed within a rubber matrix, flexible rolls generally offer lower magnetic flux density and pull force.
Rigid magnetic strips, on the other hand, often feature embedded neodymium blocks or thicker, highly oriented anisotropic ferrite. While these rigid strips cannot bend or conform to uneven surfaces, they provide a substantially stronger magnetic grip. This makes them more suitable for heavier tools, metal rulers, or dense desk organizers that would slide off standard flexible tape.
The physical dimensions of the tape—specifically its thickness and width—directly dictate its holding capacity. Thicker magnetic tape contains a greater volume of magnetic material, which projects a deeper and stronger magnetic field. Width is equally important because it determines the total contact surface area. A wider tape distributes the weight of the accessory over a larger area, reducing the stress on any single point of the adhesive backing.
Surface Compatibility and Preparation Checks
The material composition of your desk plays a decisive role in how well the adhesive backing of the magnetic tape will perform. Common desk surfaces include solid wood, veneered MDF, tempered glass, high-pressure laminates, and powder-coated steel. Each of these materials has a different surface energy, which affects how well an adhesive can wet the surface and form a strong molecular bond.
Smooth, high-energy surfaces like glass and metal are highly receptive to acrylic adhesives, whereas low-energy surfaces like certain plastics or powder-coated metals may require specialized foam-backed adhesives that can conform to microscopic surface textures. Wood surfaces with open grains or oily finishes can also present bonding challenges, requiring adhesives that can penetrate or resist natural wood oils.
To achieve the maximum possible bond strength, meticulous surface preparation is mandatory. Dust, airborne oils, fingerprints, and manufacturing residues act as barriers that prevent the adhesive from making direct contact with the desk material. The standard protocol for cleaning involves wiping the surface thoroughly with isopropyl alcohol and a clean, lint-free microfiber cloth.
Avoid using household glass cleaners, multi-surface sprays, or dish soaps, as these products often contain silicones, waxes, or moisturizers that leave behind a thin, invisible film. This film severely compromises the adhesive’s ability to cure and bond, leading to premature failure. After cleaning, allow the surface to dry completely before applying the tape.
If you are mounting non-magnetic accessories to a non-magnetic wooden or glass desk, you cannot rely on a single strip of magnetic tape. In this situation, you must plan for the installation of metal strike plates or thin iron sheets. These plates are typically made of steel and come with their own adhesive backing. By sticking a steel strike plate to the desk surface and the magnetic tape to the accessory, you create a reliable magnetic connection point.
Evaluating Product Specifications for Holding Power
When shopping for strong magnetic tape, you will encounter various manufacturer claims regarding weight capacity and holding power. It is important to interpret these specifications critically rather than relying on generic marketing terms like “industrial strength” or “ultra-heavy duty.” Reliable manufacturers often specify the pull force in grams or kilograms per linear inch or square centimeter.
Keep in mind that these ratings are established under ideal laboratory conditions, typically using a thick, polished steel plate at room temperature with a direct, perpendicular pull. In a real-world desk setup, factors such as thin metal components, paint coatings, angled forces, and surface textures will significantly reduce the actual holding capacity. Always look for specifications that detail both the magnetic pull force and the adhesive shear strength.
Environmental conditions also play a significant role in adhesive performance, particularly in tropical or highly variable climates. In Singapore, the combination of high relative humidity and fluctuating temperatures—such as transitioning between a cold, air-conditioned room during the day and a warm, humid environment at night—can stress adhesive bonds. High humidity can soften water-based acrylic adhesives, while cold air can make adhesives temporarily brittle.
When evaluating product specifications, look for tapes that feature weather-resistant or high-tack acrylic adhesives designed to withstand humidity and temperature fluctuations. These adhesives maintain their viscoelastic properties better under environmental stress, ensuring that your desk accessories remain secure throughout the year.
Given the many variables involved in a custom desk setup, it is highly recommended to prioritize small-pack options or sample rolls before committing to a large-scale installation. Purchasing a small test roll costing a few S$ allows you to verify how well the adhesive bonds to your specific desk finish and whether the magnetic pull force is sufficient to hold your heaviest accessories. This trial phase helps you identify potential failure points without investing in a large quantity of tape.
Installation Steps and Ongoing Maintenance
The physical application of pressure-sensitive adhesive tape requires a specific technique to ensure long-term reliability. Once the surface is clean and dry, cut the tape to the desired length, taking care not to touch the exposed adhesive with your fingers, as skin oils will degrade the bond. Apply the tape to the surface and press down firmly along its entire length.
Use your thumb or a small roller to apply consistent, heavy pressure for at least thirty seconds. This pressure is necessary to force the viscoelastic adhesive into the microscopic valleys of the surface, maximizing the contact area and initiating the chemical bonding process. Ensure that the edges and corners are pressed down completely, as these are the areas most prone to lifting.
After application, it is crucial to allow the adhesive to cure before subjecting it to any weight. While pressure-sensitive adhesives feel sticky immediately, they require time to flow and fully wet the surface. Most high-strength adhesives reach approximately fifty percent of their bond strength after twenty minutes, but require twenty-four to seventy-two hours to achieve their maximum holding capacity. Loading the tape too early is one of the most common causes of mounting failure.
Once your desk accessories are mounted, establish a routine to monitor the integrity of the setup. Periodically check the edges of the tape for any signs of lifting, curling, or sliding, especially after periods of high humidity or heavy use. If you notice any gap forming between the adhesive and the surface, remove the accessory and replace the tape immediately to prevent a sudden drop.
When it comes time to reposition your accessories, use safe removal techniques to protect your desk finish. Applying gentle heat from a hairdryer on a low setting can soften the adhesive, allowing you to slowly peel the tape away. A thin plastic scraper or a piece of dental floss can be slid behind the tape to help release the bond without scratching the underlying material.
Frequently Asked Questions (FAQ)
Will strong magnetic tape damage my desk finish?
The potential for damage depends largely on the type of adhesive backing used on the tape and the material of your desk finish. Acrylic-based adhesives form a very strong, semi-permanent bond that can sometimes pull up delicate wood veneers, lacquers, or cheap paper laminates when removed forcefully. Foam-backed adhesives can also be difficult to remove, often splitting down the middle and leaving behind a thick layer of foam and adhesive residue. Solid wood desks with oil or wax finishes are particularly susceptible to staining or finish lifting if the adhesive reacts with the wood treatment. To minimize the risk of damage, always perform a spot test with a small piece of tape in an inconspicuous area, such as the underside of the desk, before applying it to highly visible surfaces.
How do I remove magnetic tape without leaving residue?
Removing magnetic tape cleanly requires a patient, multi-step approach to break down the adhesive bond without scratching or chemically damaging the desk surface. Start by applying gentle heat with a hairdryer on a low-to-medium setting for about thirty seconds to soften the adhesive. Once the adhesive is warm and pliable, use a plastic scraper, an old credit card, or a piece of dental floss to slowly slice through the adhesive layer parallel to the surface. Avoid using metal blades or sharp tools, which can easily gouge wood, laminate, or glass. Any remaining sticky residue can be treated with a mild adhesive remover, isopropyl alcohol, or a small amount of vegetable oil. Always test these solvents on a hidden area first to ensure they do not dull or dissolve your desk’s protective finish, and wipe the area clean with a damp cloth afterward.
Community discussion
Share your experience or ask a question. Comments are reviewed before publication.