
Embroidery machine accessories can quickly clutter your workspace and drain your budget if you purchase them without a clear plan. When starting out, the temptation to buy every specialized attachment, hoop, and thread pack is strong. However, you only need a handful of fundamental tools to successfully complete your first projects. Focusing on the essentials allows you to master the basic mechanics of machine embroidery—such as tension control, stabilization, and needle selection—without the distraction of unnecessary gadgets. By understanding which items are critical for day-one success and which can wait, you can build your toolkit systematically, saving money and preventing frustration.
Core Accessories You Need on Day One
Your embroidery machine cannot function without a few primary components that manage fabric, needle, and thread during high-speed stitching. The first critical tool is the embroidery hoop. Most machines include at least one standard hoop designed to hold fabric taut. Before purchasing additional hoops, check your machine’s user manual to identify its maximum embroidery area limits. Attempting to use a hoop that exceeds these physical limits can damage your machine’s carriage, so you must verify native sizes before experimenting with other options.
Next, you must select correct machine embroidery needles. Unlike standard sewing needles, embroidery needles feature a specially shaped scarf and a larger eye designed to accommodate high-speed thread movement without causing friction or shredding. Select your needle size based on fabric weight, typically starting with a standard 75/11 or 80/12 needle for medium-weight woven materials. Always observe the needle packaging for embroidery-specific markings, such as “130/705 H-E”, to ensure compatibility with rapid directional stitching.
Products mentioned in this guide
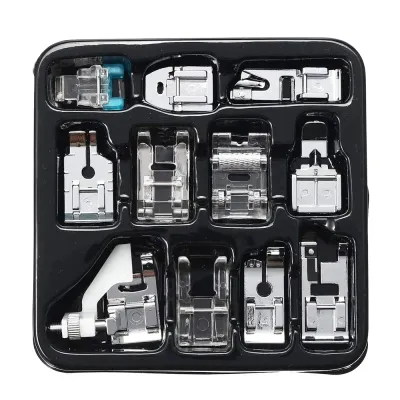
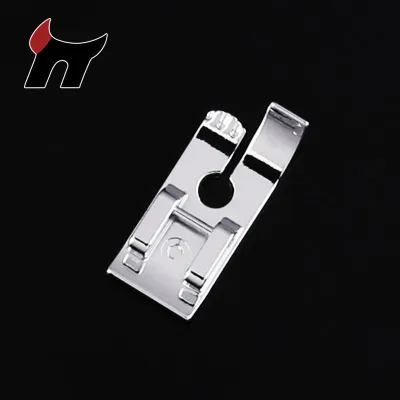
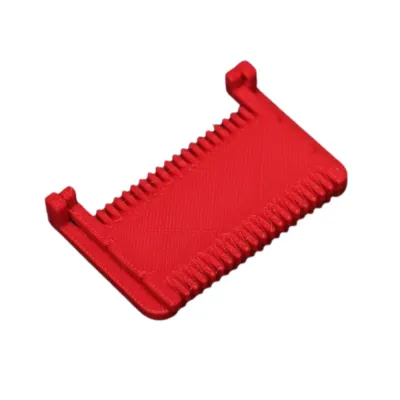
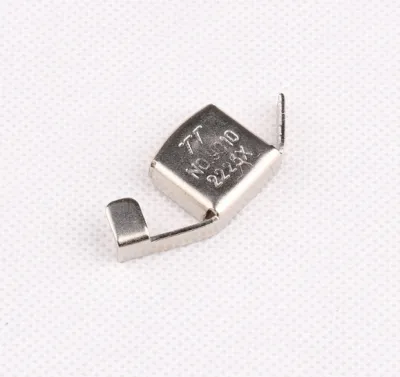
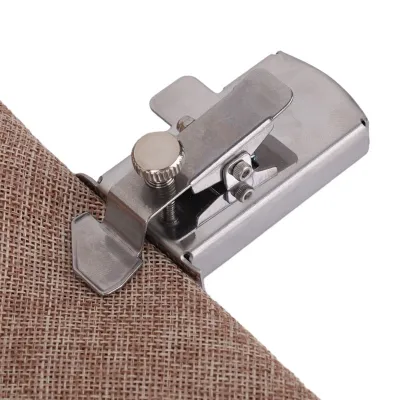
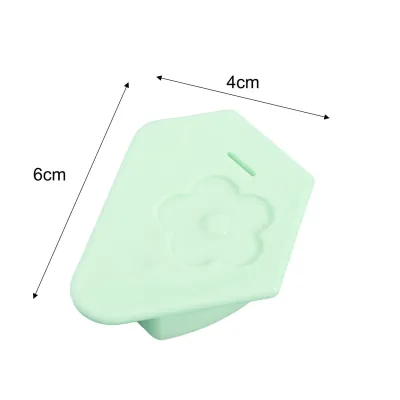
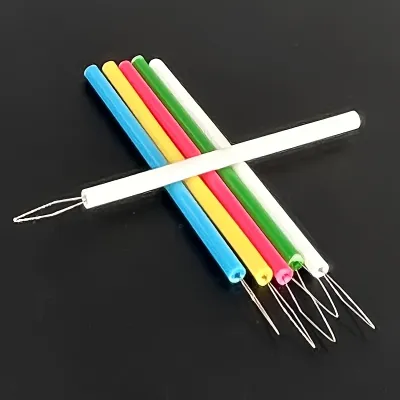
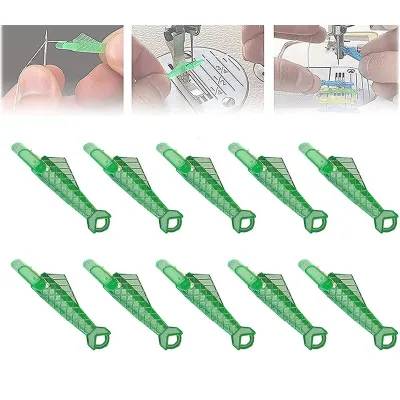
Prices are valid at publication and may change. Please refer to the product page for the latest price.
Stabilizers provide the necessary structural support to prevent fabric from puckering or sinking into the needle plate. For your first projects, source basic tear-away and cut-away stabilizers. You can determine which one to use by testing the stretch of your fabric; stable woven fabrics generally pair well with tear-away backings, while stretchy knits require the permanent support of a cut-away stabilizer. Observing how your test material behaves under tension in the hoop will guide you to the correct choice.
Finally, you will need dedicated embroidery threads and bobbin threads. Machine embroidery relies on high-sheen polyester or rayon threads, which are visually and structurally different from standard, matte sewing threads. Embroidery thread is designed to lay flat and catch the light, while dedicated bobbin thread is much thinner—typically 60-weight or 90-weight—to ensure the underside of your design remains light and does not create bulk. Sourcing a few basic colors of polyester embroidery thread along with a spool of white and black bobbin thread is more than enough to begin.
Nice-to-Have Tools You Can Wait to Buy
As you browse online marketplaces or visit local craft shops, you will encounter a wide array of specialized accessories marketed as essentials. While these tools are highly useful for specific applications, they are not necessary for beginners and can safely be deferred. Specialty hoops, such as magnetic hoops, border hoops, or cap hoops, fall into this category. These tools are designed to solve specific physical challenges, such as hooping thick garments or continuous borders, but they are only needed when your standard plastic hoop cannot physically hold the target item securely.

Thread management tools, including external thread stands and cone holders, are another category of accessories you can wait to buy. These stands are helpful if you purchase large, industrial-sized thread cones to save on unit costs, or if you experience frequent thread breakage due to poor delivery from your machine’s built-in spool pin. However, if your standard spools feed smoothly and do not cause observable tension issues, your built-in spool pins are perfectly adequate for your initial learning phase.
You should also delay purchasing specialty needles, such as those designed specifically for leather, metallic threads, or spring-loaded free-motion work. Metallic needles, for example, have an extra-large eye and a specialized groove to prevent delicate metallic foils from stripping, but you will not need them until you decide to work with those challenging materials. Stick to standard embroidery needles until a specific project requirement dictates a change in needle geometry.
Lastly, advanced digitizing software and custom design tools represent a significant financial investment that beginners should avoid early on. Most modern embroidery machines include a selection of built-in designs, and there are countless pre-purchased, professionally digitized files available online. Relying on these pre-made designs allows you to focus on mastering your machine’s physical settings, fabric hooping, and stabilization before diving into the complex and steep learning curve of creating your own digital embroidery files from scratch.
How to Diagnose Your Actual Accessory Needs
Instead of buying accessories in anticipation of future projects, you should adopt a diagnostic approach that responds to actual physical feedback from your machine and materials. When preparing a new project, start by evaluating your primary fabric type. Check the manufacturer’s care label or fiber content, and match it to your stabilizer and needle requirements by conducting a small test swatch on a scrap piece of the same material. This simple trial will reveal whether your current setup can handle the fabric or if you need to acquire a different stabilizer weight or needle size.
Physical frustration points during a stitch-out are clear signals that you may need a specific accessory rather than a general machine upgrade. For instance, if you observe frequent thread breaks, check if the thread is catching on the spool cap or if the needle eye is too small for the thread weight. If you notice fabric puckering around the edges of your design, this indicates that your stabilizer is too light or your fabric was not hooped with uniform tension. Hoop slippage, where the fabric shifts mid-design, suggests that your hoop’s grip is insufficient for the material thickness, signaling that a layer of grip tape or a different hoop style is required.
Before purchasing any third-party attachment or accessory, always check your machine’s user manual for proprietary connections and native compatibility. Embroidery machines often feature unique hoop brackets, presser foot ankle heights, and bobbin case tensions that vary significantly between brands. Assuming a third-party accessory will fit safely without verifying these specifications can lead to needle strikes, broken parts, or voided warranties.
It is also crucial to distinguish between operator error and genuine equipment limitations. Many common embroidery issues, such as “bird-nesting” under the needle plate or poor stitch quality, are caused by incorrect threading, inserting the needle backward, or neglecting to clean lint from the bobbin race. Taking the time to re-thread your machine with the presser foot up and cleaning the bobbin area will often resolve the issue, saving you from purchasing unnecessary replacement parts or specialized tools.
Smart Purchasing Strategy for Beginners
Building your embroidery accessory collection cost-effectively requires a disciplined, project-driven strategy. Your first step should be to maximize the utility of the starter kit that came with your machine. These kits typically include basic tools like seam rippers, lint brushes, screwdrivers, and a small selection of needles and thread. Use these items until they are worn out or depleted, which will give you a clear understanding of which consumables need immediate replenishment based on your actual usage patterns.
When you do need to spend money, prioritize high-use consumables over expensive hard tools. Investing in a variety of stabilizers (such as water-soluble topper for textured fabrics) and a reliable set of basic thread colors will expand your project capabilities far more than buying a specialized presser foot or an expensive multi-position hoop. Consumables are the foundation of clean embroidery, and having the right stabilizer on hand is always more valuable than owning a niche hardware attachment you rarely use.
If you decide to purchase third-party accessories, protect your investment by verifying return policies and reading compatibility charts carefully. Look for physical connection points in product photos and compare them to your machine’s native parts. Many reputable aftermarket brands publish detailed compatibility lists that specify exactly which machine models their hoops or presser feet will fit. If your specific model is not listed, contact the manufacturer or a local dealer to confirm compatibility before making a purchase.
Finally, establish a strict project-driven purchasing rule: only buy a new accessory when your current project physically cannot be completed without it. If you want to embroider a thick canvas tote bag and find that your standard hoop cannot clamp the thick seams, that is the exact moment to purchase a magnetic hoop or a sticky stabilizer. This rule keeps your workspace organized, prevents your budget from inflating, and ensures that every tool you own has a proven, practical purpose in your embroidery journey.
Frequently Asked Questions (FAQ)
Can I use regular sewing thread for machine embroidery?
You should avoid using regular sewing thread for machine embroidery projects. Regular sewing thread is typically made of cotton or spun polyester, which has a matte finish, higher lint production, and lower tensile strength under high-speed stitching conditions. Using it in an embroidery machine increases the risk of frequent thread breakage, tension imbalances, and a dull, fuzzy visual finish on your completed design. Embroidery thread is specifically engineered to withstand high-speed directional changes while delivering a smooth, high-sheen appearance.
Do I need to buy the same brand of accessories as my machine?
You do not always need to buy the same brand of accessories as your machine, but you must distinguish between proprietary connections and universal consumables. Hard attachments like embroidery hoops, presser feet, and bobbin cases often feature proprietary brackets or dimensions unique to the machine manufacturer, meaning you should stick to original parts or certified compatible third-party options. However, consumables such as needles, stabilizers, and threads are generally universal, provided they meet the physical specifications and sizes outlined in your machine’s user manual.
How many embroidery hoops should a beginner start with?
A beginner should start with just the standard hoop that comes packaged with their embroidery machine, which is typically a medium-sized hoop (such as a 4×4 inch or 5×7 inch hoop). This single hoop is highly versatile and sufficient for the vast majority of beginner projects, including basic monograms, small patches, and simple designs. You should only consider adding a smaller secondary hoop later if you frequently work on delicate fabrics or small, detailed areas where minimizing fabric waste and maximizing tension control is necessary.
Community discussion
Share your experience or ask a question. Comments are reviewed before publication.