
Sashiko stitching is a traditional Japanese embroidery technique that relies on a simple running stitch to create striking geometric patterns. To begin this craft, you only need four essential items: a dedicated sashiko needle, specialized matte cotton sashiko thread, a palm or finger thimble, and a medium-weight, evenly woven fabric. Unlike other needlecrafts that require complex setups, sashiko is highly accessible and designed to be practiced with minimal, high-quality tools. This simplicity makes it an ideal craft for compact living spaces, such as apartments in Singapore, where you can easily set up a complete stitching workspace on a small desk or dining table without needing dedicated storage rooms.
By focusing on these core supplies, you can avoid the common beginner mistake of purchasing unnecessary accessories. Understanding how these tools interact with each other will help you achieve the characteristic even stitches of sashiko while keeping your initial investment low. Taking the time to select the right materials from the start ensures a smooth, frustrating-free introduction to this mindful and rewarding textile art.
Core Sashiko Tools You Actually Need
Sashiko needles are specifically designed to be longer and thicker than standard sewing needles, featuring a large eye to accommodate thick thread. The length of the needle allows you to load multiple stitches onto it before pulling it through the fabric, which is key to maintaining straight lines and even spacing. When selecting needles, check the packaging for length and thickness recommendations relative to your fabric weight. Beginners often benefit from an assorted pack containing both short and long needles to find what feels most natural in their hands.
Products mentioned in this guide
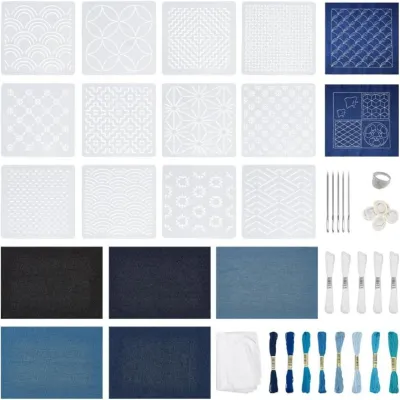
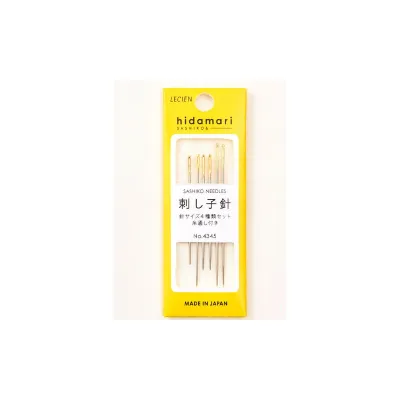
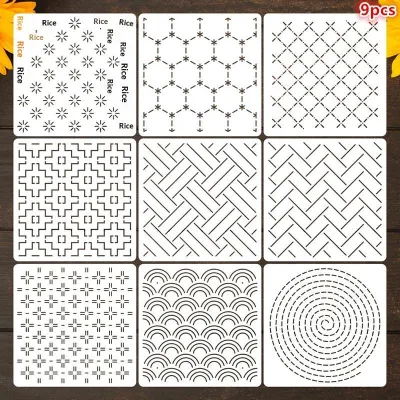
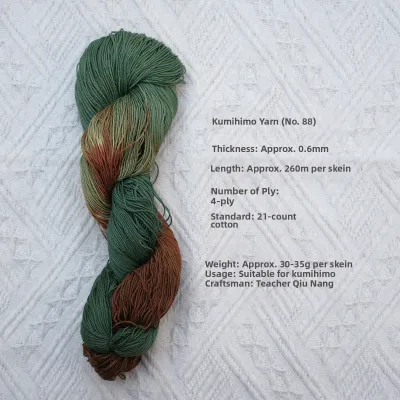
Prices are valid at publication and may change. Please refer to the product page for the latest price.
Sashiko thread is made of multiple strands of cotton tightly twisted together into a single, strong strand with a distinct matte finish. Unlike shiny, divisible embroidery floss, sashiko thread is meant to be used as-is without separating the strands. This unique construction prevents the thread from fraying or untwisting as it is repeatedly pulled through the fabric. It is available in various weights, typically categorized as thin or thick, allowing you to customize the prominence of your stitches.
Traditional sashiko utilizes a unique coin-style thimble, often made of metal or leather, worn on the palm of the hand or the base of the middle finger. This placement allows you to use the strength of your palm to push the long needle through multiple folds of fabric. While standard ring thimbles protect the fingertip, they do not facilitate the traditional running-stitch technique used in sashiko. Learning to use a palm thimble can take some practice, but it significantly reduces hand fatigue during long stitching sessions.
The ideal fabric for a beginner is a medium-weight, evenly woven natural fiber like cotton or linen. Fabrics such as cotton-linen blends, lightweight canvas, or traditional indigo-dyed cotton work beautifully. The weave must be open enough to let the thick sashiko needle and thread pass through smoothly without straining your hands, yet tight enough to hold the stitches securely in place. Avoid synthetic fabrics or extremely tight weaves, which can make the stitching process frustrating and physically demanding.
Optional Embroidery Supplies You Can Skip
In Western embroidery, a hoop is essential to keep the fabric taut. In sashiko, however, working with a hoop can actually hinder your progress. Sashiko stitches are created by pleating the fabric onto a long needle while keeping the material relaxed. Working in-hand allows you to manage thread tension naturally, preventing the fabric from puckering once it is released from a hoop. This hand-held approach also makes the craft highly portable and easy to practice anywhere.

While high-end embroidery snips are beautiful, they are not a necessity for beginners. Any sharp pair of household scissors or basic fabric shears will suffice for cutting your thread and trimming fabric edges. You can safely skip purchasing specialized thread cutters until you decide to commit to the craft long-term. Focus instead on keeping your scissors clean and dedicated solely to fabric and thread to maintain their sharpness.
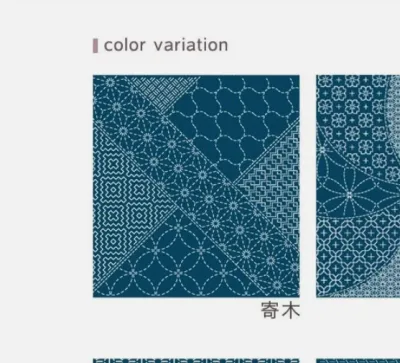
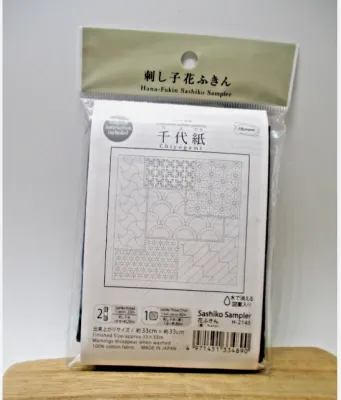
Many beginners assume they must purchase pre-printed fabric panels to start. While convenient, these kits can be expensive and limit your creative freedom. You can easily create your own practice grids using basic geometric principles and a ruler, allowing you to practice on affordable fabric scraps first. This approach not only saves money but also teaches you the underlying structure of traditional sashiko patterns.
High-tech transfer papers and specialized lightboxes are entirely optional. A simple piece of tailor’s chalk or a standard water-soluble fabric pen is more than adequate for drawing your initial guidelines. These basic tools allow you to sketch patterns directly onto your fabric and wash them away easily once your stitching is complete. They are highly accessible, inexpensive, and perfect for testing different design layouts.
How to Match Sashiko Thread to Your Fabric
Before pairing your thread and fabric, examine the weave structure. An even-weave fabric, where the warp and weft threads are of similar thickness and spacing, makes it much easier to count threads and maintain uniform stitch lengths. If the weave is too tight, like a heavy denim, pulling the thick sashiko thread through will be physically demanding and may damage the fibers. Conversely, a weave that is too loose may not hold the thread securely, leading to sagging stitches.
To find the right balance, perform a quick test on a scrap piece of your chosen fabric. Thread your needle and make a few running stitches. The thread should fill the hole made by the needle without leaving a visible gap, but it should not be so thick that it causes the fabric to bunch or pucker. If the fabric puckers, try a thinner thread or a fabric with a slightly looser weave. This simple calibration step ensures your final project lies flat and smooth.
Always inspect the labels on both your thread and fabric before purchasing. Look for 100% cotton composition, as synthetic blends may behave differently under tension and can be more difficult to stitch smoothly. Pay close attention to care instructions, particularly regarding washing and ironing temperatures, to ensure your finished piece remains durable. Checking these details early prevents unexpected shrinkage or damage after you have invested hours into your stitching.
Traditional sashiko often pairs bright white thread with deep indigo fabric, or vibrant colored threads with light backgrounds. Because of this high contrast, testing for colorfastness is critical. Wet a small swatch of your fabric and thread, then press them together with a white paper towel. If any dye transfers, you will need to pre-wash the materials to prevent bleeding during future washes. This is especially important for indigo-dyed fabrics, which naturally release excess dye.
Preparing Your Fabric and Workspace
Natural fibers like cotton and linen are prone to shrinking when washed. To prevent your carefully stitched patterns from distorting later, always pre-wash and dry your fabric according to the manufacturer’s instructions before you begin marking. Once dry, press the fabric thoroughly with an iron to create a flat, smooth surface for marking. Skipping this step can lead to puckered stitches and warped designs the first time the finished item is laundered.
When transferring your design, always test your marking pen or chalk on a small scrap of the pre-washed fabric first. Draw a line, let it sit, and then attempt to wash it out according to the tool’s instructions. In humid climates like Singapore, some water-soluble ink can set permanently if exposed to high humidity or iron heat before being washed, so verification is essential. Testing first ensures your guidelines disappear completely, leaving only your beautiful stitches.
Sashiko thread is thick and unmercerized, meaning it can fray easily at the ends. To thread your needle smoothly, cut the thread at a sharp angle with sharp scissors. If you struggle to pass the thread through the eye, use a simple wire needle threader to avoid damaging the thread fibers. Avoid using wax or thread conditioners, as these can alter the traditional matte appearance and texture of the sashiko thread.
As you begin your test stitches, pay close attention to how the materials behave. If you find yourself straining to pull the needle through, or if the needle begins to bend, stop immediately. This is a clear sign that your needle is too thin, your thread is too thick, or your fabric weave is too tight. Reassess your tool combination before proceeding to avoid hand fatigue or fabric damage.
Frequently Asked Questions (FAQ)
Can I use regular sewing thread for sashiko?
Regular sewing thread is not recommended for traditional sashiko. Standard sewing thread is thin, slick, and designed to blend into the fabric, whereas sashiko thread is thick, matte, and designed to stand out decoratively. Using regular thread will result in thin, weak stitches that lack the characteristic bold, defined look of sashiko. If you cannot find dedicated sashiko thread, a matte cotton embroidery floss used without separating the strands is a much closer alternative. Always check the packaging to ensure the thread is 100% cotton and has a low-sheen, tight twist.
Do I need a special thimble for sashiko stitching?
While you do not strictly need a traditional sashiko thimble to start, using one will greatly improve your comfort and technique over time. The traditional palm thimble is designed to help you push the long needle through multiple pleats of fabric using the strength of your hand rather than just your fingers. If you are just experimenting, a standard leather finger guard or a ring thimble worn on the middle finger can protect your skin. As you progress to larger projects, transitioning to a palm thimble will reduce hand strain and allow for faster, more consistent stitching.
Where should I buy my first sashiko tools?
For your first purchase, look for reputable local craft stores, specialized needlework shops, or established online craft retailers. When shopping online, carefully read the product descriptions to verify the dimensions of the needles and the material composition of the thread. Avoid buying large, expensive kits that bundle unnecessary accessories. Instead, select a few individual items—a pack of assorted sashiko needles, one or two skeins of cotton thread, and a small piece of cotton fabric—to test your interest before investing in a larger collection.
Community discussion
Share your experience or ask a question. Comments are reviewed before publication.