
Equipping your Janome sewing machine with the right set of presser feet transforms standard stitching into professional-grade garment construction, quilting, and home decor crafting. While every Janome machine comes with a standard set of utility feet, expanding your collection with specialized options allows you to handle challenging fabrics, bulky seams, and intricate edge finishes with ease. Choosing the correct foot is not just about expanding your creative capabilities; it is also about ensuring mechanical compatibility to prevent needle breakage and machine damage.
Understanding how different presser feet interact with your machine’s feed dogs, needle positions, and stitch widths is key to achieving clean results. Whether you are working on lightweight silks, heavy denim, or multi-layered quilts, matching the correct foot to your fabric and technique ensures smooth feeding and consistent stitch quality. This guide outlines the essential presser feet every Janome owner should consider, along with practical steps to verify compatibility and maintain your accessories for long-term performance.
How to Identify Your Janome Machine's Presser Foot System
Before purchasing any new presser foot, you must determine your Janome machine’s specific attachment system and mechanical limits. Using an incompatible foot can lead to poor stitch quality, fabric damage, or severe needle strikes that can knock your machine’s timing out of alignment. Janome machines generally fall into distinct categories based on shank type, attachment mechanism, and maximum stitch width.
Products mentioned in this guide
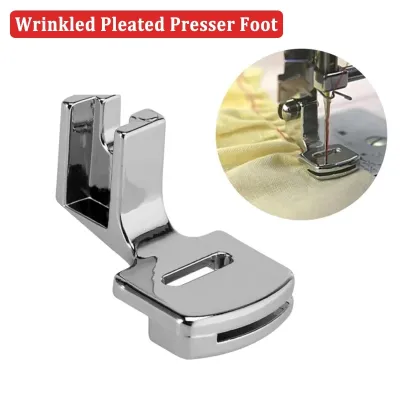
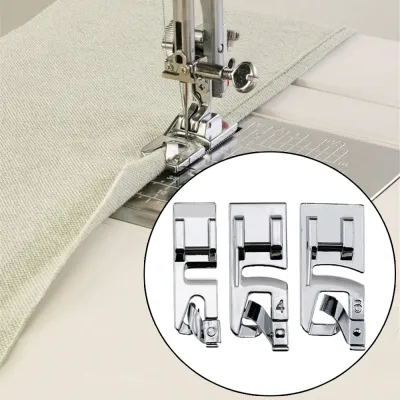
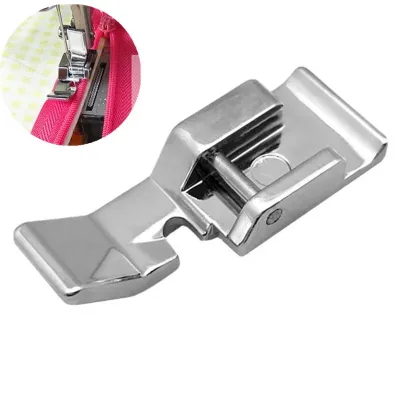
Prices are valid at publication and may change. Please refer to the product page for the latest price.
The first step is to distinguish between snap-on and screw-on attachment mechanisms. Most modern Janome domestic sewing machines utilize a convenient snap-on system. In this setup, a presser foot holder, often called an ankle, remains screwed onto the presser bar, allowing you to quickly change feet by releasing a small lever at the back and snapping a new foot onto the horizontal bar. Older models, heavy-duty mechanical machines, or specialized semi-industrial models may require screw-on feet, where the entire shank of the foot is screwed directly onto the presser bar.
Next, you must identify your machine’s shank height. The shank is the metal rod that lowers and raises the presser foot. Most domestic Janome models feature a low shank configuration, where the distance from the center of the thumb screw hole to the bottom of the foot (when lowered) is approximately 12.5 millimeters. High-end quilting and embroidery models often feature a high shank configuration, measuring approximately 25 millimeters. Attempting to fit a low-shank foot onto a high-shank machine, or vice versa, will prevent the foot from resting flat on the feed dogs, rendering the machine unusable.
Equally critical is verifying your machine’s maximum stitch width. Janome models are designed with maximum stitch widths of 5mm, 7mm, or 9mm. A presser foot must have a needle slot wide enough to accommodate the maximum lateral movement of your needle. If you install a foot designed for a 5mm machine onto a 9mm machine and select a wide zigzag or decorative stitch, the needle will strike the solid metal of the foot on its sideways swing. Always consult your specific model’s user manual to verify the exact shank height and maximum stitch width before buying any accessories.
Essential Presser Feet for Everyday Sewing Tasks
Everyday sewing projects involve a variety of structural challenges, from inserting closures to finishing raw edges to prevent fraying. Having the correct utility feet on hand ensures these tasks are completed cleanly and efficiently without damaging your fabric.

Zipper and Piping Applications
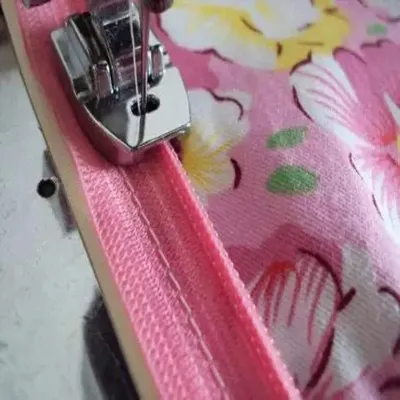
Standard utility feet are too wide to stitch close to the raised teeth of a zipper or the bulky cord of piping. A specialized zipper foot features a narrow profile and dual snap-on bars, allowing you to attach the foot to either the left or right side of the holder. This flexibility ensures the bulk of the zipper remains to one side while the needle passes directly alongside the zipper teeth. For a completely hidden closure, an invisible zipper foot is required. This foot features two deep grooves on its underside that unroll and guide the zipper coils as you sew, allowing the needle to place stitches precisely along the seam line.
When using any zipper foot, adjusting your needle position is critical. You must manually turn the handwheel to ensure the needle clears the foot’s opening before pressing the foot controller. Adjusting the needle drop position to the left or right allows you to stitch close to the zipper teeth or piping cord without hitting the metal foot. Additionally, check the depth of the grooves on the underside of your invisible zipper foot; the grooves must be deep enough to accommodate the specific coil size of your zipper to prevent the fabric from slipping or feeding unevenly.
Overcasting and Edge Finishing
Preventing fabric edges from fraying is essential for durable garment construction, especially when working with woven materials. An overcast foot, often designated as foot ‘M’ or ‘C’ in Janome manuals, allows you to finish raw edges cleanly without a dedicated serger. This foot features a built-in metal guide pin and a small wire that extends over the fabric edge. As the machine performs an overcasting or zigzag stitch, the thread is formed over this guide pin, which supports the fabric edge and prevents it from curling or puckering under thread tension.
To achieve a clean finish, align the raw edge of your fabric directly against the foot’s guide. As you sew, the needle swings over the guide pin, dropping the thread neatly over the edge of the fabric. While this method is highly effective for woven fabrics and stable knits, it has limitations on highly stretchy materials. Unlike a dedicated serger, which uses a differential feed to manage elastic fabrics, an overcast foot on a standard sewing machine may still cause some stretching or waving on highly elastic knits. For these materials, testing stitch tension and using a stabilizer may be necessary.
Buttonhole and Button Attachment
Creating consistent, professional buttonholes is straightforward when using Janome’s automatic buttonhole foot, typically labeled foot ‘R’. This foot features a sliding carriage where you place the actual button you plan to use. The machine reads the length of the button and automatically sews a perfectly sized buttonhole to match. For challenging fabrics, such as thick wool or uneven layers, using the automatic buttonhole foot in conjunction with a stabilizer plate is highly recommended. The stabilizer plate clamps the fabric firmly, ensuring even feeding and preventing the fabric from getting stuck or shifting during stitch formation.
To ensure accuracy, measure the button diameter and ensure it is seated securely in the foot’s sliding mechanism before starting. For attaching the buttons themselves, a button sewing foot holds the button flat against the fabric while exposing the holes. To use this foot safely, you must utilize the machine’s shank drop feature to lower the feed dogs, or install a darning plate. This prevents the fabric from feeding forward, allowing you to use a simple zigzag stitch to secure the button. Always turn the handwheel manually for the first few stitches to verify the needle aligns perfectly with the button’s holes.
Specialty Feet for Advanced Fabric Techniques
As your sewing skills progress, you will encounter projects that require specialized fabric manipulation, such as creating invisible hems, narrow rolled edges, or managing multiple layers of thick quilting materials. Specialty presser feet are engineered to handle these demanding techniques with precision.
Blind Hem and Rolled Hem Finishes
A blind hem foot, often labeled foot ‘G’, is designed to create nearly invisible hems on garments like trousers and skirts. This foot features an adjustable guide screw that controls the position of a vertical metal guide. By folding your fabric according to the blind hem instructions and aligning the fold against this guide, you can adjust the screw so the needle’s left swing catches only a single thread of the folded fabric. This precise adjustment ensures that only tiny, barely visible dots of thread appear on the right side of the finished garment.
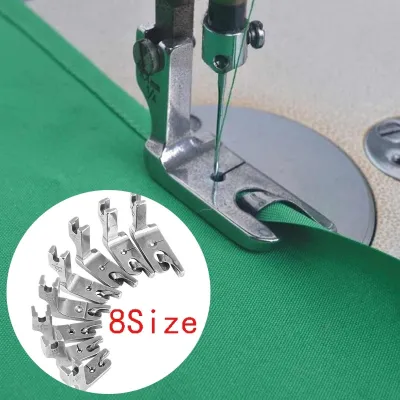
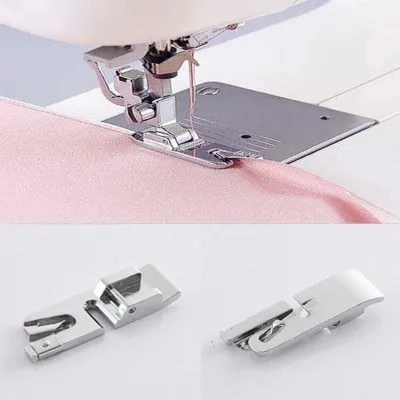
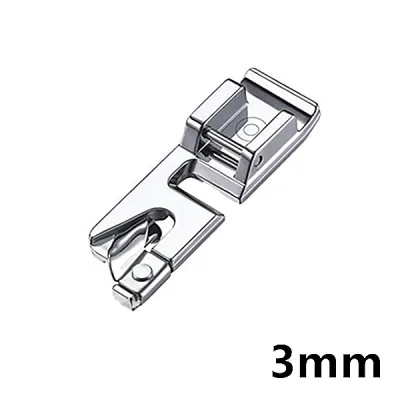
For lightweight fabrics like silk, chiffon, or lawn, a rolled hem foot (also known as a narrow hemmer) is essential for creating tiny, clean edges. These feet are available in various sizes, such as 2mm or 3mm, depending on the weight of the fabric and the desired hem width. The foot features a spiral scroll on the front that automatically folds the fabric edge twice as it feeds through. To achieve a consistent roll without bunching, pre-fold and press the first few centimeters of the hem, feed the folded edge into the scroll, and guide the fabric gently at a consistent angle as you sew.
Quilting and Free-Motion Embroidery
When sewing through multiple layers of fabric and batting, the upper layer often shifts or puckers because only the lower layer is being moved by the machine’s feed dogs. A walking foot, or even feed foot, solves this problem by utilizing a set of moving teeth that work in tandem with the machine’s lower feed dogs. This ensures that all layers of the quilt sandwich feed through the machine at the exact same rate, preventing shifting, wrinkling, and misaligned patterns. When installing a walking foot, ensure the plastic fork or lever is positioned securely over the needle clamp screw, as this mechanical connection drives the foot’s feeding action.
For free-motion quilting, stippling, and embroidery, a darning or free-motion foot is required. This foot operates with the machine’s feed dogs lowered, giving you complete manual control over the direction and speed of the fabric movement. The foot is spring-loaded, hovering just above the fabric to allow free movement while holding the fabric down momentarily as the needle forms each stitch. Because stitch length is determined entirely by how fast you move the fabric relative to the machine’s speed, practicing on scrap fabric is essential to achieve consistent stitch lengths.
Buying Checklist: Compatibility and Quality Verification
When expanding your presser foot collection, you will encounter both original equipment manufacturer (OEM) Janome feet and generic, third-party alternatives. While generic feet are often highly affordable—frequently priced between S$5 and S$15 on local online marketplaces—they require careful evaluation to ensure they do not damage your machine.
First, always cross-reference your machine’s exact model number with Janome’s official accessory catalog. Janome categorizes its accessories into specific groups (such as Category A, B, C, or D) based on shank height, feed dog configuration, and maximum stitch width. Purchasing a foot from the correct category guarantees a perfect mechanical fit and proper alignment with your machine’s needle drop positions.
If you choose to evaluate third-party feet, inspect their build quality closely before installation. Check the underside of the foot for any rough metal edges, burrs, or manufacturing imperfections that could snag delicate fabrics. Verify that the snap-on bar is straight and matches the width of your machine’s presser foot holder. Additionally, test the spring tension on any spring-loaded feet, such as walking feet or darning feet, to ensure they operate smoothly without binding.
Before starting any project with a new presser foot, perform a thorough manual test on scrap fabric. Install the foot, select your desired stitch, and slowly turn the handwheel toward you by hand. Observe the needle’s path to ensure it clears the foot’s opening completely and does not strike any metal. Sew a short test strip on scrap fabric of the same weight and fiber content as your project. This trial allows you to verify stitch formation, adjust thread tension, and ensure the fabric feeds smoothly without puckering or slipping.
Finally, consider the long-term availability of replacement parts and warranty support. Genuine Janome accessories are manufactured to strict tolerances and are covered by manufacturer support, making them a reliable choice for critical sewing tasks. While generic feet can be useful for occasional, low-risk projects, investing in genuine Janome feet for high-use accessories—such as the walking foot or automatic buttonhole foot—ensures optimal performance and protects your machine’s internal mechanisms from unnecessary wear.
Frequently Asked Questions (FAQ)
Can I use generic snap-on presser feet on my Janome machine?
Yes, many generic snap-on presser feet can physically attach to standard Janome low-shank presser foot holders, as the width of the snap-on bar is often standardized across several brands. However, compatibility is not guaranteed. You must carefully verify that the needle slot on the generic foot is wide enough to accommodate your machine’s maximum stitch width, whether it is 5mm, 7mm, or 9mm. A narrow slot on a wide-stitch machine poses a high risk of needle strikes, which can bend the needle, scratch the foot, or damage the machine’s hook mechanism. When purchasing third-party options on online marketplaces, check the seller’s return policy so you can safely return the item if it does not align perfectly with your needle drop position.
How do I clean and maintain my presser feet to ensure smooth feeding?
Regular maintenance of your presser feet is essential to prevent fabric snagging, uneven feeding, and rust, especially in humid climates like Singapore. After completing a project, use a small lint brush to remove thread fibers, dust, and lint from the underside grooves, guide channels, and moving parts of the foot. Wipe metal surfaces with a clean, dry microfiber cloth to remove finger oils and prevent corrosion. Avoid using harsh chemical solvents or water on plastic, non-stick, or Teflon-coated feet, as these substances can degrade the materials or strip away low-friction coatings. Periodically inspect the snap-on bar and any spring-loaded mechanisms to ensure they retain proper tension and are free of bends or wear.
Community discussion
Share your experience or ask a question. Comments are reviewed before publication.