
Starting embroidery does not require a massive financial investment or a room full of specialized equipment. The absolute minimum set of tools required to start embroidery includes crewel needles, stranded cotton floss, a basic embroidery hoop, tightly woven fabric, and small sharp scissors. By focusing on these core sewing tools, you can begin stitching immediately and build your skills without the clutter of unnecessary accessories.
In local craft shops or online marketplaces, you will find hundreds of specialized gadgets marketed to beginners. However, spending just a few S$ on high-quality basics is far more effective than buying a massive, low-grade kit. Understanding how to select and verify these essential items ensures a smooth, frustration-free introduction to the craft.
The Core Embroidery Tools You Must Have
To begin your embroidery journey, you only need five fundamental items. The first is a pack of crewel needles, which are specifically designed for hand embroidery. Unlike standard sewing needles, crewel needles feature a sharp point to pierce fabric cleanly and a long, medium-width eye designed to accommodate multiple strands of cotton floss. When purchasing, inspect the needle eye closely; it should be smooth and free of microscopic metal burrs that can snag and shred your thread.
Products mentioned in this guide
![[Great Value 34-Piece Set] Large-Eye Steel Needle Sewing Tool Set Steel Embroidery Needles With Thimble Handmade Stitching Tools DIY Crafts](https://img.lazcdn.com/g/p/dd20fcbbd5f0706265b55cdca04f6c3b.png_400x400q80.png_.webp)
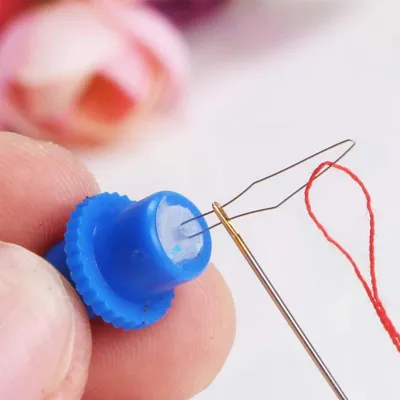
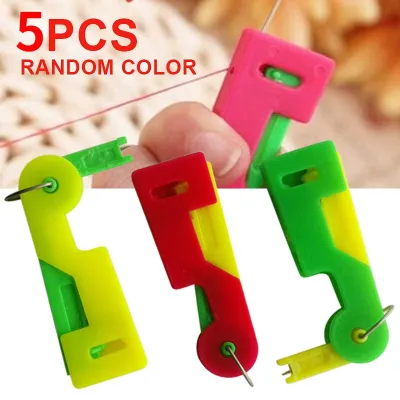
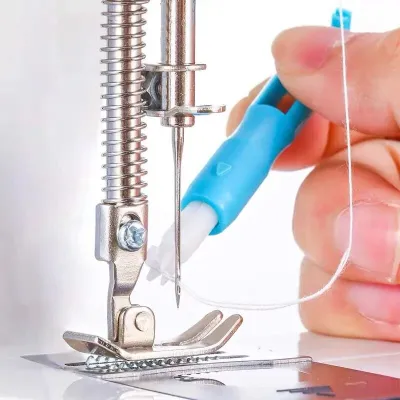
Prices are valid at publication and may change. Please refer to the product page for the latest price.
Your second essential is stranded cotton floss. This is the standard thread used for most hand embroidery projects. Unlike regular sewing thread, which is thin and single-ply, embroidery floss consists of six individual strands lightly twisted together. This unique construction allows you to separate the strands to customize the thickness of your lines, giving you complete control over the texture and detail of your stitches.
An embroidery hoop is the third core tool, functioning to keep your fabric taut while you work. Hoops consist of an inner ring and an outer ring equipped with a tightening screw. While wooden hoops made of beechwood or bamboo are traditional and lightweight, high-quality plastic hoops are also excellent. In humid climates, plastic hoops are highly stable and resist warping, providing a consistent, non-slip grip on your fabric.
Fourth, you need a suitable fabric. Beginners should look for medium-weight, non-stretchy fabrics with a visible, even weave, such as plain cotton calico, linen, or even a basic cotton tea towel. Avoid stretchy knits or synthetic fabrics, as they tend to pucker and distort under the tension of the hoop, making it difficult to maintain neat stitches.
Finally, you will need a pair of small, sharp scissors. You do not need specialized embroidery snips immediately; any small, sharp pair of household or craft scissors will work perfectly. The key requirement is that they can make clean, flush cuts close to the fabric surface, which prevents frayed thread ends and makes threading your needle significantly easier.
Optional Sewing Tools to Skip or Buy Later
When browsing the sewing tools aisle, it is easy to get swept up in buying convenient accessories that are not strictly necessary for a beginner. Needle threaders and thimbles are often marketed as essentials, but they can easily be skipped initially. A needle threader is helpful if you struggle with fine motor skills or visual clarity, but learning to thread a needle manually is a valuable foundational skill. Thimbles are generally unnecessary unless you are working with exceptionally thick fabrics like denim or heavy canvas where pushing the needle requires significant physical force.

Pattern transfer tools, such as water-soluble or heat-erasable marking pens, are highly convenient but can be replaced with items you already own. A standard soft lead pencil (such as a 2B pencil) or a water-soluble gel pen from your stationery drawer works beautifully for tracing simple designs onto light-colored fabric. Always perform a quick test on a fabric scrap to ensure the marks can be washed out or completely hidden by your stitches before drawing on your main project.
Storage solutions like plastic bobbins, floss organizers, and dedicated thread boxes are tempting when you see organized craft spaces online. However, when you are just starting with three or four colors, keeping your floss in its original paper skeins is perfectly fine. Specialized thread snips and hoop stands are also luxury upgrades that you can safely postpone until you are certain you want to commit to the hobby long-term.
How to Match Tool Specifications for Your First Kit
Matching your needle size to your thread thickness is crucial for smooth stitching. Embroidery needles are sized by number, with larger numbers representing finer needles. For a beginner working with two or three strands of floss, a size 7 or 8 crewel needle is highly compatible. Using a needle that is too small will make threading frustrating and cause the floss to fray, while a needle that is too large will leave permanent, unsightly holes in your fabric.
Fabric weight and weave density must also align with your project goals. A simple way to verify fabric suitability is to hold it up to a light source. If you can see distinct, wide gaps between the threads, the weave is too loose to hold your stitches securely. Look for a tight, even weave that feels sturdy but is still easy to pierce with your needle without requiring excessive force.
When selecting a hoop, physical comfort is key. A hoop diameter of 12 to 15 centimeters (about 5 to 6 inches) is the sweet spot for beginners. This size fits comfortably in one hand, allowing you to maintain a relaxed grip while your other hand guides the needle. Larger hoops can be heavy and awkward to hold, leading to hand fatigue, while smaller hoops limit your design area too much and require frequent repositioning of the fabric.
Setting Up and Testing Your New Tools
To prepare your thread, cut a length of floss roughly equal to the distance from your fingertips to your elbow, which is about 45 to 50 centimeters. Lengths longer than this are highly prone to knotting and tangling as you stitch. To separate the strands, gently tap the cut end of the floss to splay the fibers, then pull out one individual strand at a time. Pulling multiple strands at once will cause the thread to bunch up and knot.
Mounting your fabric correctly is essential for maintaining even stitch tension. Loosen the outer hoop screw and separate the rings. Place your fabric over the inner ring, then press the outer ring down over it. Gently pull the fabric edges taut while tightening the screw. To verify the tension, perform a tactile “drum test” by tapping the center of the fabric; it should sound hollow and feel firm, with no visible sagging or wrinkles.
Before diving into your main project, always perform a quick trial run on a scrap piece of your chosen fabric. Work a few basic running stitches or backstitches to observe how the needle glides through the weave. If you notice the needle catching or if you hear a loud popping sound as it pierces the fabric, your needle may be too thick or slightly blunt. This simple test allows you to adjust your tools and technique before committing to your final piece.
Frequently Asked Questions (FAQ)
Can I use regular sewing needles and thread for embroidery?
Standard sewing needles are designed for thin, single-strand thread and have small, round eyes. Attempting to thread thick, multi-strand embroidery floss through these small eyes will shred the fibers and cause immense frustration. Furthermore, standard sewing thread is much thinner and lacks the lustrous sheen and volume of stranded cotton, resulting in flat, sparse stitches that fail to fill shapes effectively.
What size embroidery hoop is best for a complete beginner?
A hoop diameter of 12 to 15 centimeters (approximately 5 to 6 inches) is ideal. This size is lightweight, fits naturally in your palm, and allows you to reach the center of the fabric easily with your thumb and fingers. Larger hoops can cause hand fatigue and make it difficult to keep the fabric consistently taut, while very small hoops limit the size of your design.
Do I need to buy an expensive pre-packaged embroidery starter kit?
You do not need an expensive pre-packaged kit to begin. While kits offer convenience by bundling materials together, they sometimes contain lower-quality needles that snag or hoops that fail to hold tension. Buying your core sewing tools individually allows you to select a high-quality hoop and smooth needles, which will make your learning experience much more enjoyable. If you do choose a kit, verify that it includes the core essentials: a sturdy hoop, proper crewel needles, and stranded cotton floss.
Community discussion
Share your experience or ask a question. Comments are reviewed before publication.