
Starting embroidery does not require a massive investment, a dedicated craft room, or a complex array of equipment. To begin, you only need four fundamental items: a sturdy hoop, a sharp needle, a piece of non-stretchy fabric, and a few skeins of embroidery floss. Many beginners fall into the trap of purchasing massive, low-quality kits filled with dozens of items they will never use, which often leads to early frustration and wasted money.
By focusing on a few reliable sewing tools and understanding how they interact, you can save money, avoid common stitching mistakes, and complete your first project with clean, professional-looking stitches. Selecting the right tools is about matching their specifications to your chosen technique rather than buying the most expensive brand on the shelf.
Diagnosing Your Starting Point: Matching Tools to Your First Project
Before purchasing any tools, you must decide on the specific needlework technique you want to try first. The term “embroidery” encompasses several distinct styles, each requiring highly specific materials. Surface embroidery (often called freestyle embroidery) uses various decorative stitches to create designs on plain-weave fabric. Cross-stitch relies on a structured, grid-like fabric to form uniform “X” shapes, while punch needle uses a specialized hollow needle to loop yarn through a loosely woven backing.
Products mentioned in this guide
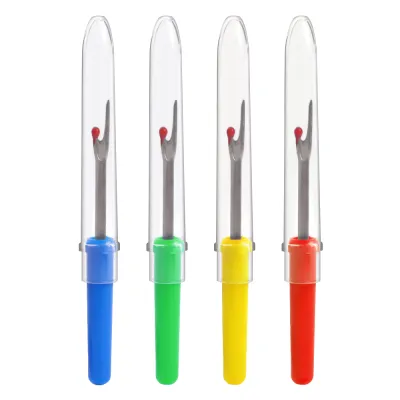
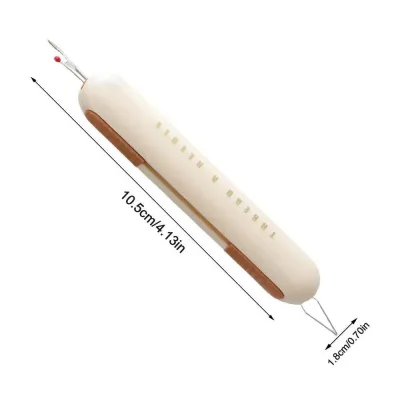
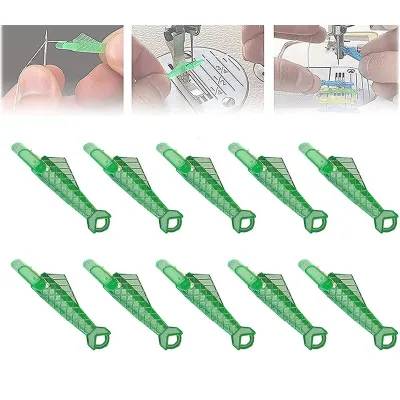
Prices are valid at publication and may change. Please refer to the product page for the latest price.
Choosing your path first prevents you from buying incompatible items. For example, if you buy a fine crewel needle and smooth cotton fabric intending to do punch needle work, the tools will be completely useless. Similarly, trying to execute delicate surface embroidery on stiff, grid-like Aida fabric meant for cross-stitch will result in stiff, awkward designs that do not drape naturally.
For absolute beginners, surface embroidery on a pre-printed pattern is often the most practical and satisfying starting point. It allows you to practice basic stitches like the backstitch or satin stitch without the added pressure of counting threads or transferring designs yourself. Assess your current patience and comfort level: if you prefer highly structured, repetitive tasks, cross-stitch is excellent; if you prefer freeform drawing with thread, surface embroidery is ideal. Matching your tools to this initial decision ensures every dollar spent directly supports your first project.
The Absolute Must-Haves: Essential Embroidery and Sewing Tools
To set yourself up for success, you must focus on the core functional components of stitching. While it is tempting to buy specialized accessories, your primary focus should be on the structural integrity and compatibility of your basic sewing tools. A high-quality needle paired with the wrong fabric will still cause puckering, and a cheap hoop will fail to hold tension regardless of your stitching skill.

Embroidery Hoops and Fabric Tensioning
An embroidery hoop is designed to hold your fabric taut while you stitch, ensuring your tension remains even and your fabric does not pucker. Beginners generally choose between wooden (usually beechwood) and plastic hoops. High-quality wooden hoops are highly recommended because the natural texture of the wood fibers provides a firm grip on the fabric, preventing it from slipping. Plastic hoops are durable and easy to clean, but cheaper plastic models often have smooth inner rims that allow the fabric to sag during long stitching sessions.
When selecting a hoop size, a good rule of thumb is to choose one that is 15cm to 20cm (6 to 8 inches) in diameter. This size is small enough to hold comfortably in one hand for extended periods without causing hand fatigue, yet large enough to accommodate most beginner-friendly patterns.
In Singapore’s humid climate, cheap, unpolished wooden hoops can warp or even develop mold over time if stored in damp areas. Investing in a polished beechwood hoop with a sturdy brass adjustment screw ensures durability and consistent tension.
To verify that your fabric is loaded correctly, perform the “drum test.” Once you have placed the fabric between the inner and outer rings and tightened the screw, tap the center of the fabric with your finger. It should feel firm and make a hollow, drum-like sound. The fabric must be taut but not stretched to the point of distorting the weave. If you see the warp and weft threads curving, loosen the screw, realign the fabric, and tighten it again.
Needles, Threads, and Fabric Basics
Using the correct needle is critical to preventing hand strain and fabric damage. Beginners should look for crewel needles, which are specifically designed for embroidery. Unlike standard sewing needles that have small, round eyes, crewel needles feature a long, medium-sized eye that easily accommodates multiple strands of embroidery floss. They also have a very sharp point, allowing them to pierce tightly woven fabrics cleanly without tearing the threads.
The standard thread for embroidery is stranded cotton, often called embroidery floss. A single skein consists of six individual strands twisted together. Beginners often make the mistake of stitching with all six strands at once, which can result in thick, clumsy lines. Instead, you should cut a length of thread (about 45cm, or the distance from your fingertips to your elbow) and gently separate the individual strands. Most beginner projects use two or three strands to achieve clean, detailed lines.
For your fabric, stick to medium-weight, non-stretchy, plain-weave fabrics such as 100% cotton or linen. Avoid stretchy knits (like t-shirt material) or synthetic fabrics, which warp easily under tension and make it incredibly difficult to maintain even stitches. A simple cotton calico or linen-cotton blend is highly forgiving, holds its shape in the hoop, and cleanly supports the weight of the thread.
Nice-to-Haves vs. Money Wasters: Non-Essentials to Skip for Now
When you browse social media or craft stores, you will see an overwhelming array of accessories marketed as “essential” for beginners. However, many of these are unnecessary expenses that can actually clutter your workspace and complicate your learning process.
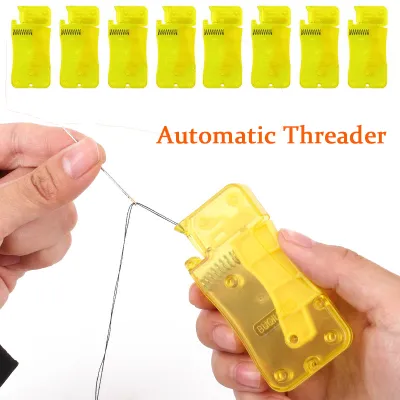
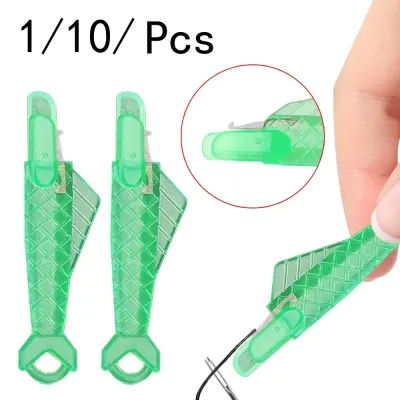
You should skip specialized thread snips, complex plastic thread organizers, light pads, mechanical needle threaders, and massive multi-color thread collections. These items are designed for advanced stitchers managing massive, multi-year projects. A collection of 100 cheap, unbranded thread skeins might seem like a bargain, but these threads are often rough, prone to knotting, and may bleed dye when washed, ruining your finished work.
Instead, look around your home for simple substitutes. A pair of standard, sharp household scissors is perfectly adequate for cutting embroidery floss. Instead of buying plastic organizers or bobbins, you can store your active threads in small household bowls, clean jars, or even wrapped around pieces of clean cardboard. For lighting, you do not need an expensive craft lamp or light pad; simply sit near a bright window during the day or use a standard, adjustable desk lamp.
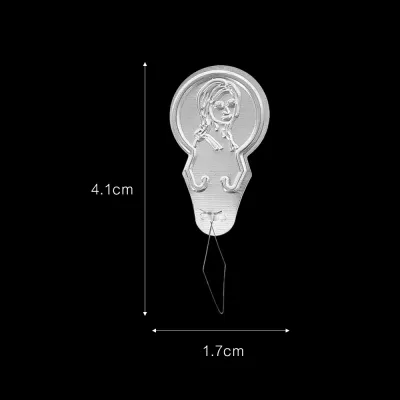
Only upgrade to specialized tools when you encounter specific pain points. For example, if you find that standard household scissors are too bulky to snip threads close to the fabric surface, invest in a small pair of dedicated embroidery scissors with thin, curved blades. If you struggle to thread your needle due to low visibility or physical strain, a simple wire needle threader is a cheap and useful addition. If you decide to transfer complex designs onto dark-colored fabrics, a light pad becomes a highly practical investment.
Be particularly wary of extremely cheap “all-in-one” beginner kits sold on online marketplaces. While the low price is tempting, these kits often contain warped plastic hoops that cannot hold tension, blunt needles that tear your fabric, and low-grade threads that snap easily. Investing a small amount in a few high-quality, individual components will provide a much more frustrating-free and enjoyable experience.
Assembling Your First Kit: Budget-Friendly Sourcing Strategies
Building your first embroidery kit does not have to be expensive if you approach it strategically. Start by auditing your household for existing sewing tools. You might already own a flexible measuring tape, a box of basic sewing pins, or a water-soluble fabric marker that can be repurposed for transferring designs.
For the items you must buy, prioritize sourcing high-quality basics individually. In Singapore, you can find excellent supplies at local craft stores in areas like Chinatown, or larger haberdashery outlets. These physical stores allow you to feel the weight of the fabric, inspect the smoothness of wooden hoops, and verify the quality of the needles before purchasing. Alternatively, reputable online marketplaces offer individual items from established brands.
When buying thread, do not buy a massive color pack. Instead, choose a specific beginner pattern and buy only the three or four colors required for that design. Stick to reputable brands like DMC or Anchor. These threads are mercerized, meaning they have a beautiful sheen, slide smoothly through fabric, and are colorfast. Buying a few high-quality skeins for under S$2 each is a far better investment than a cheap, low-quality multi-pack that will cause endless frustration.
Frequently Asked Questions (FAQ)
Can I use regular sewing needles for embroidery?
While you can use a regular sewing needle in a pinch, it is not recommended. Regular sewing needles have very small, round eyes that make threading multi-strand embroidery floss incredibly difficult and prone to fraying. Additionally, their thicker shafts can leave permanent, unsightly holes in your fabric.
Do I need an embroidery stand or frame to start?
No, you do not need an embroidery stand or frame to begin. A simple, hand-held embroidery hoop is completely sufficient for beginners and small-scale projects. Stands are expensive investments that are only necessary if you are working on very large canvases, stitching for hours at a time, or have physical mobility or grip limitations that make holding a hoop uncomfortable.
Community discussion
Share your experience or ask a question. Comments are reviewed before publication.