
Starting your drawing journey does not require a massive financial investment or a professional-grade art studio. In fact, beginning with too many tools can often complicate the learning process, distracting you from mastering the core fundamentals of line, form, and value. The most effective way to start is with a highly curated selection of basic stationery items that allow you to focus entirely on your hand-eye coordination and observational skills.
By focusing on a few essential, high-quality tools, you can build a solid foundation without unnecessary clutter. This guide will help you select the right pencils, paper, and accessories to begin your drawing practice with confidence.
Core Drawing Pencils: Choosing the Right Graphite Grades
To understand drawing pencils, you must first understand the HB grading scale. The letter “H” stands for hard, indicating a pencil with more clay binder that leaves light, precise lines. The letter “B” stands for black, indicating a softer graphite mixture that leaves dark, rich marks. The numbers preceding these letters indicate the intensity of the characteristic; for example, a 4B pencil is much softer and darker than a 2B pencil.
Products mentioned in this guide
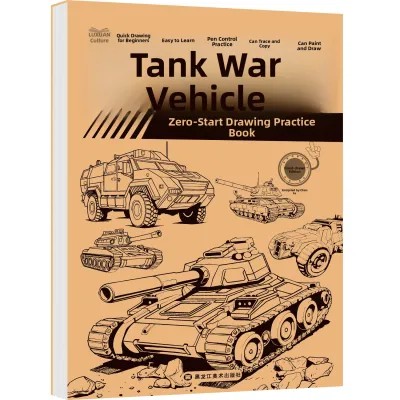
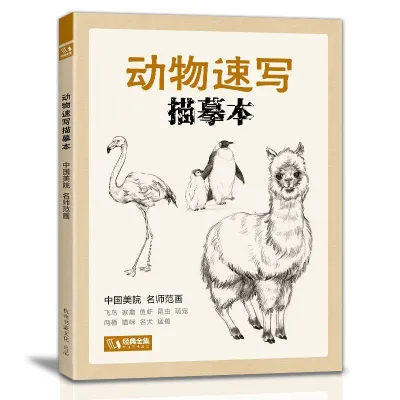
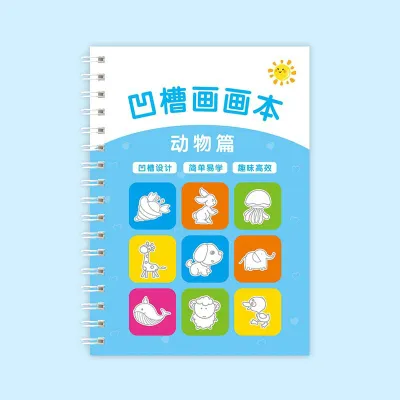
Prices are valid at publication and may change. Please refer to the product page for the latest price.
For a complete beginner, buying a massive 24-piece pencil set is unnecessary and often overwhelming. A practical starter range consists of just four pencils: a 2H for light drafting and guidelines, an HB for general sketching, a 2B for medium shading, and a 4B or 6B for deep shadows. This simple selection provides all the tonal range needed to create realistic depth in your sketches.
When purchasing pencils, look closely at the physical construction to ensure durability. Inspect the unsharpened end of the pencil to verify that the graphite core is perfectly centered within the wood casing, as off-center cores lead to constant breakage during sharpening. Additionally, check the packaging for terms like “SV-bonded” or “break-resistant,” which indicate that the lead is glued securely to the wood along its entire length to prevent internal shattering if dropped.
Paper and Sketchbooks: Matching the Surface to Your Practice
Paper weight is measured in grams per square meter (gsm), which directly impacts how the surface handles drawing and erasing. Standard office printer paper is typically around 70 gsm to 80 gsm, which is too thin for serious drawing; it easily buckles, wrinkles, or tears under the friction of an eraser. For regular sketching, look for paper with a minimum weight of 100 gsm, while 120 gsm to 150 gsm is ideal for heavy shading and repeated corrections.

Surface texture, or “tooth,” also dictates how graphite behaves on the page. Smooth paper, often labeled as hot-pressed, is excellent for fine details, clean ink outlines, and mechanical pencil work, but it struggles to hold heavy layers of dark graphite. Medium-grain paper, often labeled as cold-pressed or medium tooth, has a slight texture that grabs the graphite from your pencil, allowing for richer darks and smoother gradient transitions.
Your choice of sketchbook format should match your drawing environment. Spiral-bound sketchbooks are highly practical because they lay completely flat on a desk and allow you to fold the cover back for easy handling on your lap. Hardbound sketchbooks offer superior protection for your drawings and prevent pages from bending, which is particularly useful in humid climates like Singapore where moisture can soften paper fibers over time. Loose sheets are excellent for quick, non-precious practice drills but require a clipboard or drawing board for support.
Essential Erasers and Sharpeners for Clean Corrections
Erasers are not merely tools for fixing mistakes; they are active instruments used to shape light and form in your drawings. A standard white vinyl or plastic eraser is your primary tool for complete graphite removal. It works through friction to lift graphite off the page, though it produces crumbs and can wear down paper fibers if used too aggressively.
In contrast, a kneaded eraser looks and behaves like modeling clay. Instead of scraping the paper, you press and lift it to absorb graphite particles, allowing you to lighten shaded areas gradually without erasing them completely. Because it can be molded into any shape, it leaves no crumbs behind and is highly gentle on delicate paper surfaces.
For sharpening, a simple manual sharpener with a sturdy metal body and a high-quality steel blade is highly reliable. Ensure the sharpener has a secure shavings reservoir to keep your workspace clean, and check for dual-sized holes if you plan to use thicker, jumbo-sized sketching pencils. While some advanced artists use craft knives to carve away wood and expose a long piece of graphite for broad shading, this technique requires careful, supervised handling and should be avoided by beginners to prevent injury.
Blending and Detailing Tools to Refine Your Sketches
Once you have mastered basic outlines, blending tools can help you transition to smooth shading and realistic textures. Blending stumps, also known as tortillons, are tightly rolled paper cylinders with pointed ends. They allow you to smudge and blend graphite with high precision, creating soft gradients for skin tones or smooth skies.
If you do not have a blending stump, a piece of soft, clean facial tissue wrapped around your fingertip can achieve a broader blending effect. Avoid using your bare fingers to blend graphite; the natural oils on your skin will transfer to the paper, creating greasy patches that repel future pencil strokes and cause permanent, unerasable smudges.
For fine details, your kneaded eraser can be pinched into a sharp point or a thin wedge to lift tiny highlights out of dark, shaded areas, such as the glint of light in an eye. If you prefer crisp, consistent outlines, consider adding a 0.5mm or 0.7mm mechanical pencil to your kit. Mechanical pencils do not require sharpening and can be refilled with 2B lead to maintain a dark, consistent line weight throughout your drawing.
How to Build Your First Drawing Kit on a Budget
Building your first drawing kit does not require a large budget; a highly functional starter set can easily be assembled for under S$15 to S$20. When starting out, resist the temptation to buy large colored pencil sets, charcoal kits, or digital drawing tablets. These mediums require entirely different techniques and can overwhelm you before you master basic observational drawing.
Focus your budget on quality over quantity by purchasing individual items rather than pre-packaged student kits. Pre-packaged sets often include tools you may not use, such as extremely hard H-grade pencils or low-quality blending accessories. Buying individual pencils allows you to replace only the specific grades you use most frequently, such as your 2B or 4B pencils.
When sourcing your tools, visit local stationery stores or browse reputable online marketplaces. If shopping online, read customer reviews to verify that the pencils are packaged securely for transit, as rough handling can cause internal lead breakage before the pencils even arrive. A perfect budget starter kit consists of three individual pencils (HB, 2B, and 4B), one white vinyl eraser, one kneaded eraser, a simple metal sharpener, and an A5-sized, spiral-bound sketchbook with paper rated at 100 gsm or higher.
Basic Setup and First Practice Steps
Your physical drawing environment plays a significant role in your comfort and progress. Set up your workspace on a flat, stable table in a well-lit room. Position your desk lamp so the light comes from the opposite side of your drawing hand—from the left if you are right-handed, or from the right if you are left-handed—to prevent your hand from casting a shadow over your work.
Because warm weather can cause your hands to perspire, always place a clean sheet of scrap paper under your drawing hand. This simple guard protects your sketchbook from moisture and prevents your palm from accidentally smudging completed sections of your sketch.
When you begin drawing, practice two basic grip techniques. Use the traditional tripod grip—holding the pencil close to the tip with your thumb, index, and middle fingers—for fine details and precise lines. For loose, expressive sketching and broad shading, transition to the overhand grip, where you hold the pencil further back along the shaft, resting it flat against your palm to use the side of the graphite core.
Start your practice by drawing simple geometric shapes like spheres, cubes, and cylinders, focusing on how light falls across them. Create a simple five-step value scale, moving from the white of the paper to the deepest black your 4B pencil can produce, to train your hand to control pressure and understand the tonal capabilities of your tools.
Frequently Asked Questions (FAQ)
Do I need expensive artist-grade pencils to start learning?
No, student-grade pencils from established stationery brands are more than adequate for beginners. They offer consistent graphite quality and durable wood casings at a fraction of the cost of professional lines. The primary difference lies in the purity of the graphite; professional pencils have fewer microscopic impurities, resulting in a smoother glide and more consistent dark tones. You should only consider upgrading to artist-grade pencils once you have developed a sensitive touch, can consistently control your pencil pressure, and find that your student-grade pencils are scratching the paper or failing to achieve the deep darks required for high-contrast drawings.
Can I use standard printer paper for drawing practice?
Standard printer paper is generally not recommended for finished drawings or detailed shading practice due to its low weight and lack of surface texture. Because it is thin and smooth, it cannot hold multiple layers of graphite, and aggressive erasing will quickly tear or warp the sheet. However, printer paper is highly useful for low-pressure, disposable practice. Use it for quick gesture drawings, warm-up scribbles, or practicing basic line control and hand movements. Keeping a stack of cheap printer paper nearby is an excellent way to overcome the fear of the blank page before moving to your sketchbook.
Should beginners start with charcoal or colored pencils instead of graphite?
It is highly recommended that beginners start with graphite before moving on to charcoal or colored pencils. Graphite is the most forgiving and easily erasable medium, making it ideal for correcting the inevitable mistakes that occur when learning proportion, perspective, and shading. Charcoal is excellent for high-contrast work but is highly unstable, smudges instantly, and requires fixative sprays to preserve. Colored pencils introduce the complex element of color theory, requiring you to manage hue, saturation, and temperature on top of basic light and shadow. Mastering graphite first builds a strong visual foundation that makes transitioning to other mediums much smoother.
Community discussion
Share your experience or ask a question. Comments are reviewed before publication.